Register Physical Sensor
The physical sensor is placed inside your network and takes snapshots of the data flowing over the network. You need to set up the physical sensor appliance and then register it with the Qualys Enterprise TruRisk™ Platform.
Supported physical sensor: 1Gbps, 4Gbps, and 10Gbps
To know about the requirements and how to setup the physical sensor appliance, refer to Appliance User Guide.
Once your physical sensor is ready and you register it with Qualys Enterprise TruRisk™ Platform you can start viewing information in the Network Passive Sensor UI.
Register a new sensor
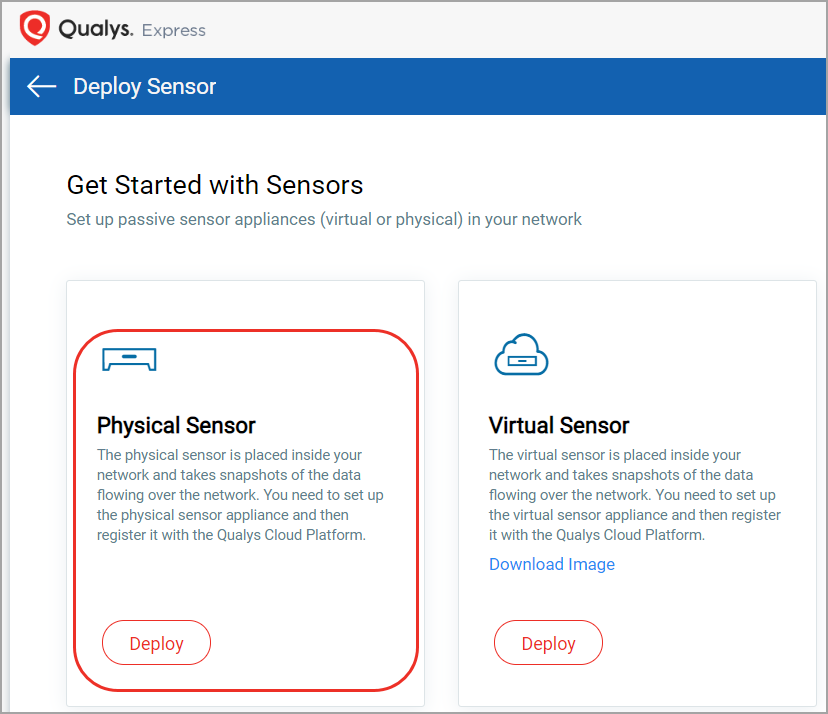
- From the Home tab, scroll down and click Deploy Network Sensor.
- Click Deploy under Physical Sensor from the Get Started with Sensors page.
This opens New Physical Sensor registration window.
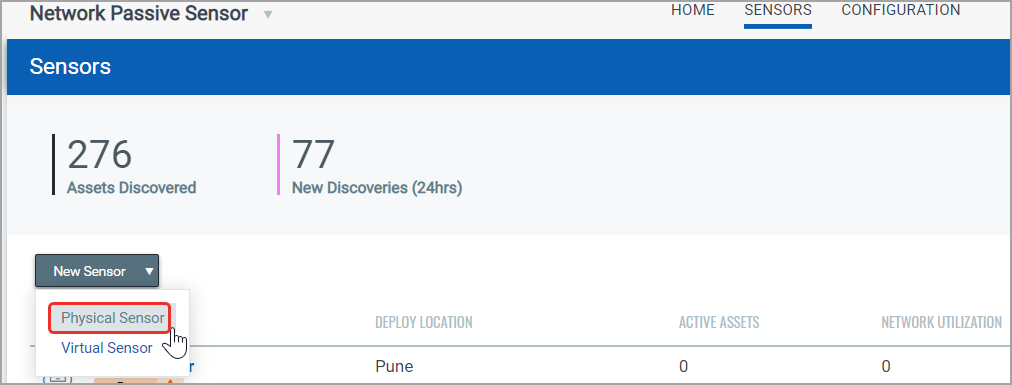
Optionally, you can navigate to the Sensors tab and click New Sensor > Physical Sensor to open New Physical Sensor registration screen.
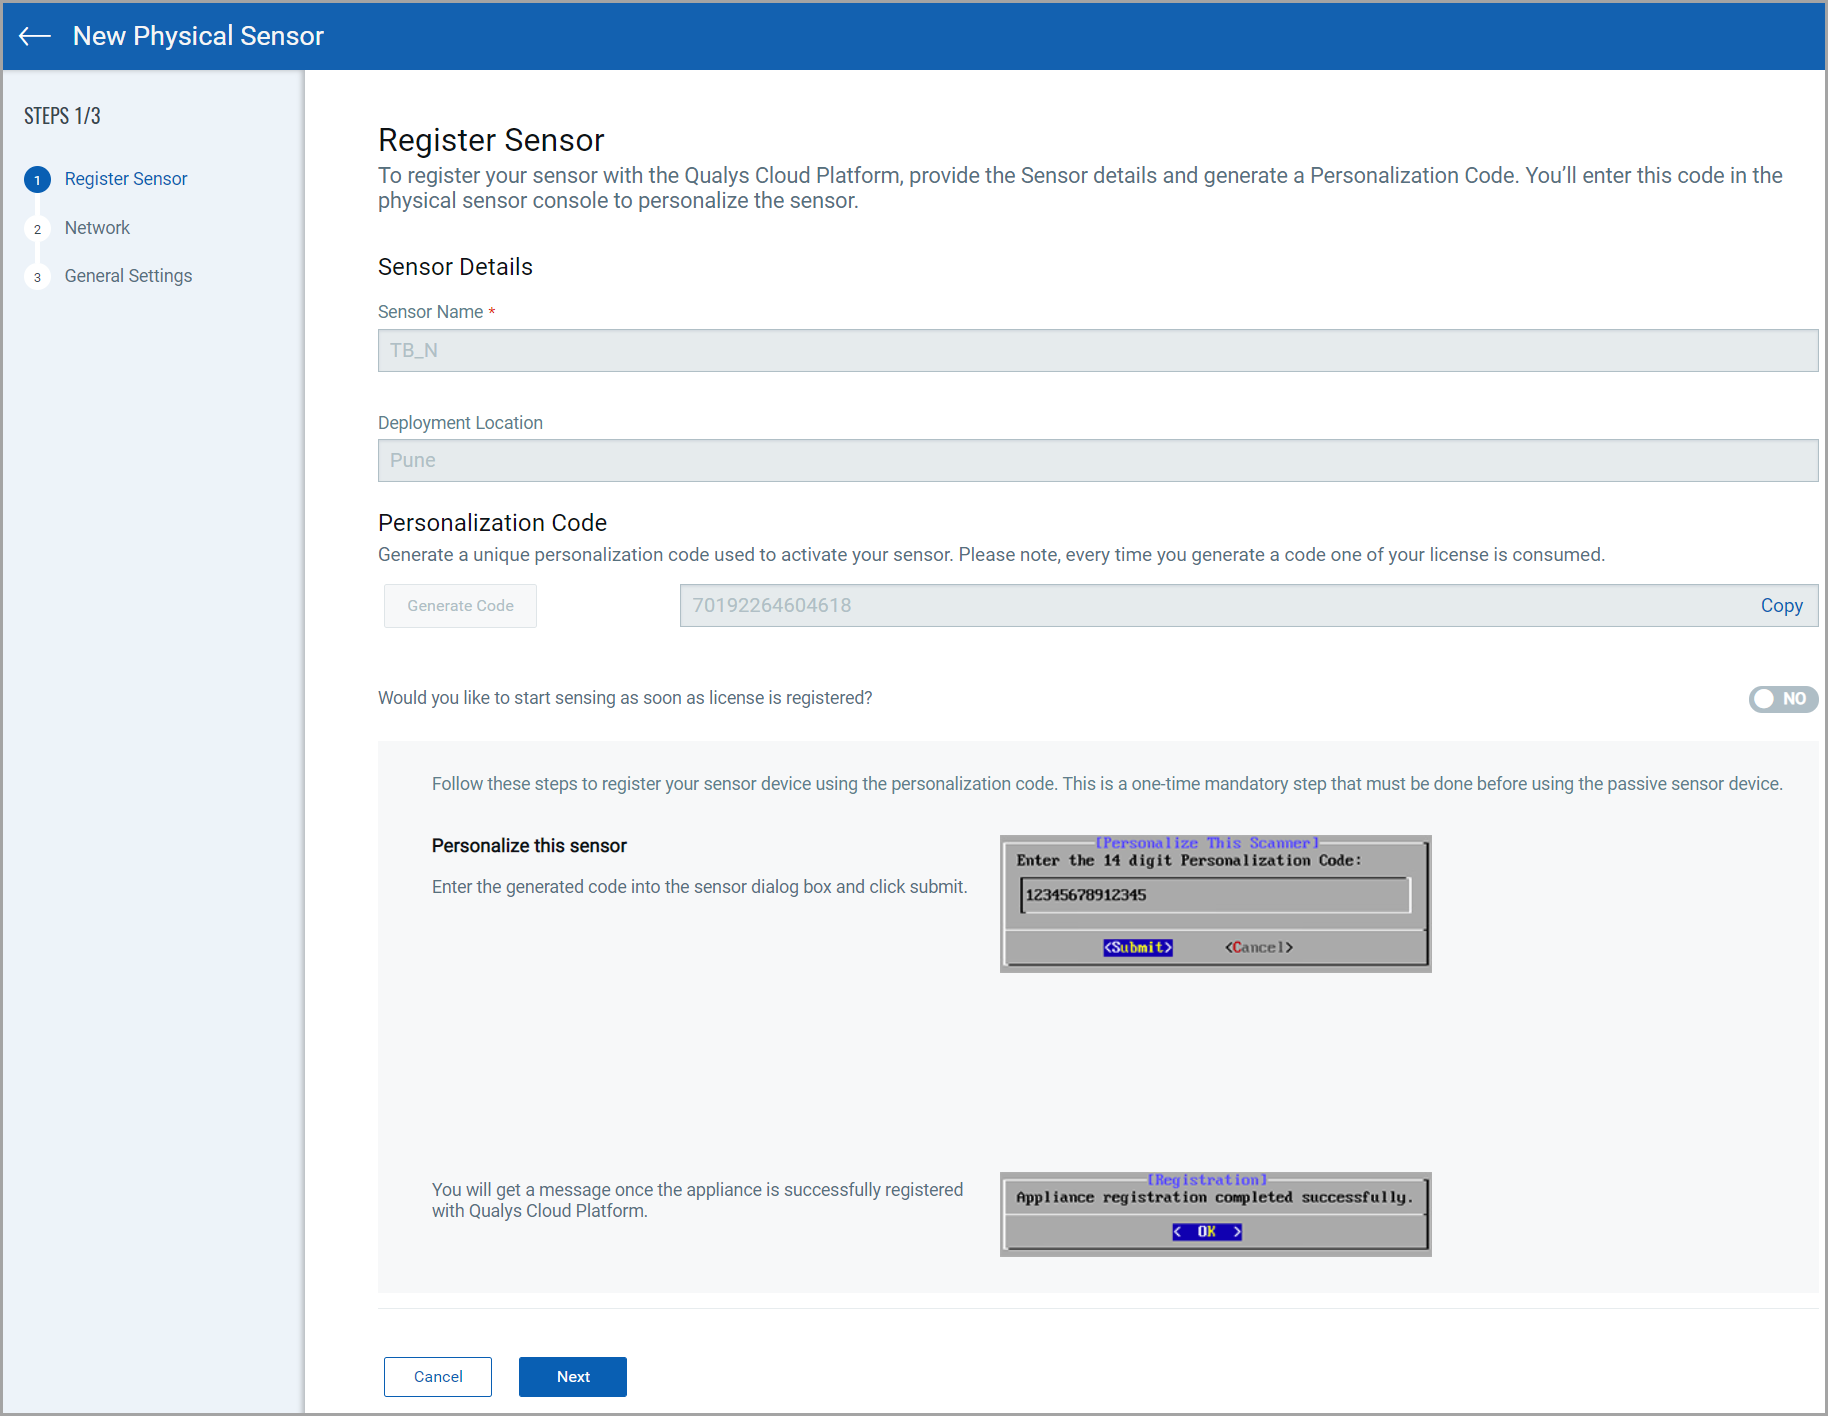
- Provide the Sensor details and generate a Personalization Code.
You’ll enter this code in the physical sensor console to personalize the sensor. Copy the code and keep it handy.
If you wish to start sensing as soon as sensor is registered, set toggle button to YES for Would you like to start sensing as soon as license is registered?
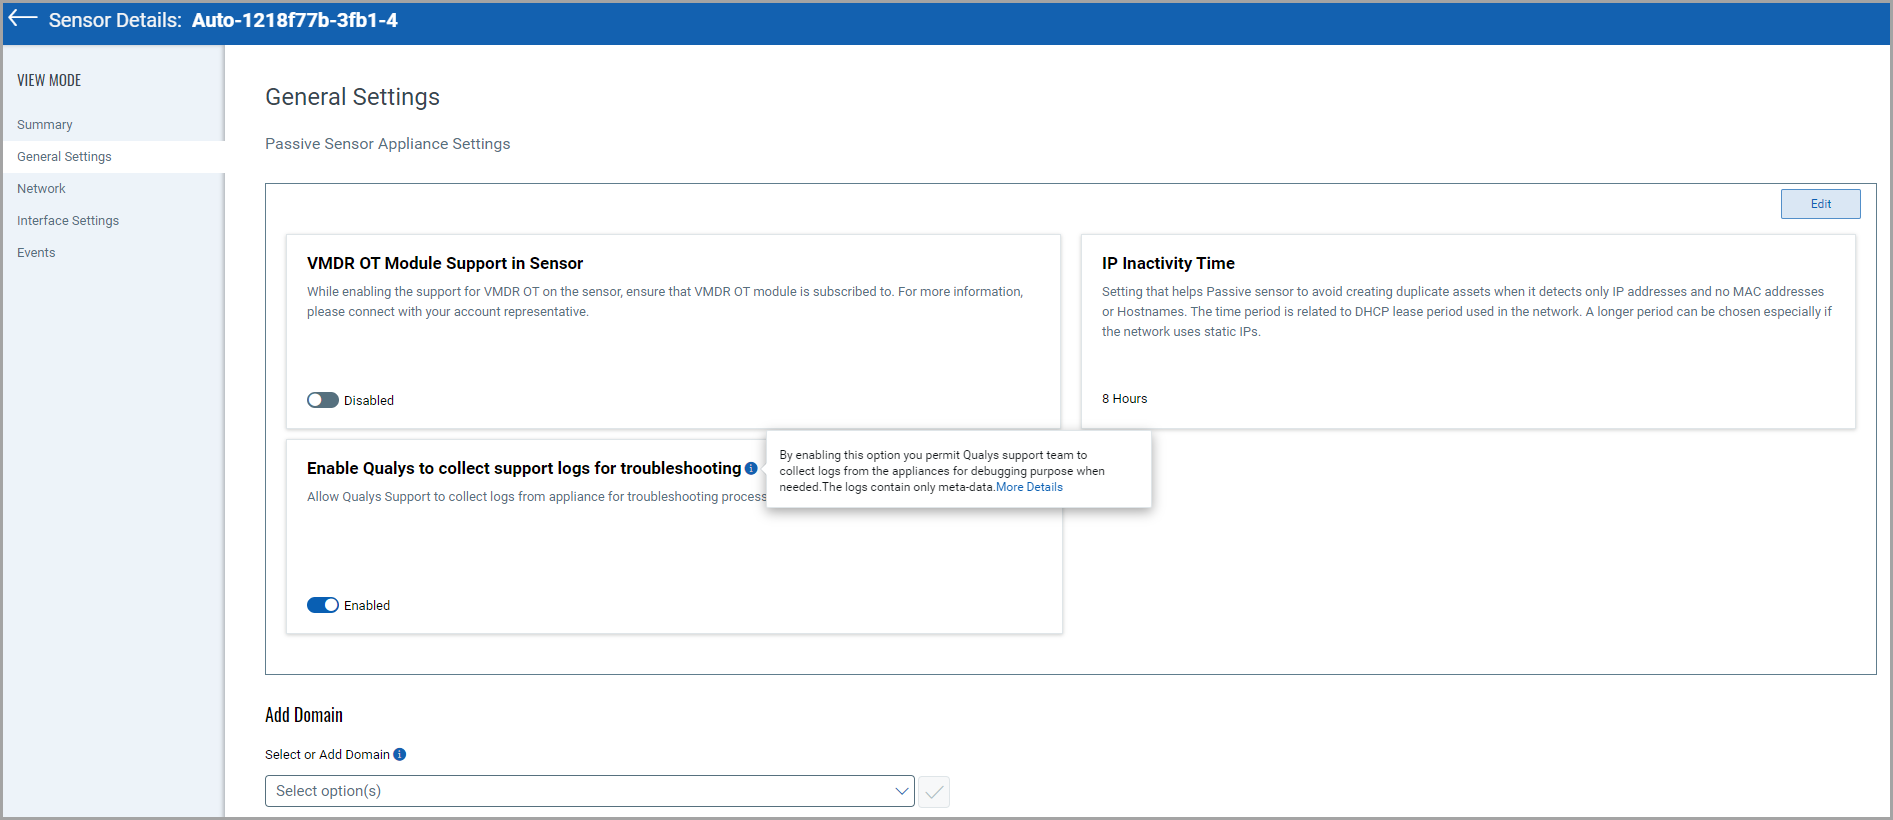
Network Passive Sensor (PS) captures and processes network traffic from mirror ports of managed switches and does deep packet inspection of IT / VMDR OT protocols. VMDR OT provides you with continuous real-time visibility inside your industrial network via PS. Once you enable “VMDR OT Module Support in Sensor” toggle button, PS discovers VMDR OT devices and adds to your inventory.
- Click Next to add network settings where you can define the IP ranges within your network you want to monitor.
The assets discovered for these IP addresses will be individually inventoried and tracked for traffic analysis. You can use default IP ranges, IP range tags, or customized IP ranges.
- Enter a Name for the Internal Asset Group/Network.
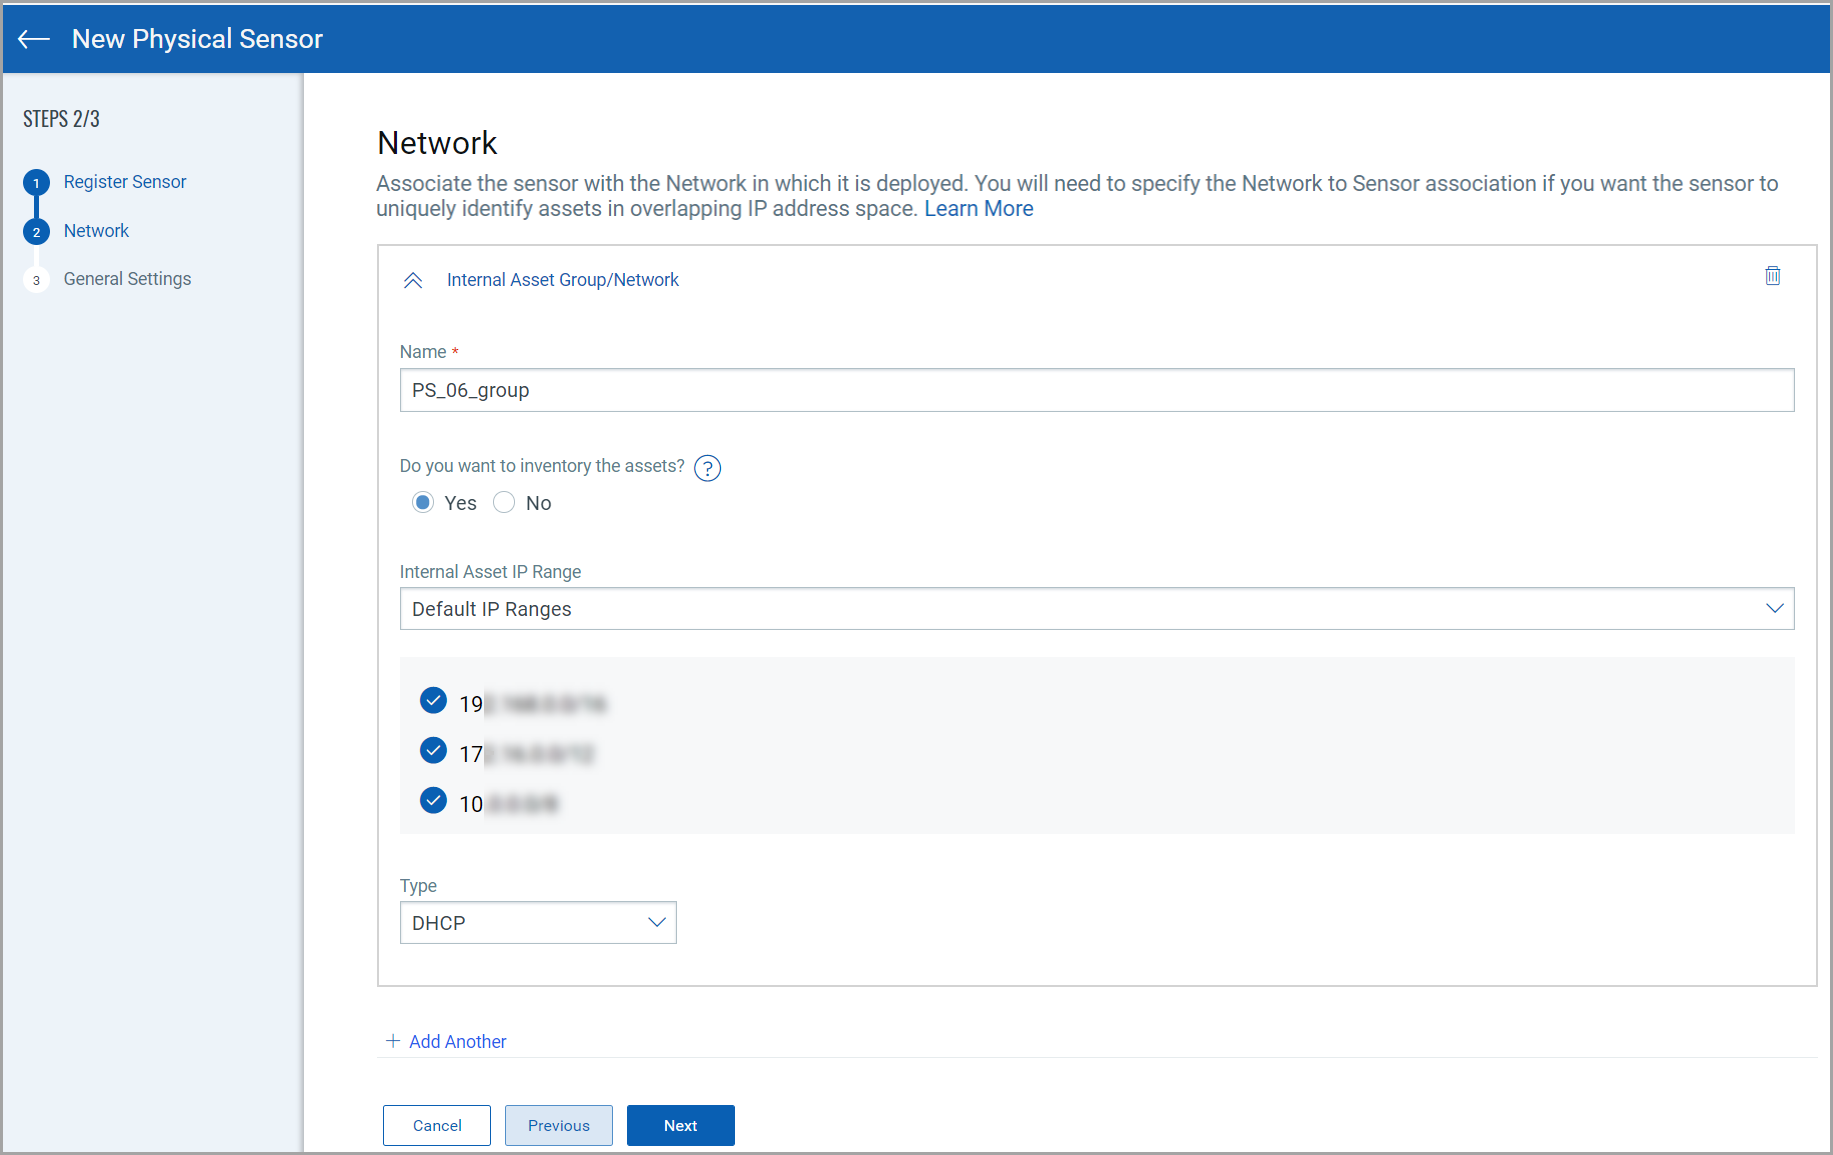
- For the Do You want to inventory the assets? check box, select Yes or No.
Select No if you want to just monitor the traffic flows to/from the configured IP ranges but do not want to track them in asset inventory. You can always edit the sensor configuration later to add assets for the IP ranges to the inventory if you have selected No while registering physical sensors.
These assets will be individually tracked over time with all their attributes like Hostname, MAC address, Operating System, Device type, etc.
- Use the Scanner Network option to choose from the pre-created IP ranges that were defined when you created asset groups within the networks in the VM module.
- Define the Internal Asset IP Range within your network you want to monitor.
The assets discovered for these IP addresses will be individually inventoried and tracked for traffic analysis. You can use Default IP Ranges, IP Range Tags, or Customized IP Ranges.

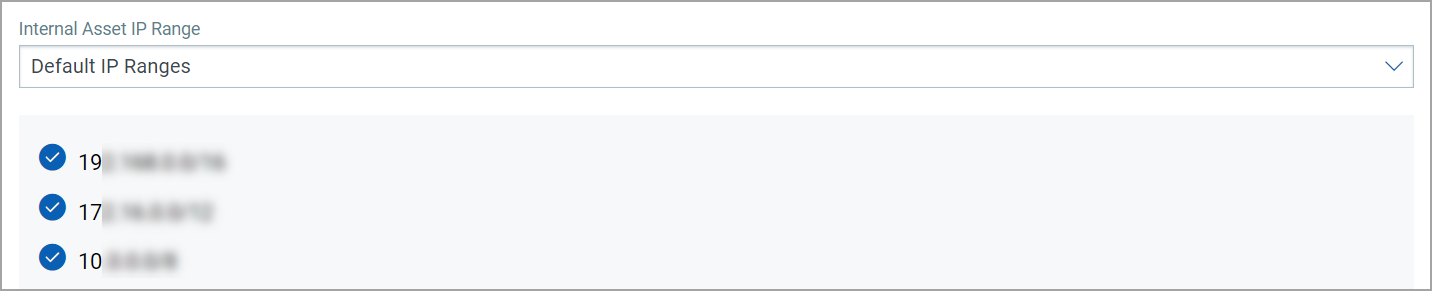
- Default IP Ranges - It defines the internal assets discovered within default internal ranges for your network.
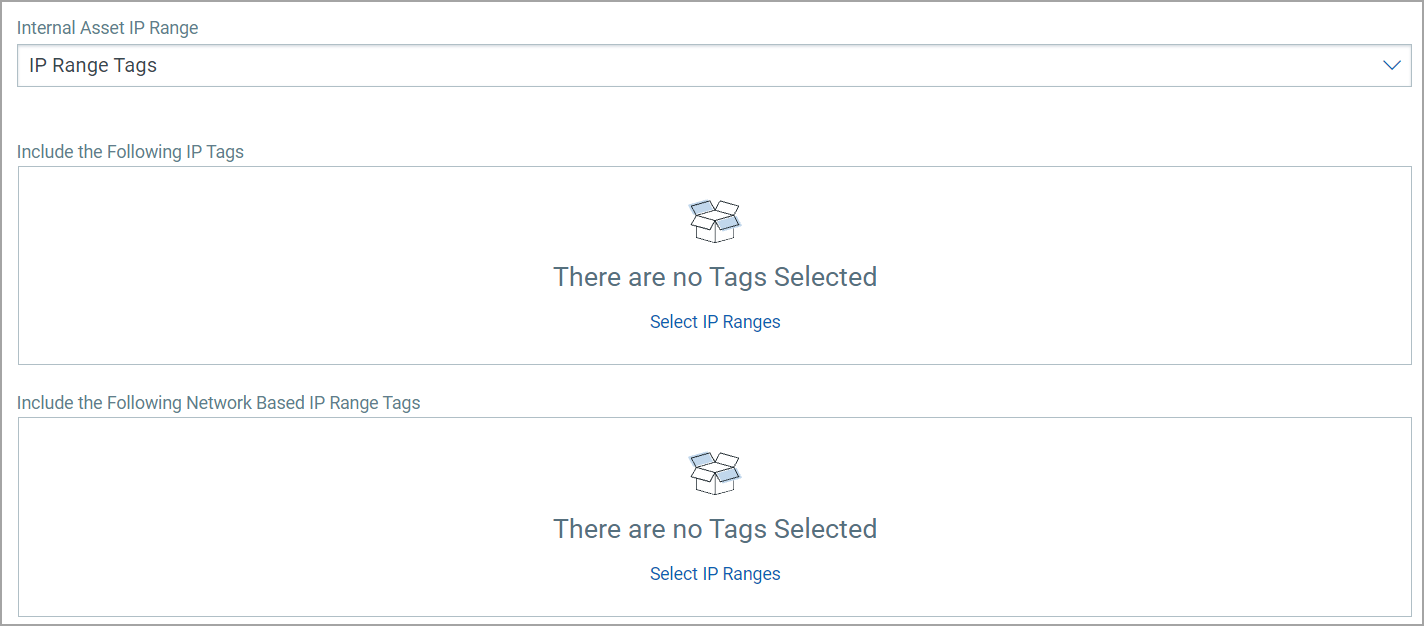
- IP Range Tags - It defines the internal assets discovered with IP range tags. These are the dynamic tags created with ‘IP Address In Range(s)’ rule engine.
- Custom IP Ranges - It defines the internal assets discovered with custom IP ranges. You can provide IP ranges for monitoring.

- Default IP Ranges - It defines the internal assets discovered within default internal ranges for your network.
- Click Next to configure General Settings.
- Follow on-screen instructions for module activation and enable Qualys to collect support logs for troubleshooting.
To configure internal, external and excluded type of assets, refer to Configure Assets.
-
Click Save to complete the registration.
Once your sensor successfully connects to the Qualys Enterprise TruRisk™ Platform, you can start sensing and you’ll start seeing assets discovered on your network.
Related Topics