Virtual Appliance Local Configuration
The Qualys Gateway Service virtual appliance utilizes a text-based user interface available from the appliance console to configure, set networking, view status, perform diagnostics, and reset the appliance.
Local Configuration Menu Structure
- Registration
- System
- Network
- First
- DNS
- Proxy
- POD Suffix
- Authentication
- Time
- Network
- Info
- Diagnostics
- Containers
- Images
- Units
- Bandwidth
- Logs
- Stats
- Commands
- Ping
- Reboot
- Shutdown
- Reset
Configuration Screens
Next we’ll document the screens used to configure & manage the Qualys Gateway Service.
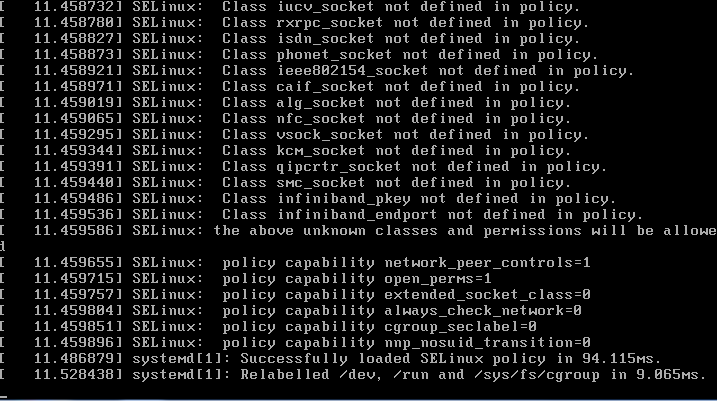
QGS virtual appliance starting up
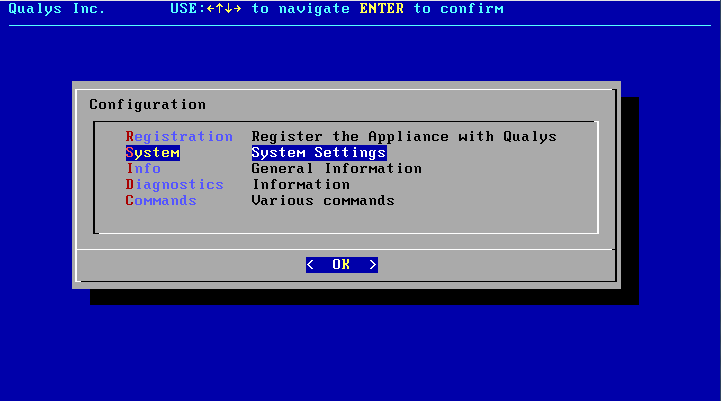
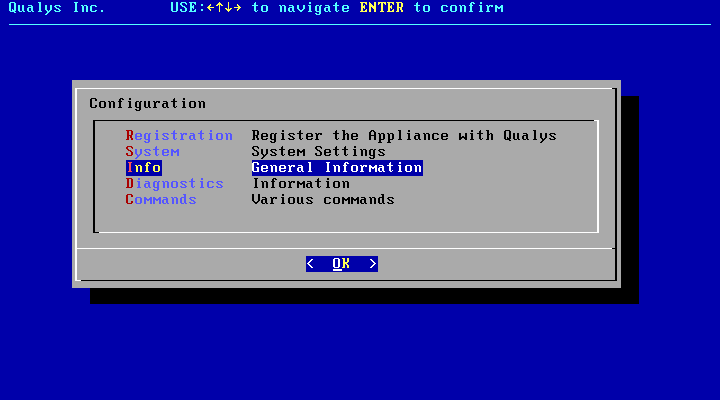
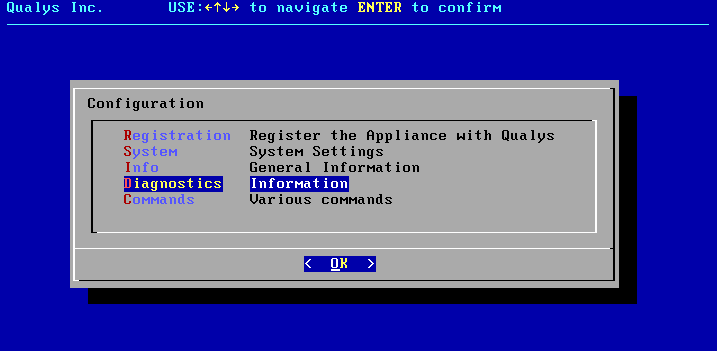
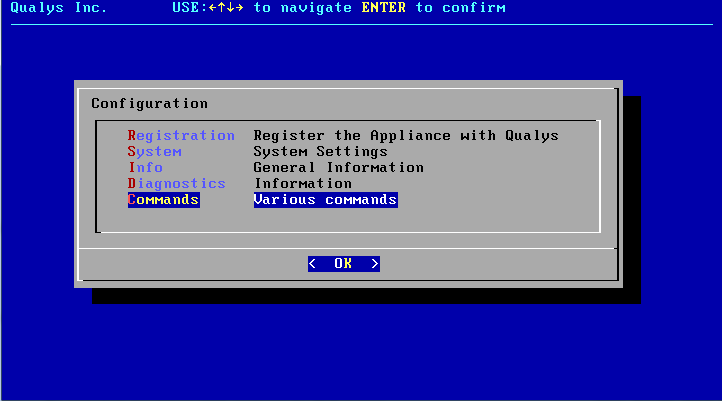
Main Configuration Menu
Under System menu, configure Network Settings.
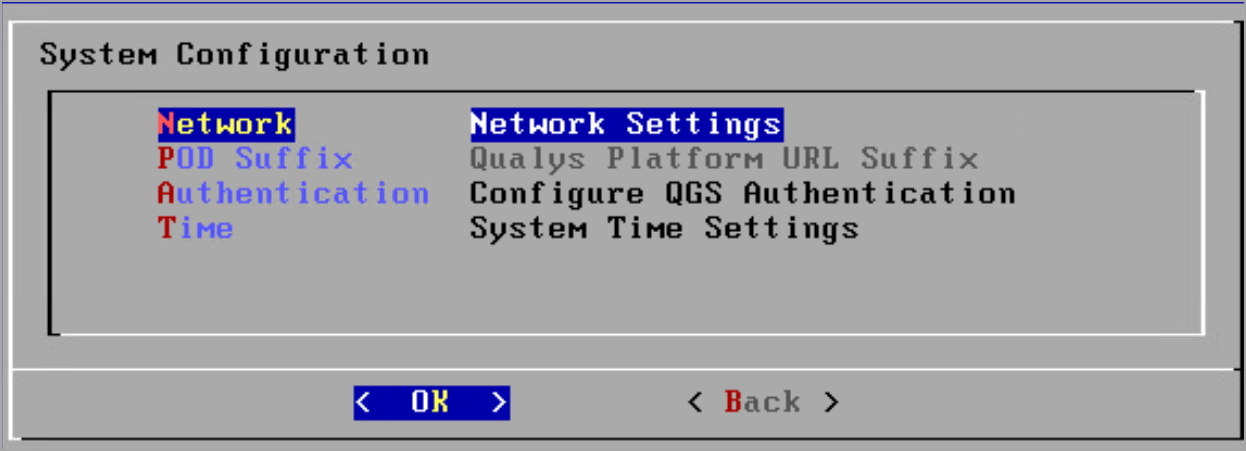
Network Configuration
First Ethernet Interface
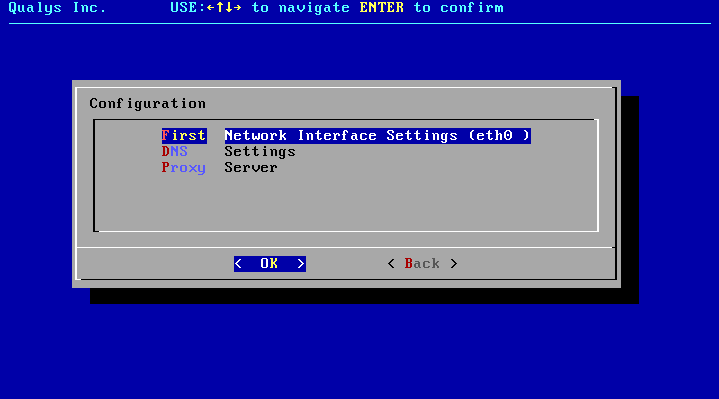
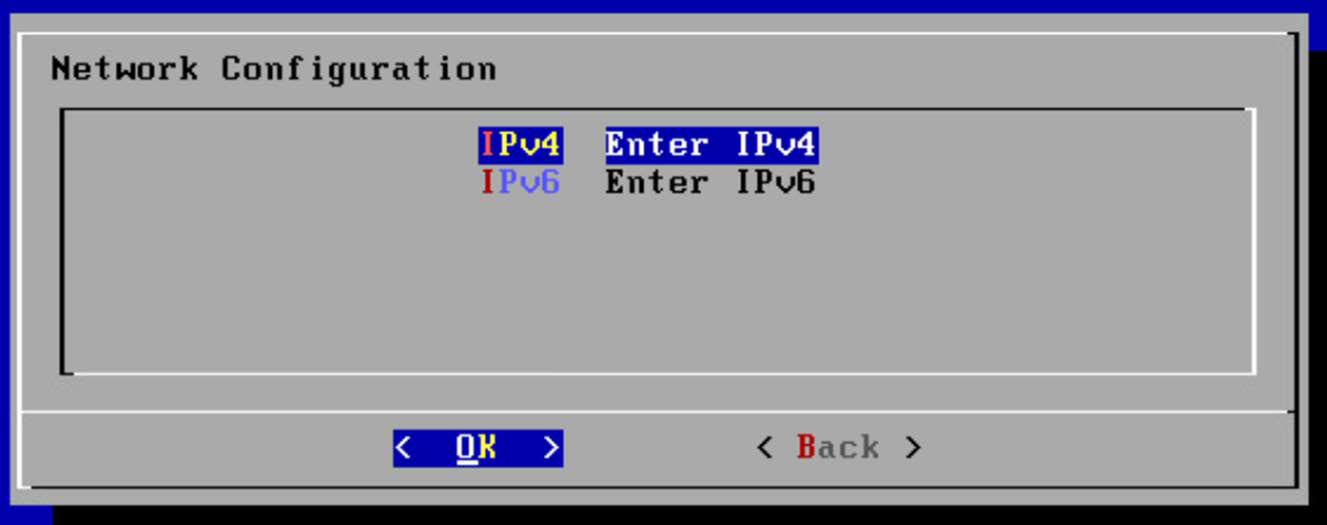
Network Configuration
Select the internet protocol to configure the appliance on. Choose from IPv4 or IPv6.
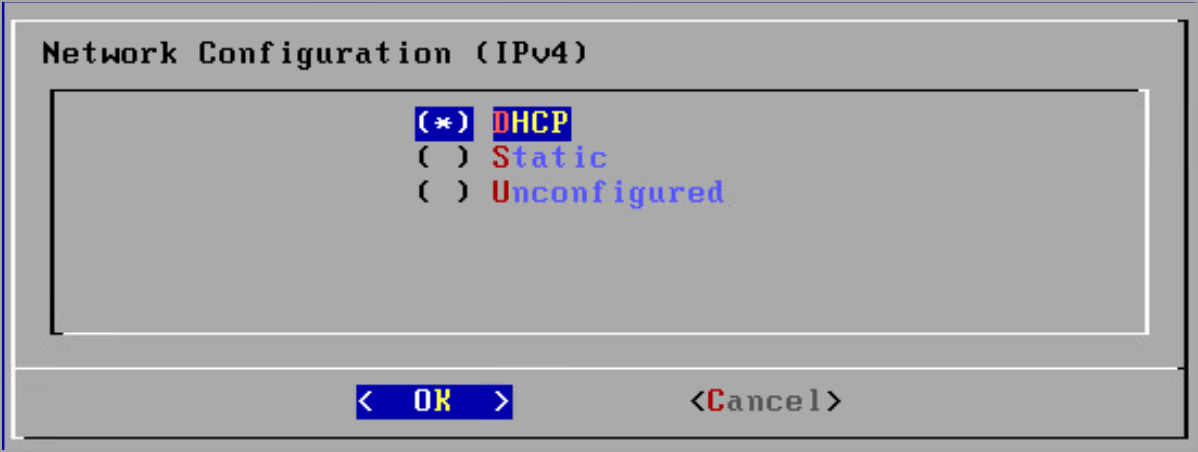
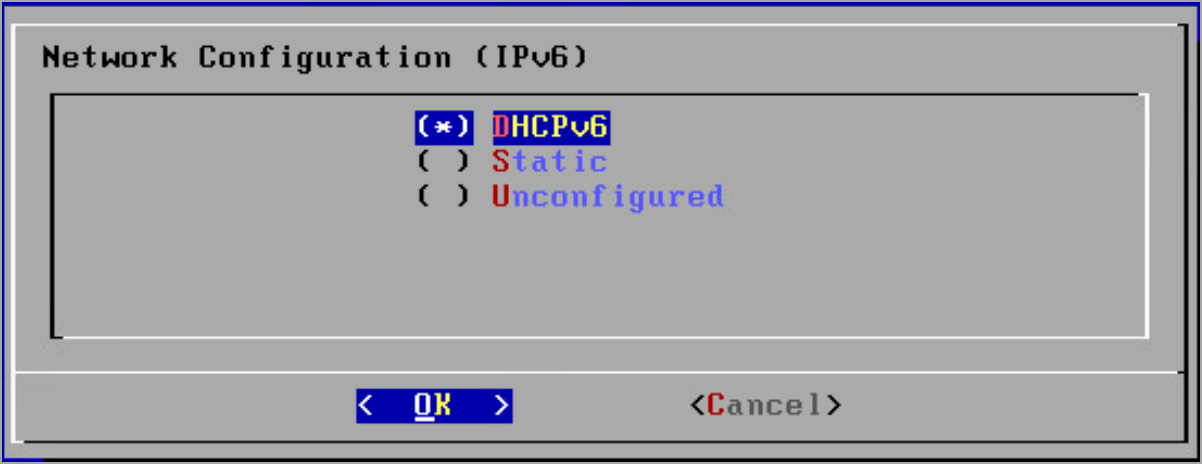
DHCP
If using DHCP, configure the virtual appliance network interface to use DHCP.
This is the IP of the QGS proxy that Cloud Agents connects to when running on the configured port. DHCP is supported for both IPv4 and IPv6.
For IPv4
For IPv6
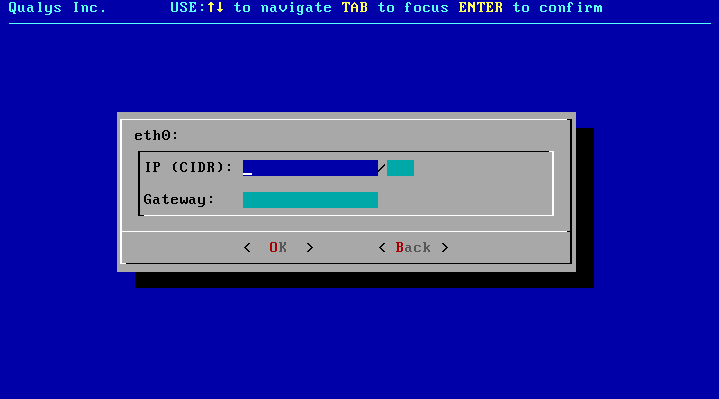
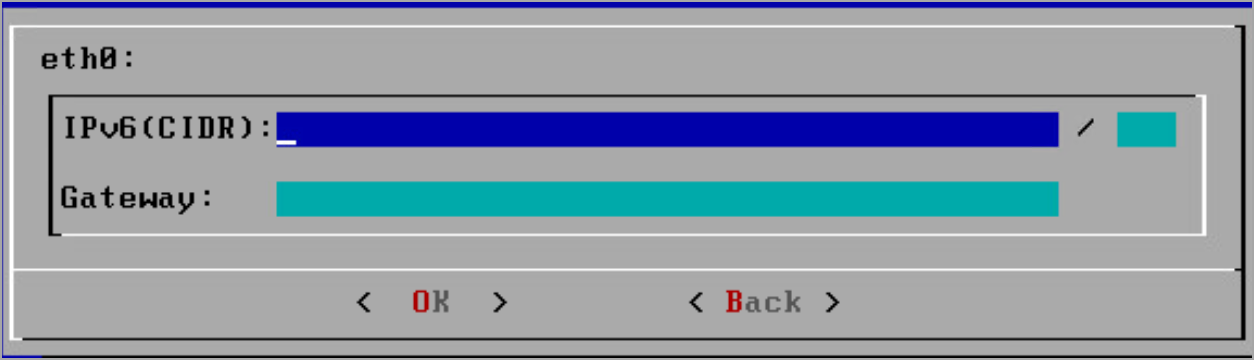
Static IP
If using Static IP, configure the virtual appliance network interface to use Static IP Address. Cloud Agents connect to the Static IP Address on the configured port.
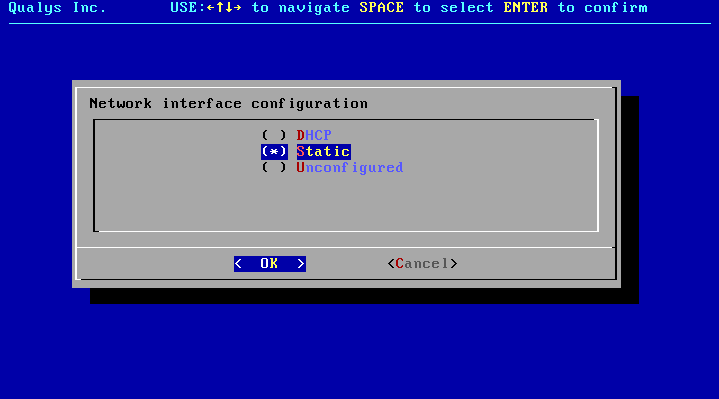
Set static IP address, if used.
IP address uses a 32-bit netmask, e.g. “/24” for 255.255.255.0.
Specify the Default Gateway IP address.
For IPv4
For IPv6
DNS Servers
Select whether to configure DNS servers for IPv4 or IPv6.
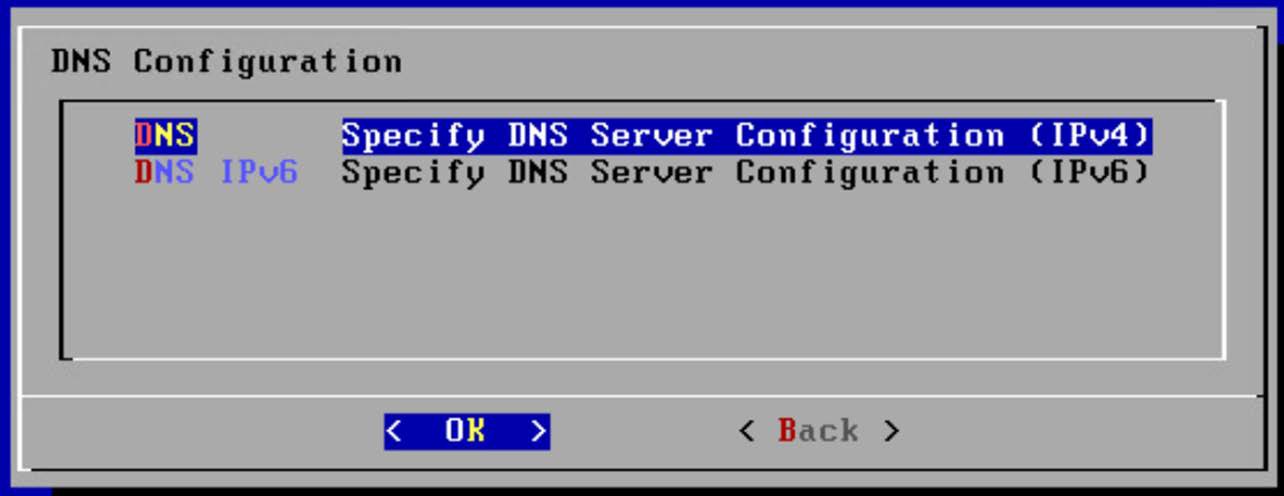
You can manually configure or deconfigure DNS for both IPv4 and IPv6.
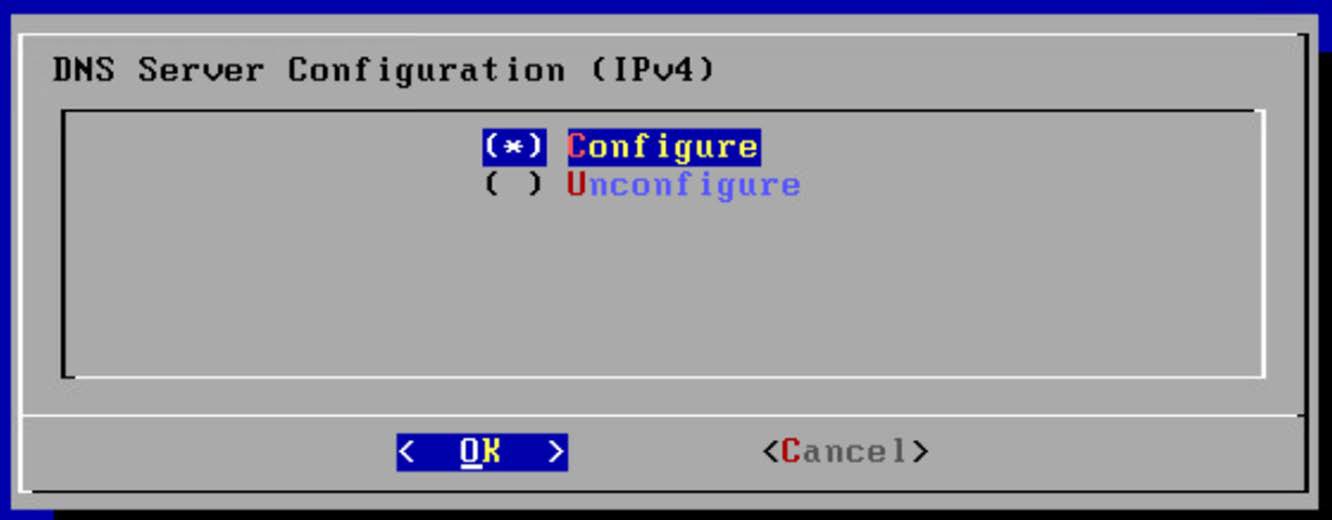
Set DNS servers for the virtual appliance to resolve the Qualys URLs.
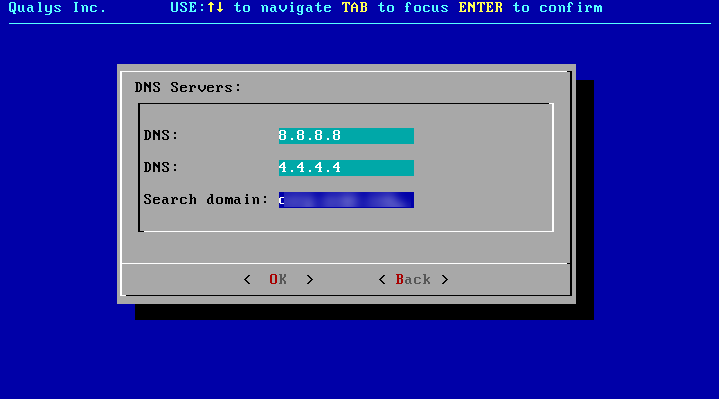
We have used Google internet DNS servers as example. Please point to your internal corporate DNS servers. If these are only accessible through a firewall, ports 53/tcp and 53/udp needs to be opened for successful DNS resolution.
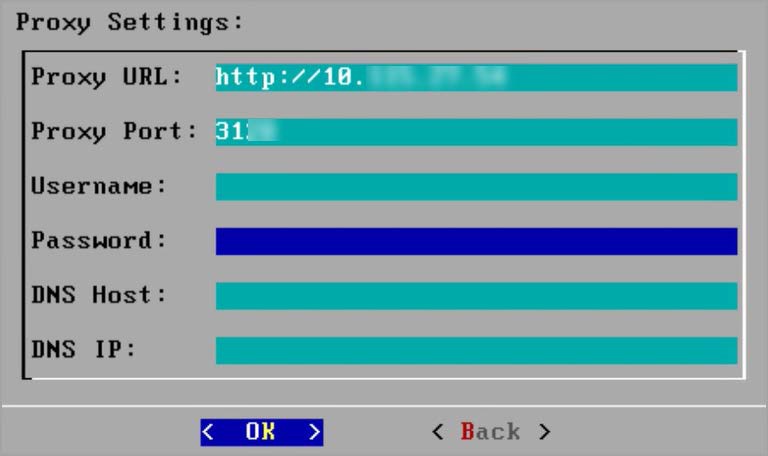
Proxy Servers (Optional)
Select whether to configure Proxy servers for IPv4 or IPv6. This step is optional.
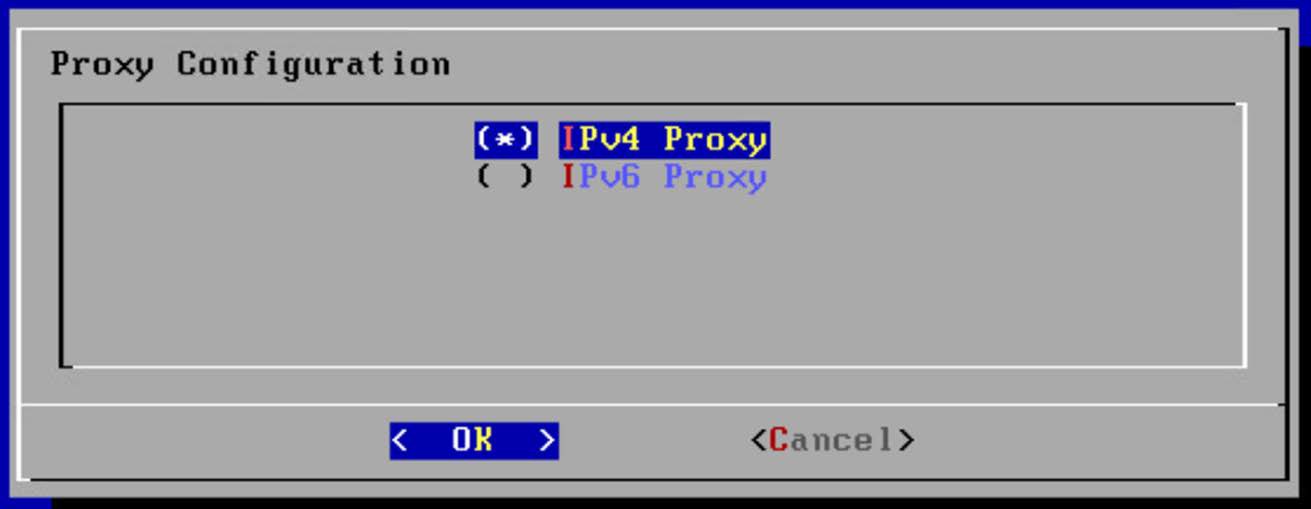
Configure upstream Proxy Server, if using proxy chaining.
NTP Servers
The NTP service's behavior has changed as follows:
- If NTP servers are not specified, the QGS appliance uses default flatcar NTP servers to sync the time. The default flatcar NTP servers are listed as follows:
- 0.flatcar.pool.ntp.org
- 1.flatcar.pool.ntp.org
- 2.flatcar.pool.ntp.org
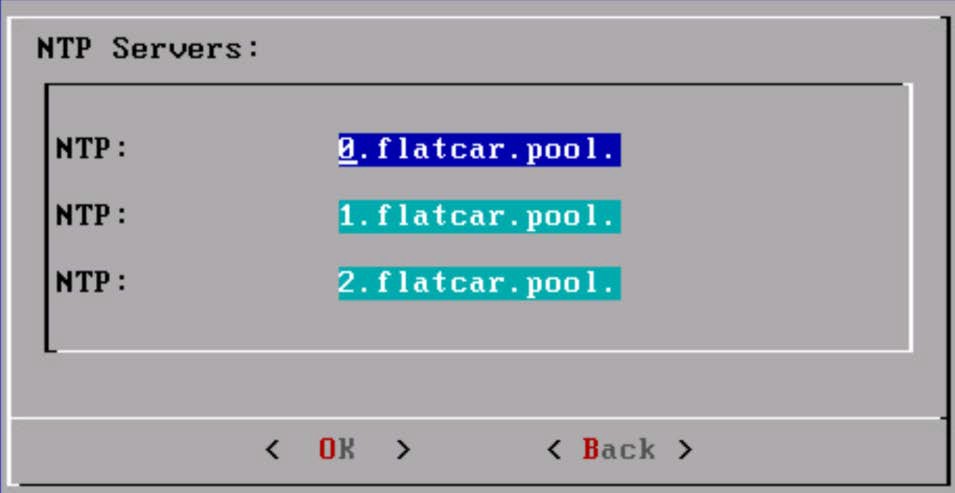
- 3.flatcar.pool.ntp.org
- If NTP servers are specified, the QGS appliance contacts the specified NTP servers only.
- If you remove the NTP server, the appliance starts communicating to flatcar default NTP servers again.
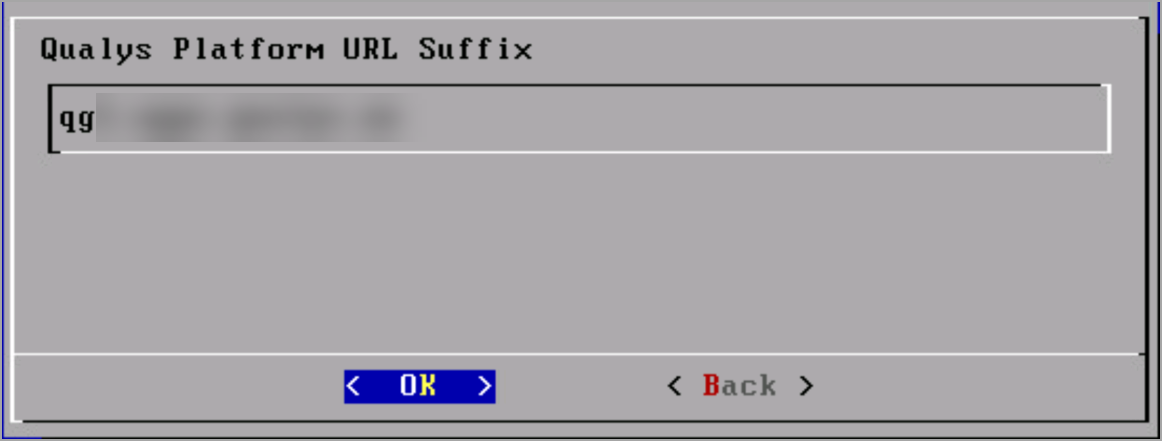
POD Suffix
Select the POD Suffix option.
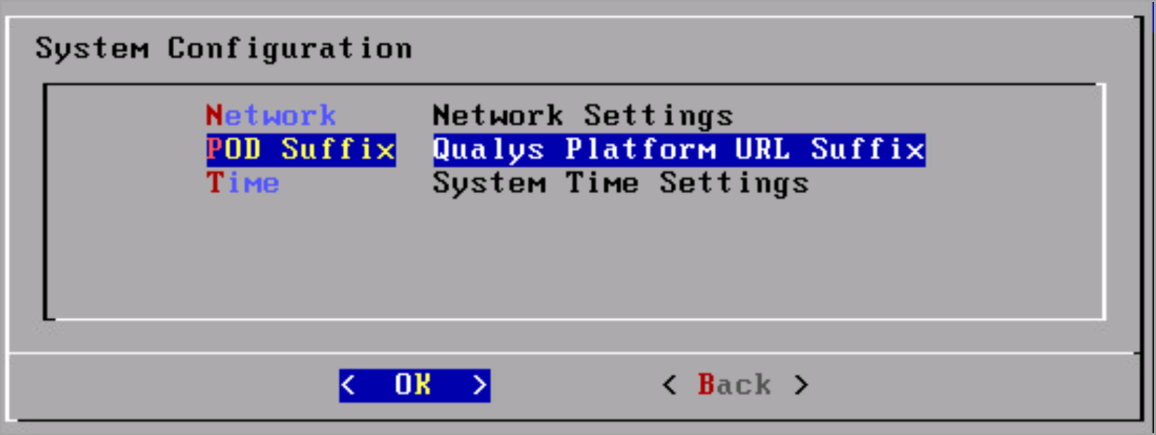
Provide the Qualys Platform URL of your account. To identify the Platform URL Suffix for your subscription, refer to the Platform URL Suffix section of the Qualys Platform Identification.
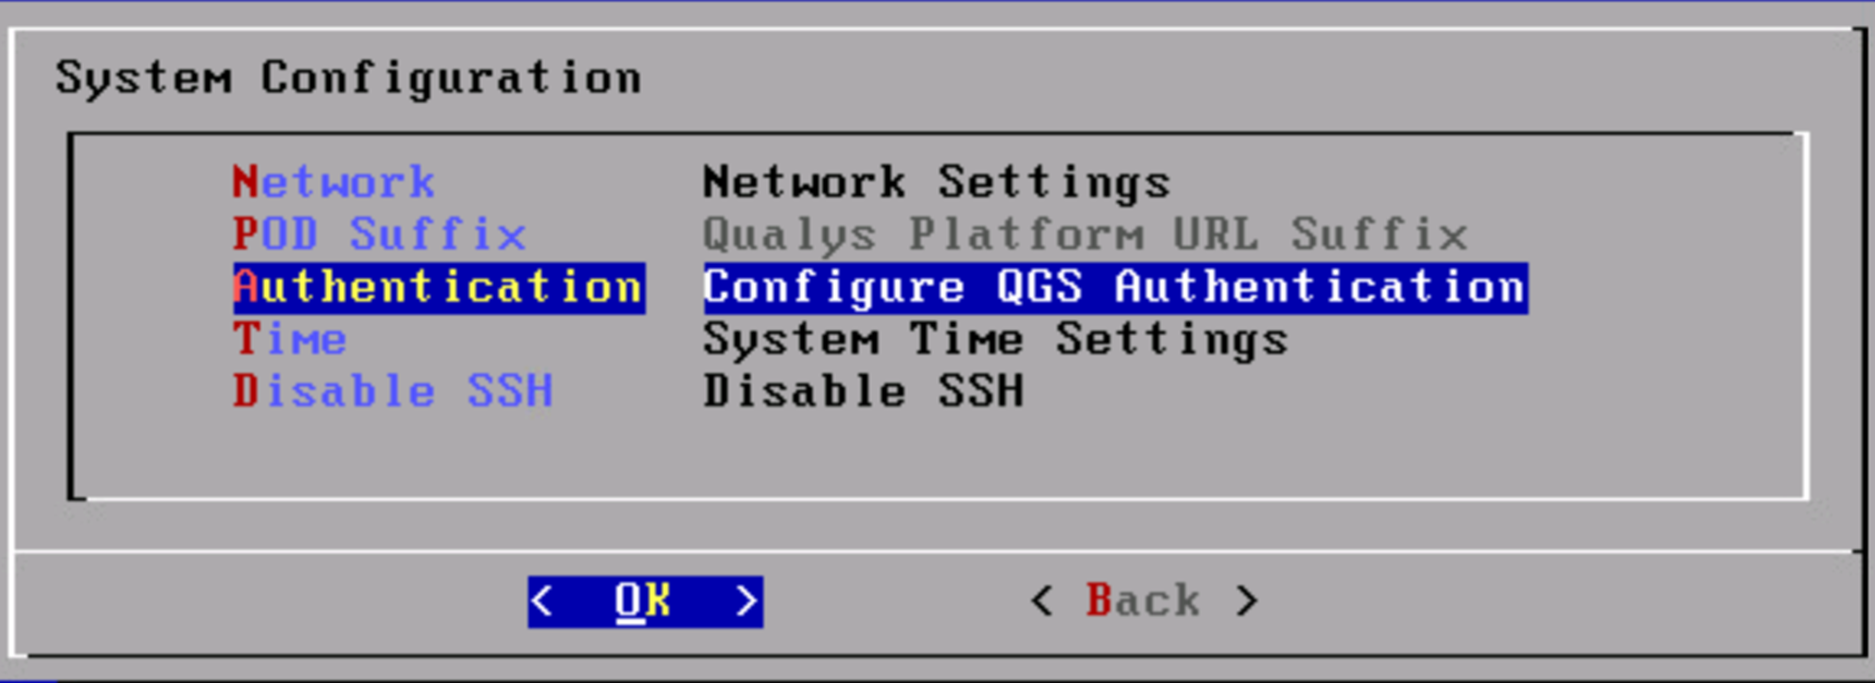
Authentication
You can configure a QGS Authentication, if required. With this, you can use the QGS proxy as an authenticated proxy with the Qualys Agent. You can restrict the communication with the Quays Agent by requiring the network to authenticate itself.
Click Authentication.
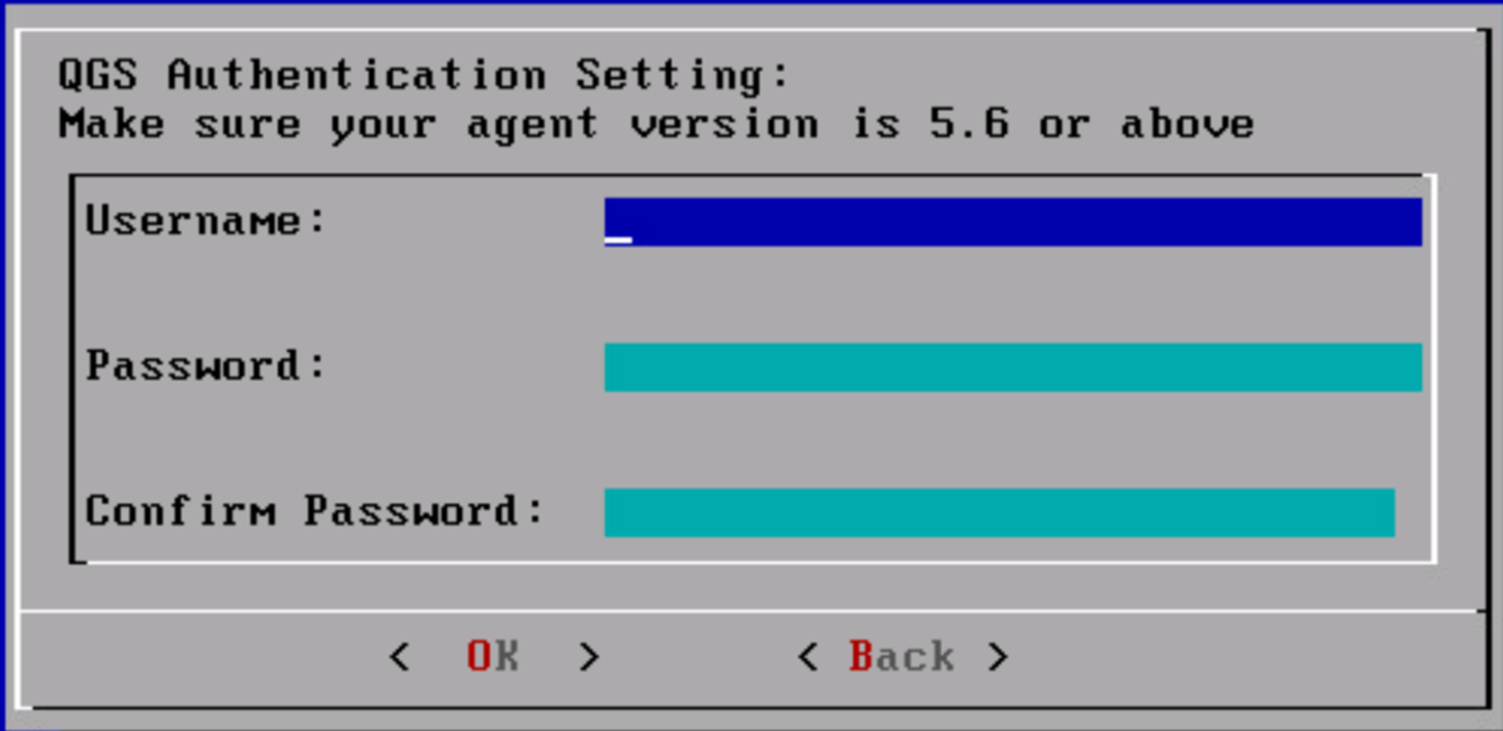
Provide a username and password.
Info
Check the Info option in the Configuration screen to check the connectivity status of your appliance.
QAG Status: Connected
QAG Status: Connected shows that QGS can connect to the Qualys POD.
If the status is not Connected, verify network connectivity and firewall settings.
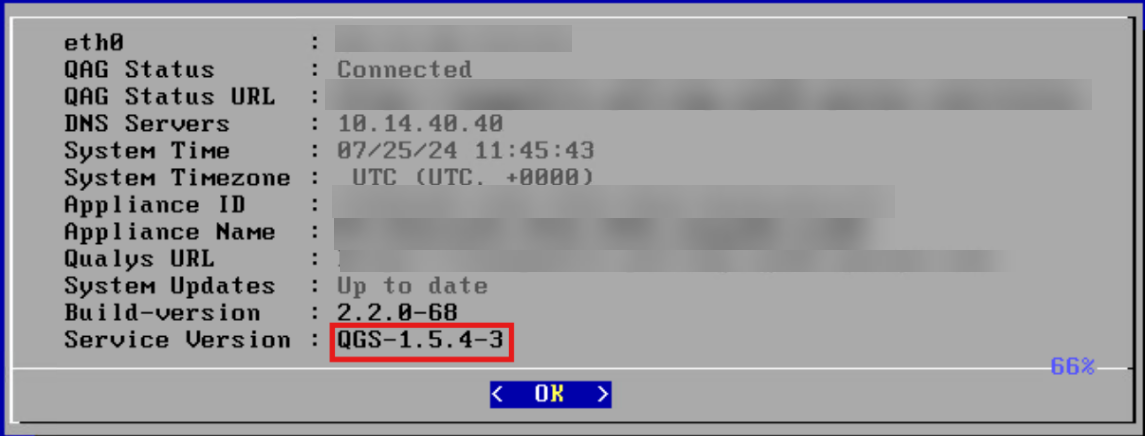
As of QGS v2.1.0 release, the appliance TUI now display the service version on the Info tab, as shown in the following screenshot.
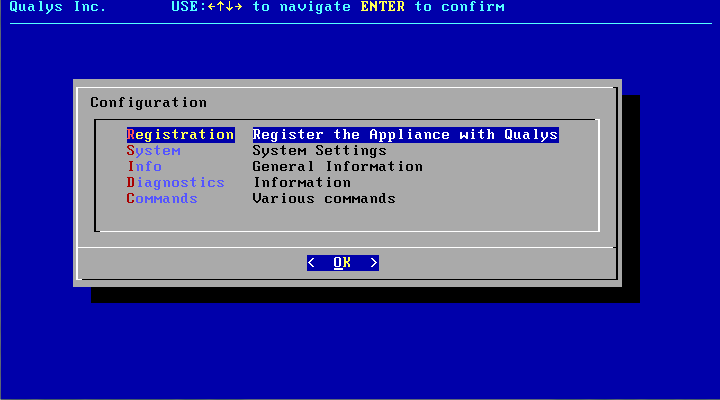
Registration
Check the connectivity test (refer to Info) before starting the registration to confirm the appliance is getting connected to the required Qualys services.
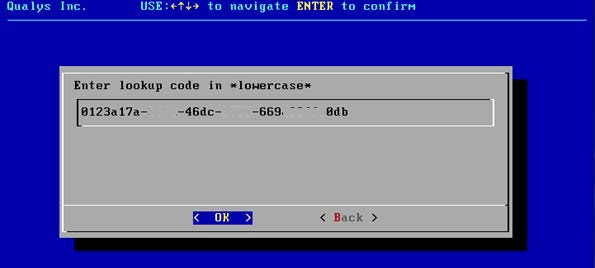
Personalization Code
Enter the Personalization Code generated in the QGS User Interface module.
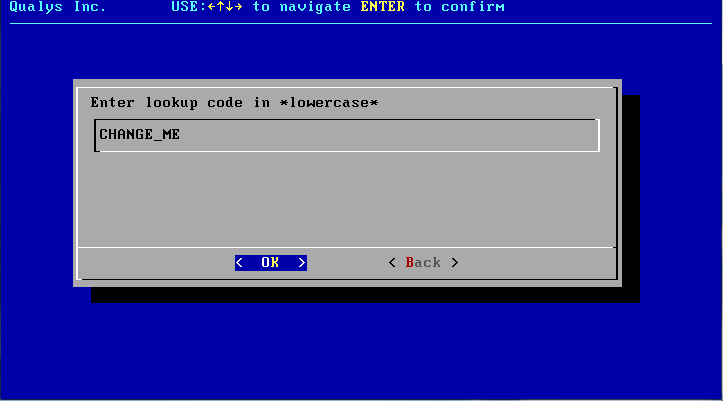
Here’s an example of a redacted Personalization Code.
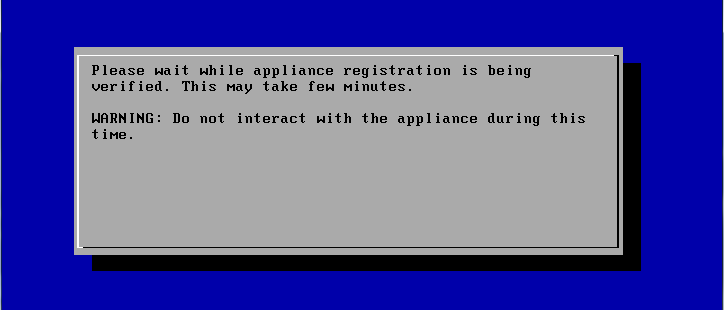
Registration-in-progress
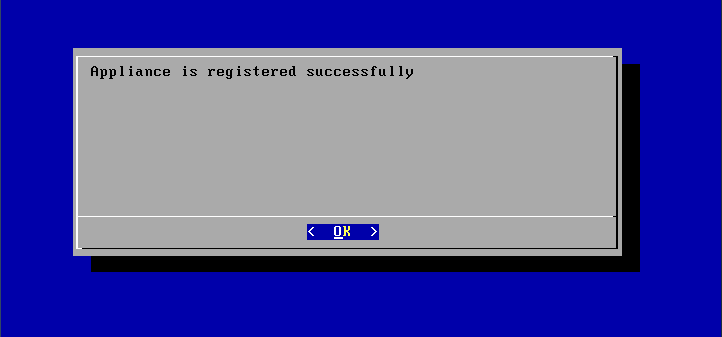
Successful Registration
If a registered appliance is accidentally deleted from the QGS UI, it cannot be registered again with a new personalization code. You need to redeploy the appliance.
Diagnostics
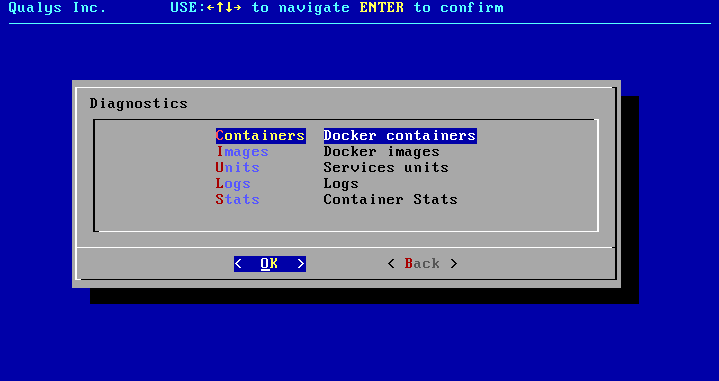
Containers
The version can change according to the CAMS/QGS releases and is conveyed to you with the help of release notes.
You need to wait at least Two hours to enable the cache/patch on the QGS user interface until all the latest containers/images are available on the appliance.
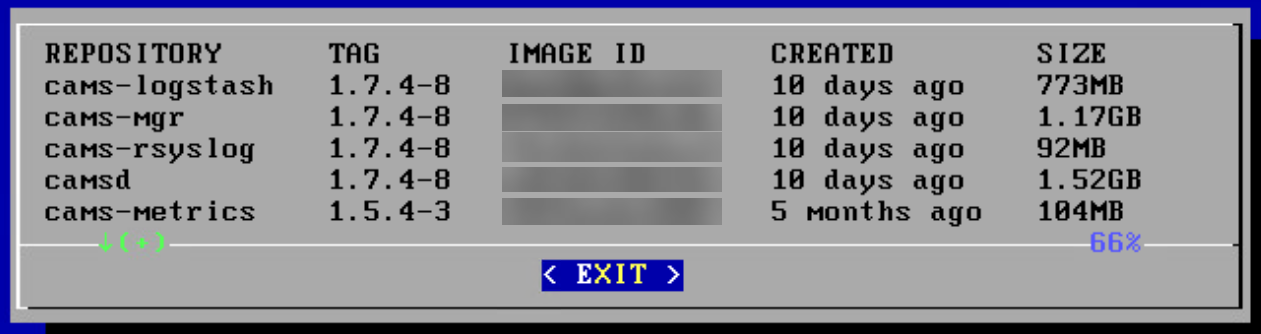
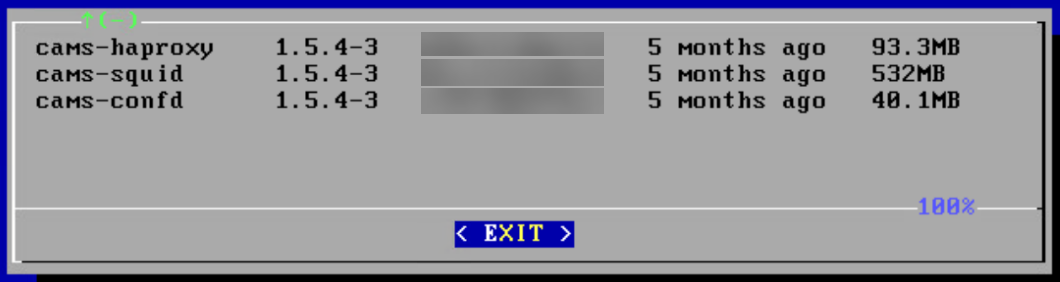
Images
You can see Eight images and Eight containers under Diagnostics > Images and Diagnostics.
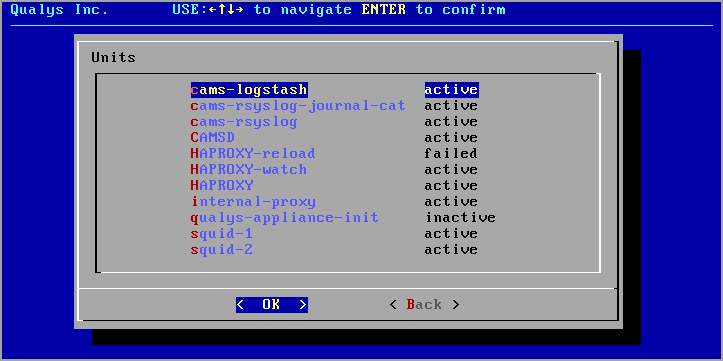
Units
Logs
View log file of the virtual appliance. (Logs are also uploaded to the QGS UI) Logs are sorted with most recent descending.
Navigation and search commands are defined in the UI.
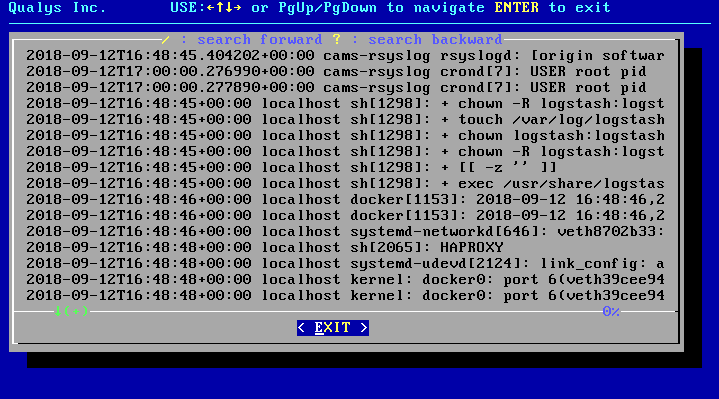
Don’t worry to delete or archive logs! The QGS appliance automatically clean up its logs and disk space as it reaches capacity.
Proxy
Executes a network connection test through a configured upstream proxy.
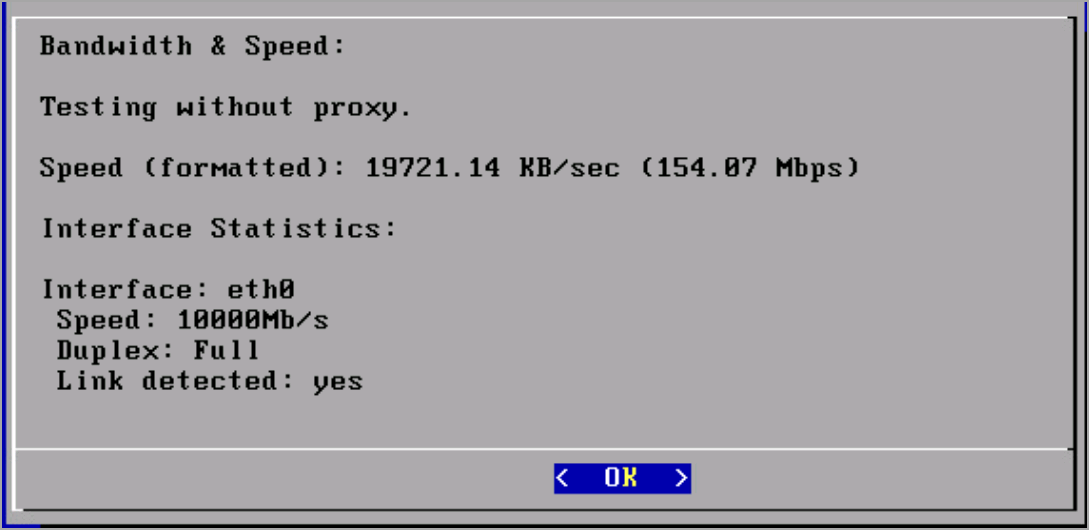
Bandwidth
Test network speed in your environment and view the supported Gbps network capacity in your setup.
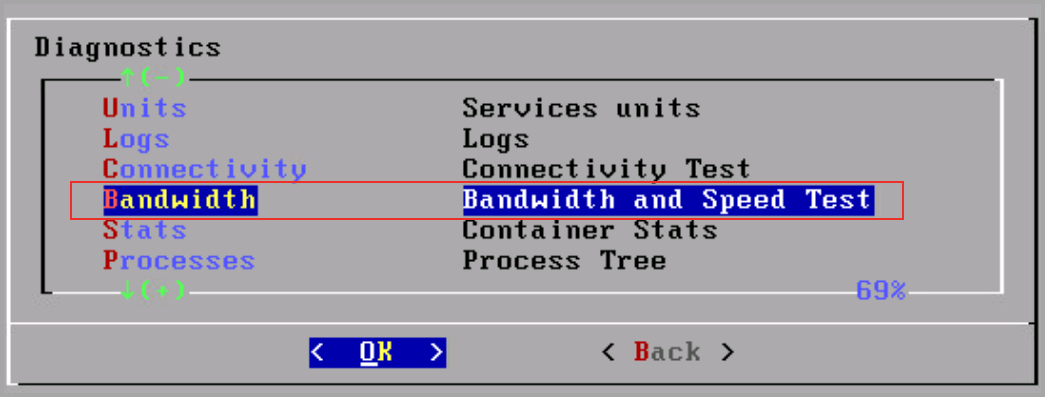
Click Bandwidth to view your network speed.
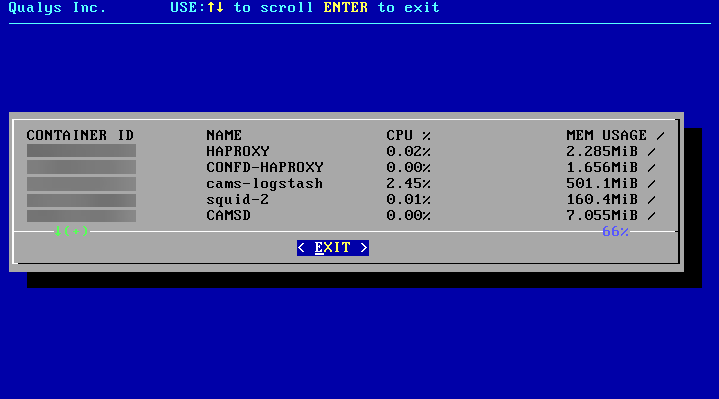
Stats
View utilization of the virtual appliance services.
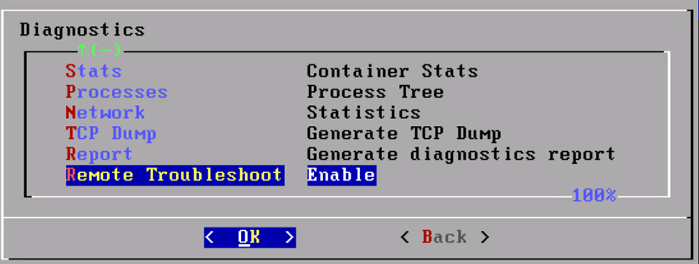
Remote Troubleshoot
Activate the Remote Troubleshooting feature to simplify and accelerate diagnostic efforts. This feature can be activated directly from the Diagnostics tab, giving you full control over when remote troubleshooting is allowed.
Once activated, Qualys Support can securely execute approved diagnostic commands directly against the QGS Appliance without requiring SSH key creation or manual access.
The results are transmitted back to the platform automatically, eliminating the need for customers to perform these actions themselves and reducing overall troubleshooting time and effort.
While you can perform some diagnostics and retrieve log details, the Remote Troubleshoot feature does not guarantee complete log retrieval.
Diagnostics Mode
The QGS Appliance supports a Diagnostic mode to help accelerate Qualys Customer Support troubleshooting and problem resolution, primarily for initial network setup and registration issues. The Diagnostic mode is a user-initiated command that creates an encrypted report archive for the customer to collect and submit to Qualys Customer Support. The Diagnostics command creates a one-time generated password to download the encrypted report archive from the QGS appliance using SFTP.
- On the local console-based user interface, select the Diagnostics menu
- Executing the Diagnostics mode trigger the appliance to create the encrypted report archive and generate a one-time random password to access the appliance to copy the diagnostics archive.
- Connect to the appliance using SFTP using the diagnostics username and one-time random password.

- Download the encrypted report archive from the appliance to a system of your choosing.
- Upload/attach the encrypted report archive to a Qualys customer support case.
Generate Upstream PCAP File
Follow these steps to create a packet capture file for the network communications between the QGS and the next hop, upstream.'
- Navigate to text UI and hit the Generate TCP dump. You need to wait for 5 minute.
- Generate the diagnostics logs as the dump file is captured in diagnostics reports.
- Any PCAP file previously generated is overwritten in the process.
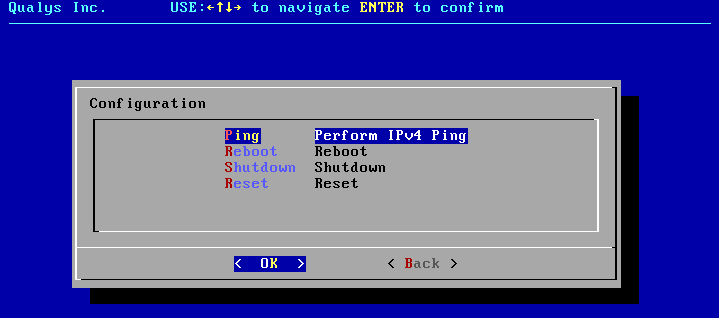
Commands
You can run commands to restart/reboot the appliance or fetch its ping.
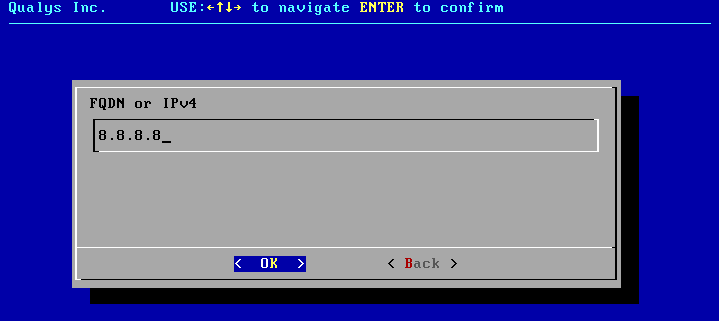
Ping
Ping is required to perform the connectivity checks. So, make sure that ping is enabled for IPs/URLs mentioned in Network Configuration section.
ICMP message types 0 and 8 are required to perform the connectivity checks using ping. When using ping, ensure ICMP 0,8 are enabled for IPs/URLs mentioned in the Network Configuration section.
Reset appliance
Reset appliance to its original unconfigured state.
All configurations and log files will be deleted!

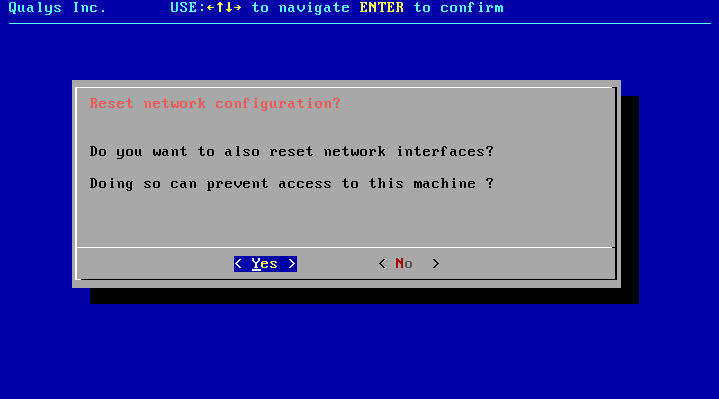
Reset network interface
Reset network interface of virtual appliance.
This only resets the network configuration of the appliance.
Next Topic