Deploy Scanner Instance
To deploy the Scanner instances, follow these steps:
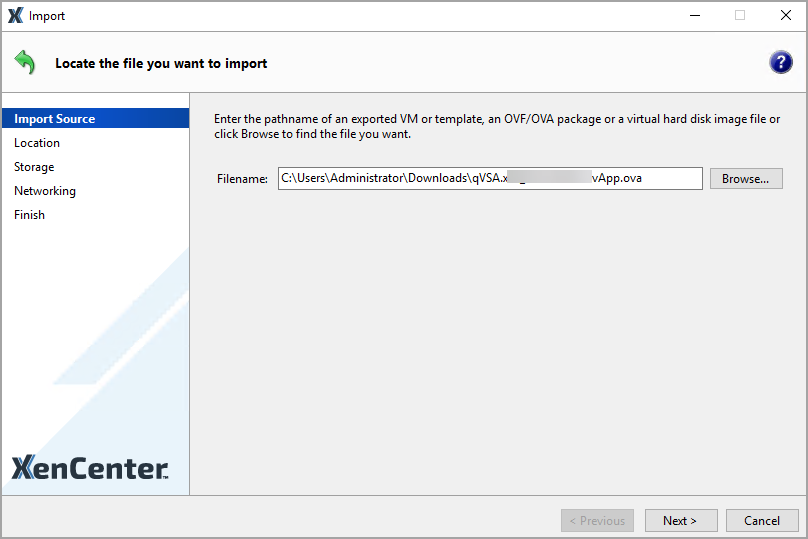
- From the File menu, select Import.
- On Import Source tab, locate the qVSA image you have already downloaded, and then click Next to continue.
-
Review and accept EULAs, if applicable.
If the package you are importing includes any EULAs, accept them and click Next to continue. When no EULAs are included in the package, the wizard skips this step and advances to the next page.
-
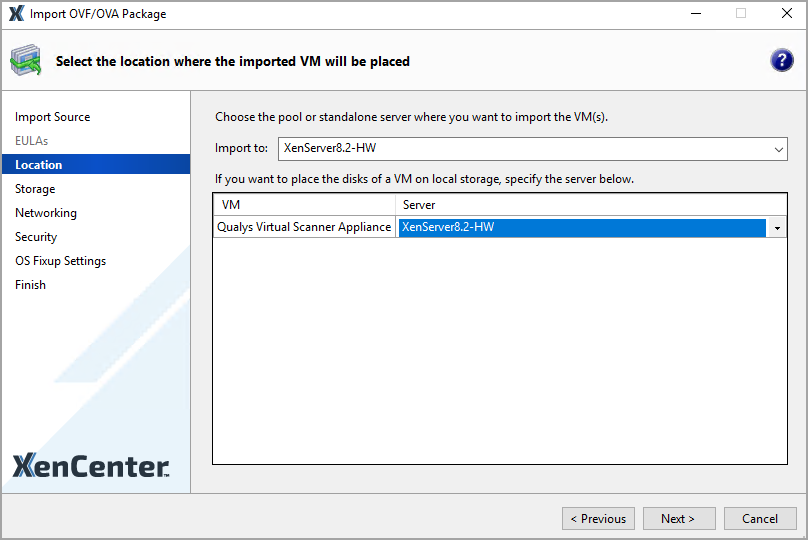
Specify the pool or host to which you want to import the VM and click Next to continue.
-
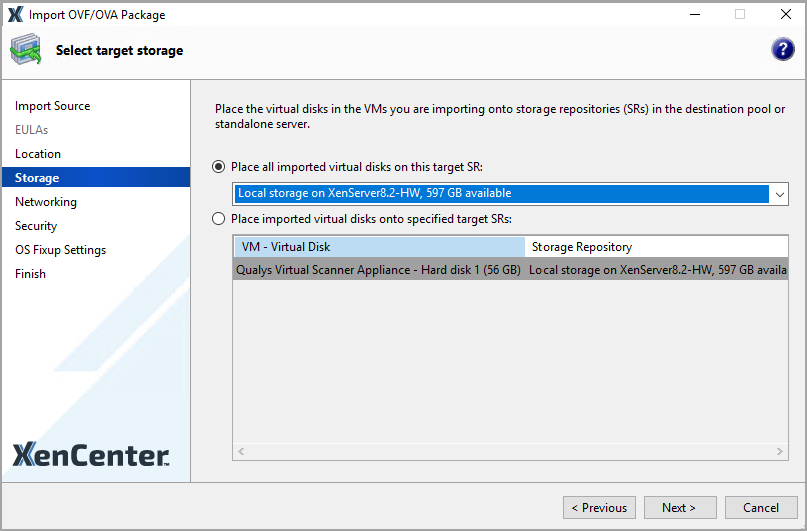
Configure Storage for the imported VMs and then click Next to continue.
- Configure Networking for the imported VMs.
Map the virtual network interfaces in the VMs you are importing to target networks in the destination pool. - Click Next to continue.
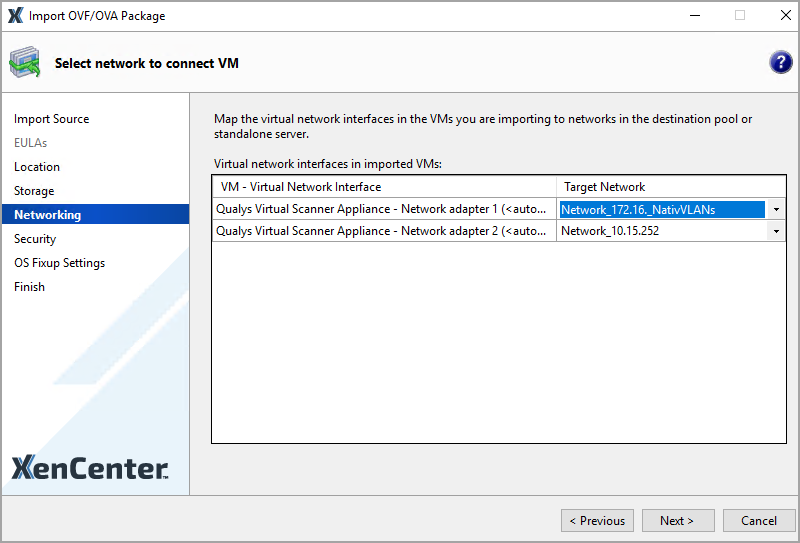
- For a Scanner in Split Network mode, make sure Network Adapter 1(LAN interface) and Network Adapter 2(WAN interface) are mapped to networks in different subnets.
- Once the VM is deployed, you must Enable the WAN interface from the Scanner Console menu, if you are planning to use the scanner in Split Network Mode
- On Security tab, click Next.
Select Don't Use Operating System Fixup. - Review the import settings, and then click Finish to begin the import process and close the wizard.
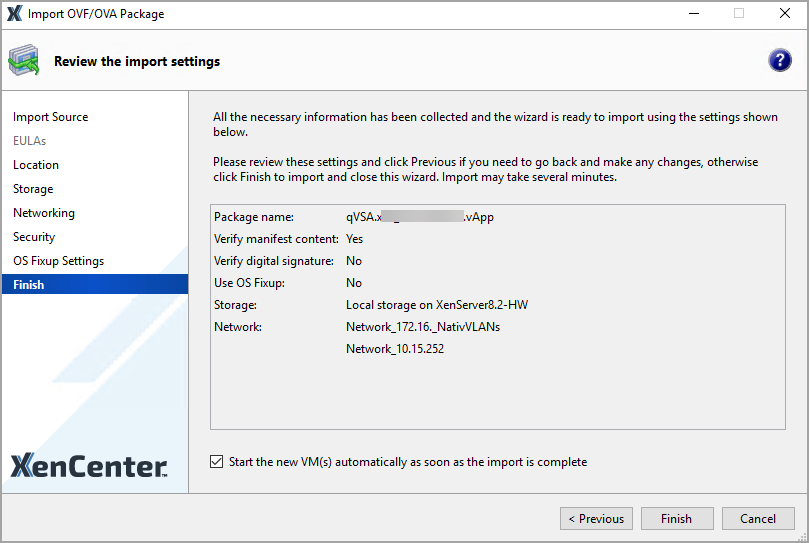
Import may take some time. The import progress is displayed in the status bar at the bottom of the XenCenter window.
- After the initial boot-up messages, the Scanner console is displayed where you need to enter the Personalization Code received in Step 1: Add your Virtual Scanner.
-
To activate the scanner, follow the steps mentioned in Step 4: Personalize the Scanner.