Deploy the Scanner
The Qualys Virtual Scanner Appliance can be deployed using the Nutanix Web Console or via Acropolis Command Line (acli).
Deploy Scanner Using the Nutanix Web Console
Perform the following steps to deploy the scanner in Nutanix Web Console:
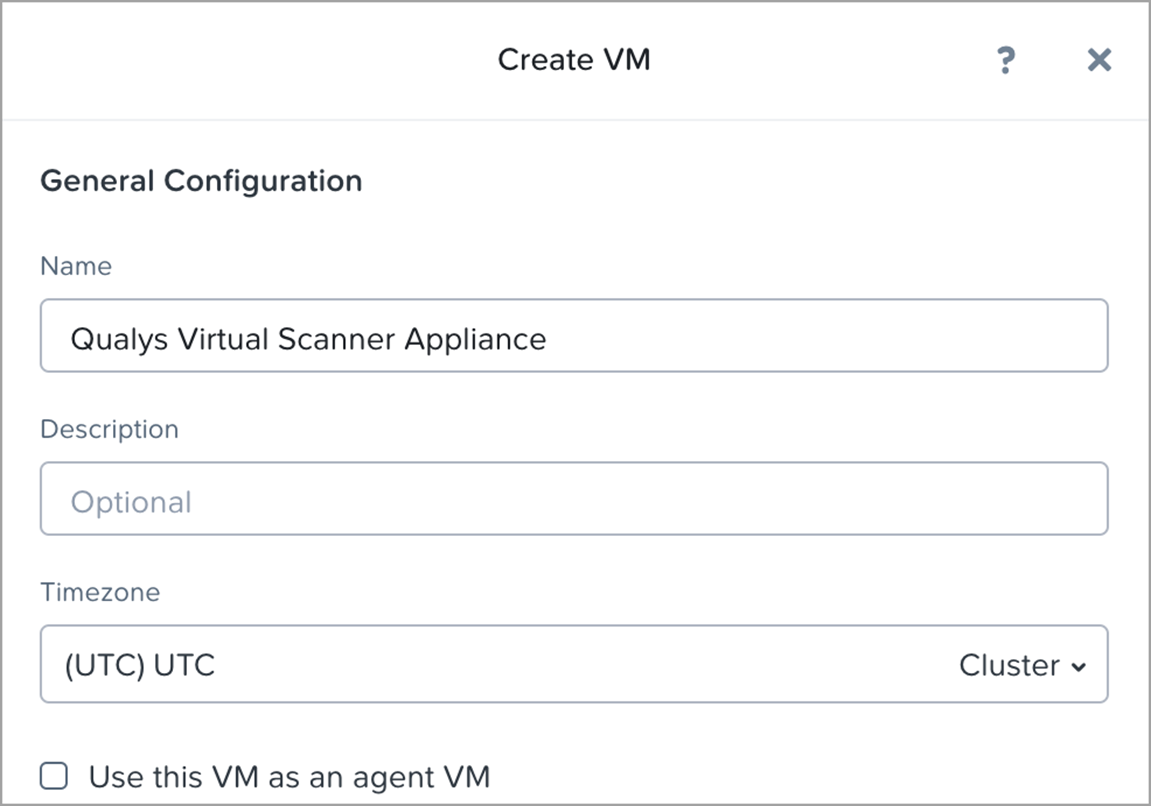
- Go to VM and click on Create VM.
- For General Configuration, enter values for Name, Description (optional), and select a Timezone.
-
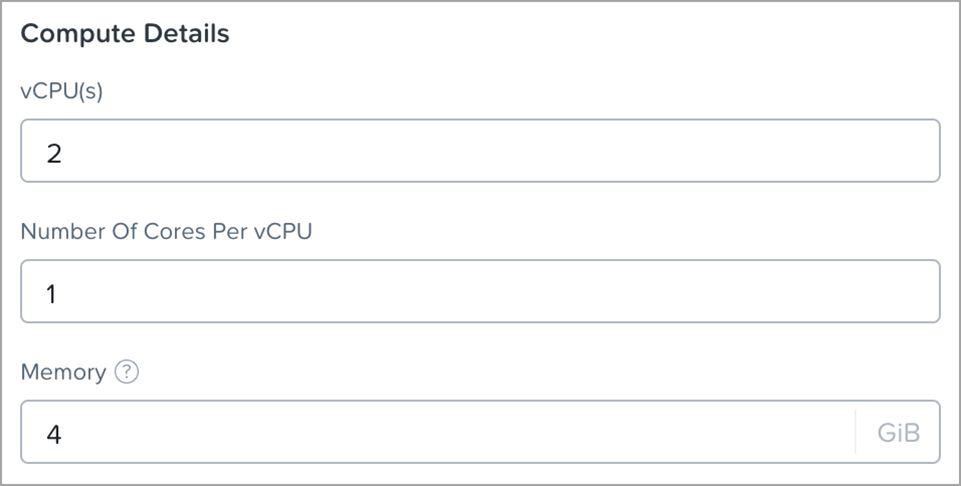
For Compute Details, the maximum limit is 16 vCPUs and 16 GB of Memory.
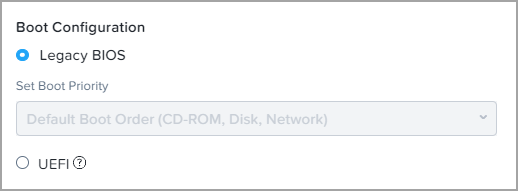
The UEFI boot option is not supported currently.
- For Disks, click Add New Disk link.
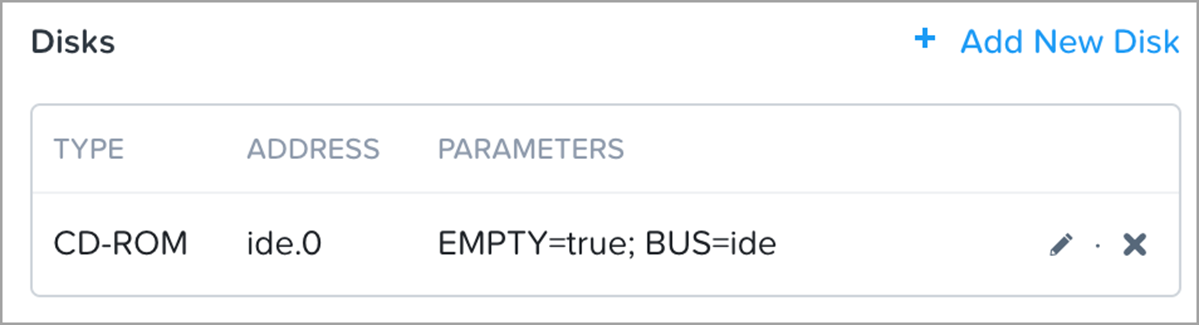
- Make the following settings, and then click Add.
- Type: DISK
- Operation: Clone from Image Service
- Bus Type: SCSI
- Image: select the uploaded Qualys Virtual Scanner Appliance image

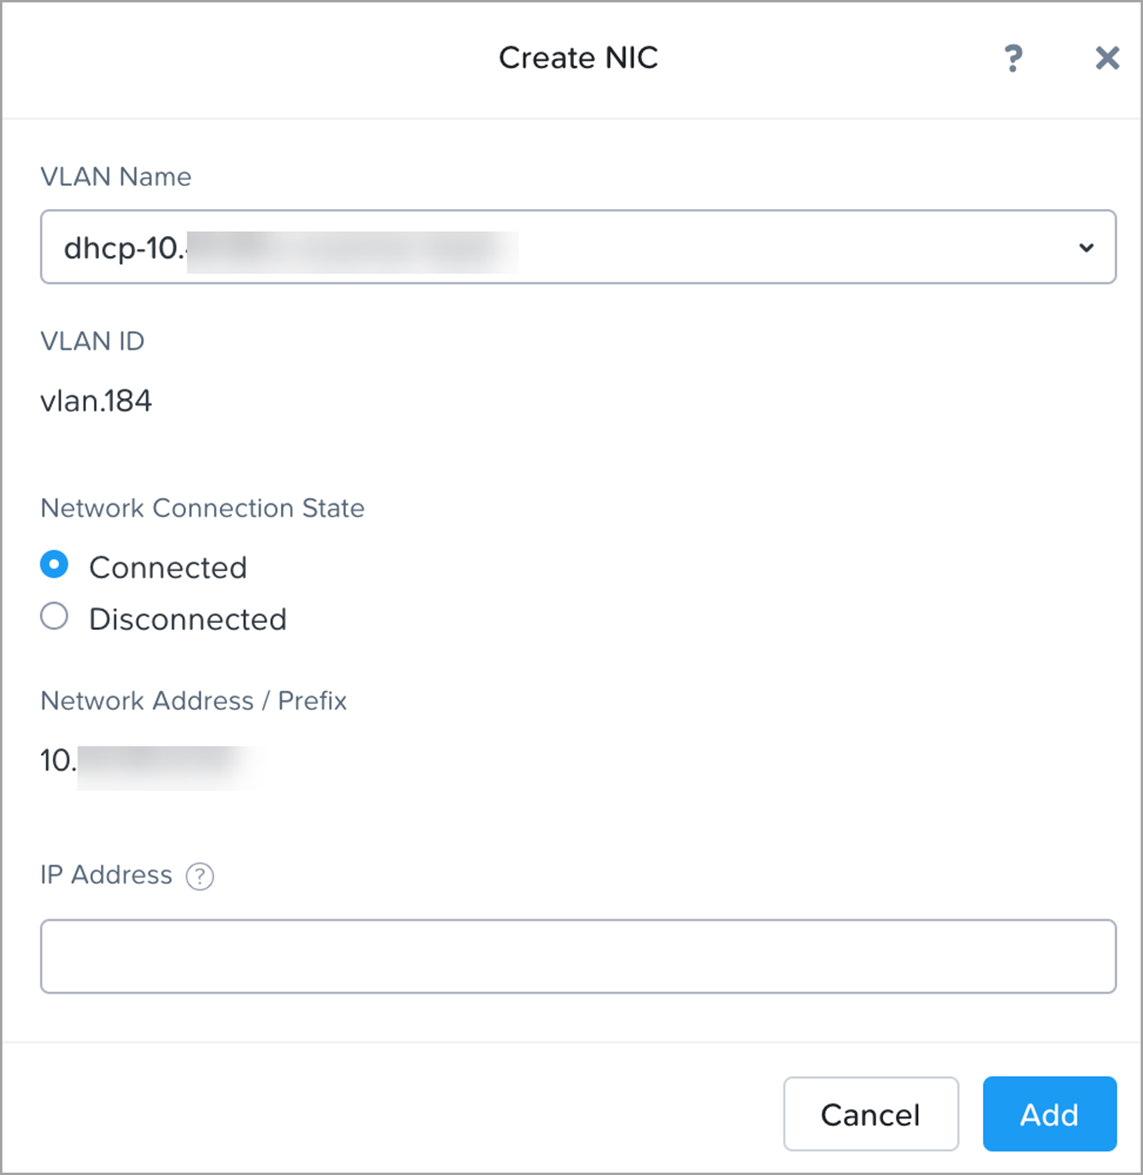
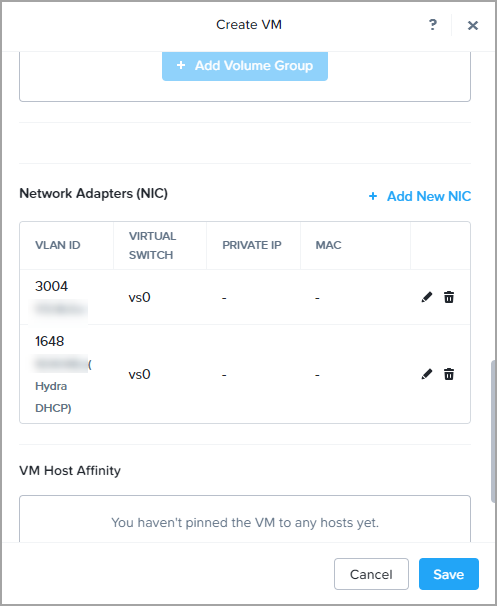
- For Network Adapters, click Add New NIC, select the VLAN Name, and click Add.
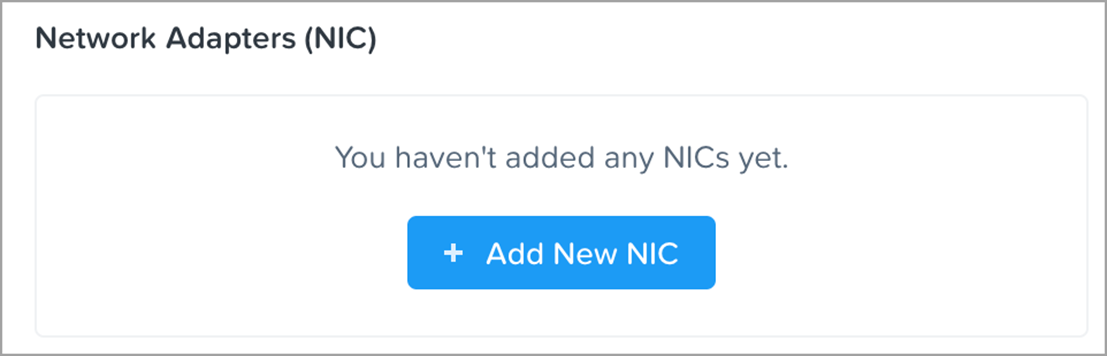
-
For DHCP IP configuration, select a VLAN name that is a DHCP Pool.
- For the Split interface scanner, add a second NIC.
- With two network interfaces attached to the Scanner Instance VM, the Scanner UI/console has the option to enable the WAN interface. Refer to Native VLAN Configuration
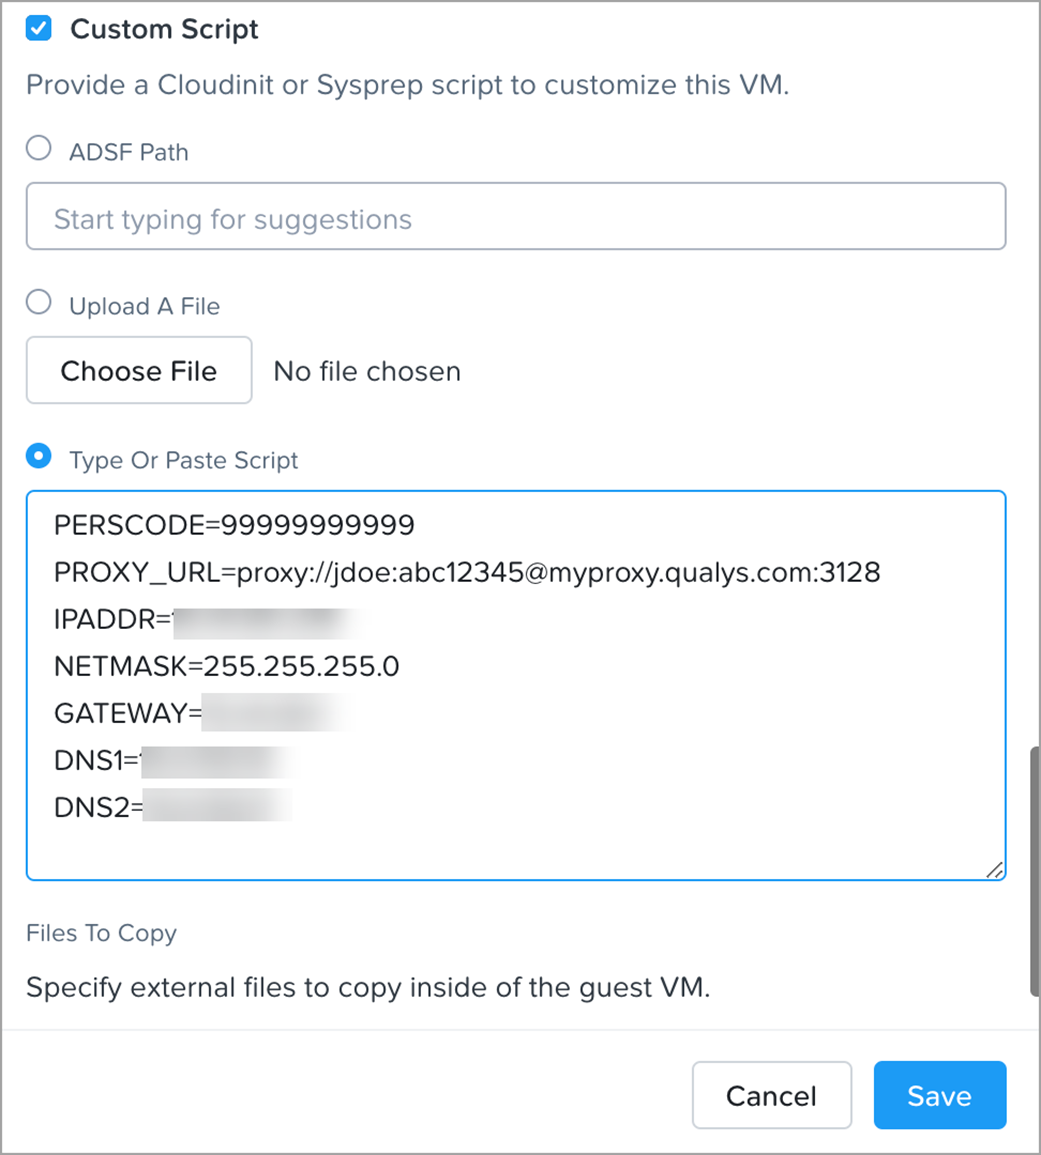
- Select Custom Script and enter the following required info in the Type Or Paste Script box. Then click Save.
- PERSCODE – 14 digits personalization code obtained from Qualys
- PROXY_URL (Optional) - You can configure the Qualys Scanner to use SSL proxy for all outbound communication with the Qualys Cloud Platform. We support both IP and FQDN for the proxy server configuration.
Provide optional proxy configuration in one of the following formats:
proxy://<host>:<port> (No auth proxy)
proxy://<user>:<password>@<host>:<port> (Auth proxy)
proxy://<domain\user>:<password>@<host>:<port> (Auth proxy with domain user) - Static IP Configuration (Optional) – the following parameters are applicable for static IP configuration:
- IPADDR: Static IPv4 address assigned to the scanner instance
- NETMASK: IPv4 netmask
- GATEWAY: IPv4 gateway address
- DNS1: DNS server
- DNS2: DNS server
Deploy Scanner via Acropolis Command Line Interface (acli)
Perform the following steps to deploy the scanner via acli:
- Log in into the Nutanix Controller VM with valid-user.
- Create a userdata file with the following info.
Example of user-data file, /home/nutanix/userdata.txt
PERSCODE=99999999999999

	## Optional for proxy-configuration:

	PROXY_URL=joe:pwd1@myproxy.qualys.com:8080

	## Optional for static IP configuration:

	IPADDR=10.10.0.143

	NETMASK=255.255.255.0

	GATEWAY=10.10.0.1

	DNS1=10.10.0.10

DNS2=10.10.0.11- PERSCODE – 14 digits personalization obtained from Qualys
- PROXY_URL (Optional) – You can configure the Qualys Scanner to use SSL proxy for all outbound communication with the Qualys Cloud Platform. We support both IP and FQDN for the proxy server configuration.
Provide optional proxy configuration in one of the following formats:
proxy://<host>:<port> (No auth proxy)
proxy://<user>:<password>@<host>:<port> (Auth proxy)
proxy://<domain\user>:<password>@<host>:<port> (Auth proxy with domain user)
-
Static IP Configuration (Optional) – The following parameters are applicable for static IP configuration:
- IPADDR: Static IPv4 address assigned to the scanner instance
- NETMASK: IPv4 netmask
- GATEWAY: IPv4 gateway address
- DNS1: DNS server
- DNS2: DNS server
- Invoke acli by typing ‘acli’ into the prompt
-
Run command to create vm:
uhura.vm.create_with_customize <vm name> num_cores_per_vcpu= num_vcpus= vCPUs> memory= cloudinit_userdata_path=file:/// userdata file>
Example:
uhura.vm.create_with_customize qualys-scanner num_cores_per_vcpu=1 num_vcpus=1 memory=4G cloudinit_userdata_path=file:///home/nutanix/userdata.txt - Run the command to attach image disk to vm:
vm.disk_create <vm name> clone_from_image=<image name of uploaded Qualys Virtual Scanner Appliance>
Example:
<acropolis> vm.disk_create qualys-scanner clone_from_image=qVSA.X.X.xx-x - Run command to attach a network interface:
vm.nic_create <vm name> network=<VLAN/network name>
Example:
<acropolis> vm.nic_create qualys-scanner network=10.10.0-networkFor Split interface scanner, add second NIC,
<acropolis> vm.nic_create <vm name> network=<network name>With two network interfaces attached to the Scanner Instance VM, the Scanner UI/console has the option to enable the second interface, which means the WAN interface. The Scanner VM also supports native VLAN configuration. Refer to Native VLAN Configuration
- Power on the vm:
vm.on <vm name>
Example:
<acropolis> vm.on qualys-scanner