Enable IPv6-only Mode
When you deploy a scanner appliance, it works in IPv4+v6 mode by default. You have the option to enable IPv6-only mode. When you enable IPv6-only mode, all communications use IPv6 addresses instead of IPv4 addresses, and you can see the additional menu in the LCD display for IPv6 network and proxy configurations.
Step 1 - Reset to IPv6-only Mode
Perform the following steps to reset the network configuration on the appliance to use IPv6-only mode:
- Go to the SETUP NETWORK menu and press ENTER.
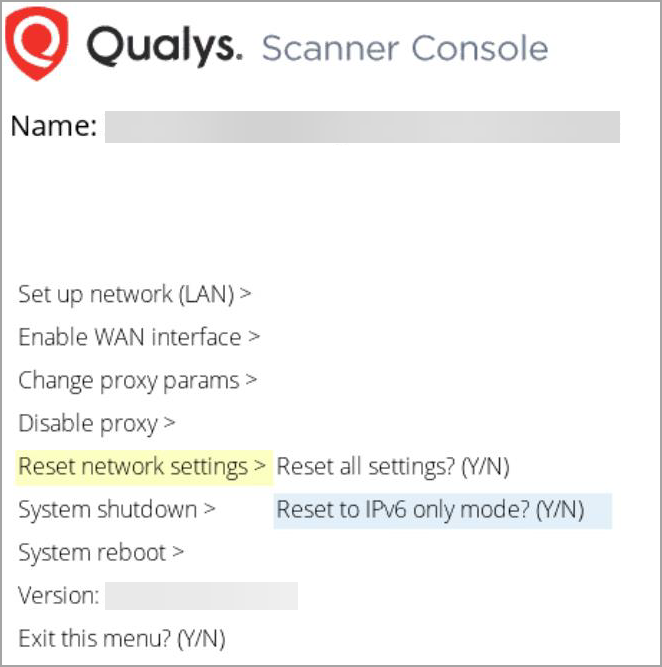
- Press the Down arrow to advance through the menu options. When the RESET NETWORK SETTINGS menu displays, press ENTER.
- Press the Down arrow to advance through the menu options. When the RESET TO IPv6 ONLY MODE? menu option displays, press ENTER to continue. You can also press the Up arrow to quit this procedure and return to the SETUP NETWORK menu.
- Type Y to confirm (or type N to cancel).
Step 2 - Configure Network and Proxy Settings (optional)
In IPv6-only mode, you have the option to configure the scanner network interface with either a manual or automatic IPv6 configuration. The IPv6-only mode supports proxy and VLAN configurations. Proxy and VLAN configurations work the same whether you are in IPv4+v6 or IPv6-only mode.
Refer to the following sections for details:
Network Settings in IPv6-only Mode