Add New Virtual Scanner
This is the first step for deploying Scanner. Add a new virtual scanner appliance to your account and obtain a personalization code.
Perform the following steps to add a new virtual scanner.
- Log in to the Qualys Enterprise TruRisk™ Platform.
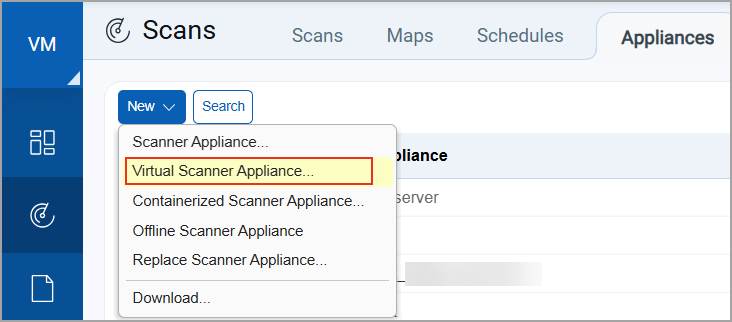
- Navigate to VM/VMDR app and go to Scans > Appliances > New > Virtual Scanner Appliance.
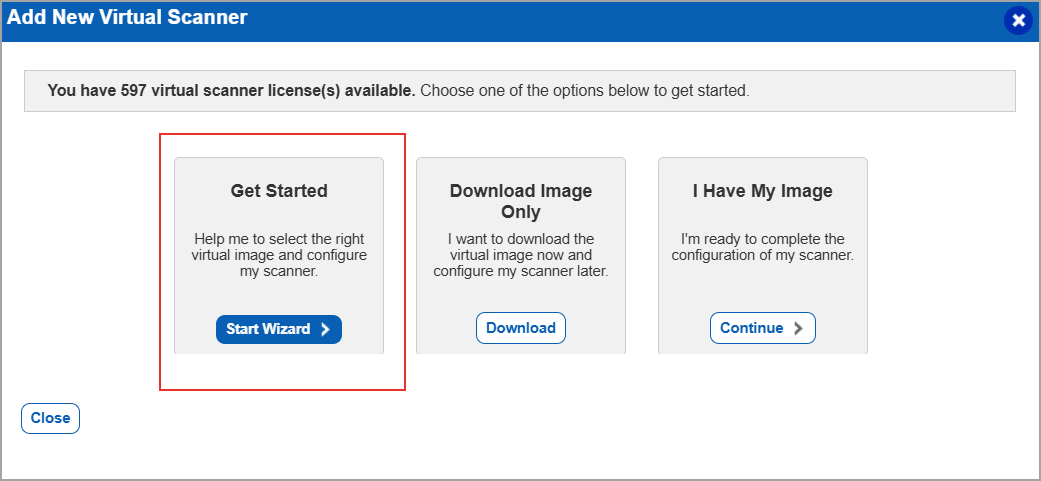
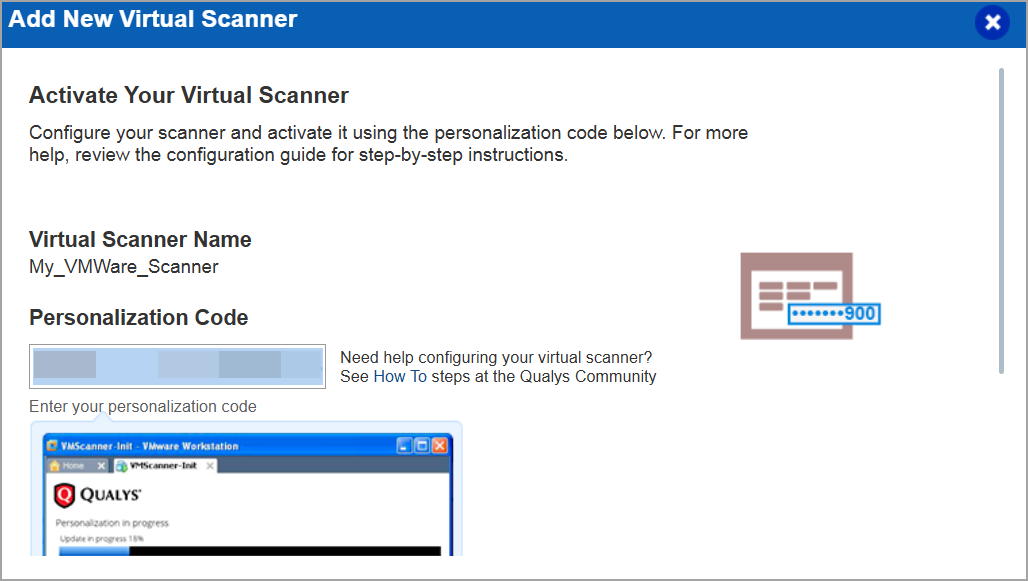
Add New Virtual Scanner windows is displayed.
- Click Start Wizard.
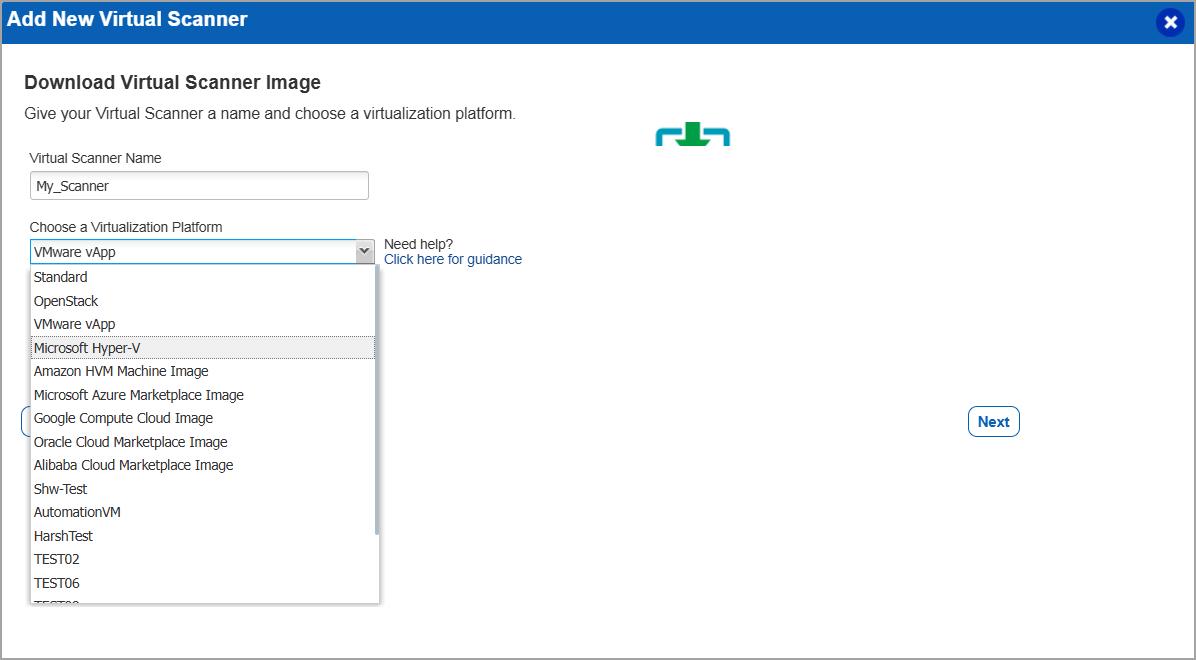
- Name your scanner and choose a virtualization platform from the given list.
- If you are a sub-user, you need to pick an asset group that a manager user has assigned to your business unit.
- If you cannot find any asset groups, ask a Manager to assign an asset group (other than the All group) to your business unit.
- Click Next.
- Download the image.
This step applies to virtualization platforms with a scanner appliance image download (which means, for VMware, Citrix XenServer, and so on).
If you are using a cloud platform, skip to the next step. Locate the Virtual Scanner image on your local system.

If you need more information about QCOW2 format for importing into KVM, download the OVA image file and convert it using the qemu-img tool. - Click Next to get the personalization code.

-
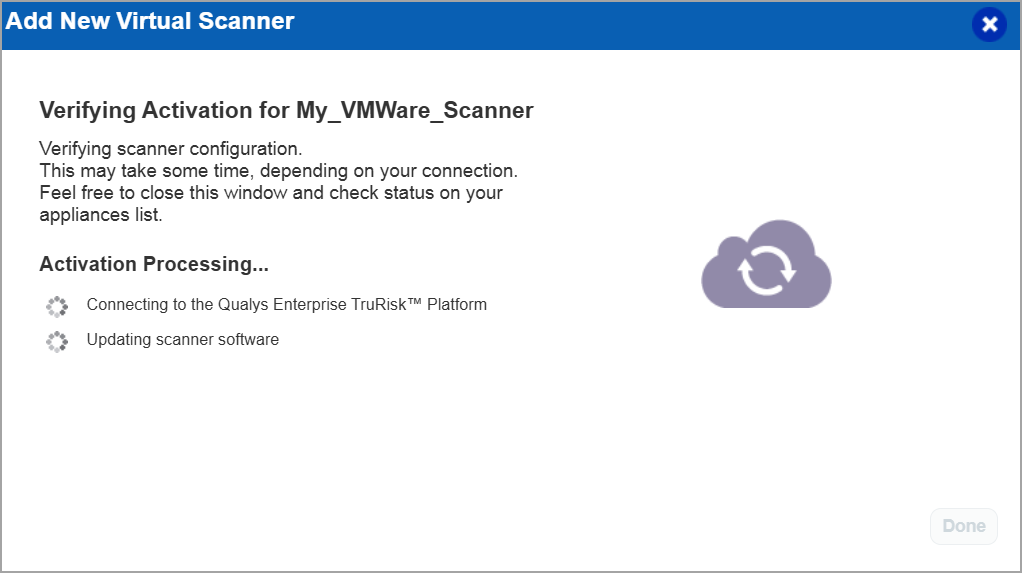
Check activation status.
The activation process may take time; you can close the window and check the activation status on your appliance list.
You have completed the configuration on Qualys Enterprise TruRisk™ Platform; proceed with the next step.-
Copy the code to a safe place, you need it later.
-
Click Check Activation to verify the activation of your scanner.
- To generate Perscode through API, refer to the Add new virtual scanner API from the VM API documentation.
- You receive an Activation Code in the API response, referred to as 'postcode' in the case of the scanner appliance.
-
- Complete the configuration steps for your Platform.
Follow the How to link on the screen (next to your personalization code) to get step-by-step instructions for your virtualization platform. The steps may differ slightly for each platform. - Personalize your scanner on a local system or server.
These steps apply when you have downloaded a scanner appliance image (for VMware, Citrix XenServer, and so on). You must use the Scanner Console running on your virtualization software to complete these steps.We automatically configure your virtual scanner with DHCP. If you want to use a static IP, then select Set up network (LAN) first. Refer to Configuration Settings.
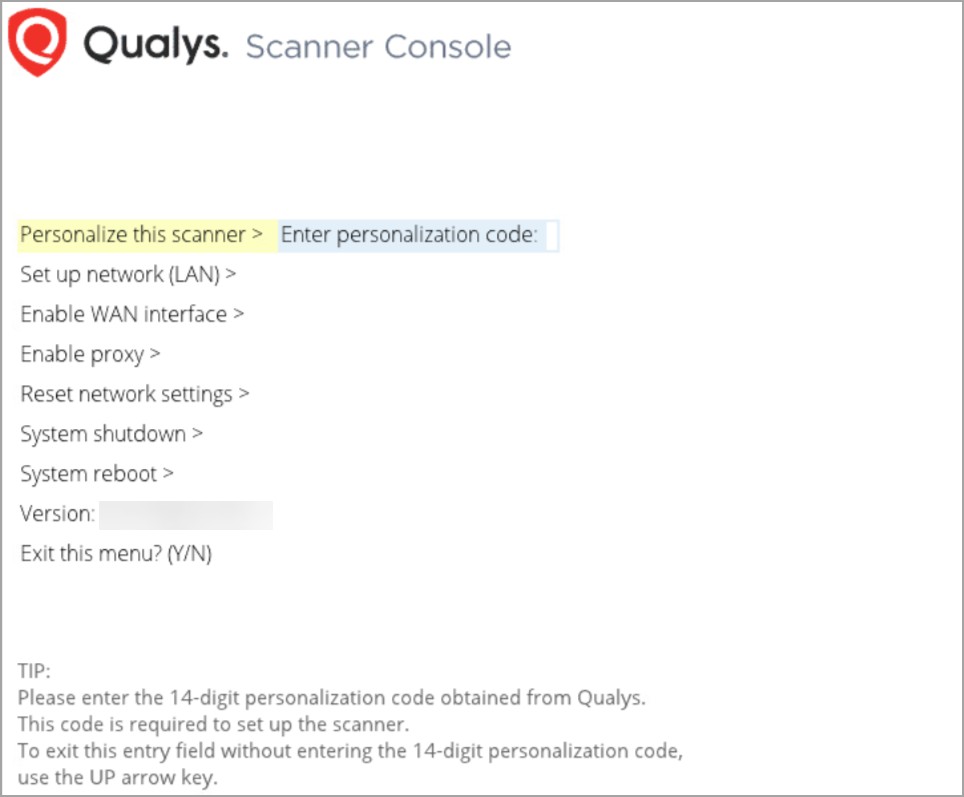
Press the Right arrow to select Personalize this scanner, then type in your personalization code. -
Go to Qualys Enterprise TruRisk™ Platform and perform the following steps:
- Navigate to VM/VMDR.
- Go to Scans > Appliances.
- Generate the Activation Code.
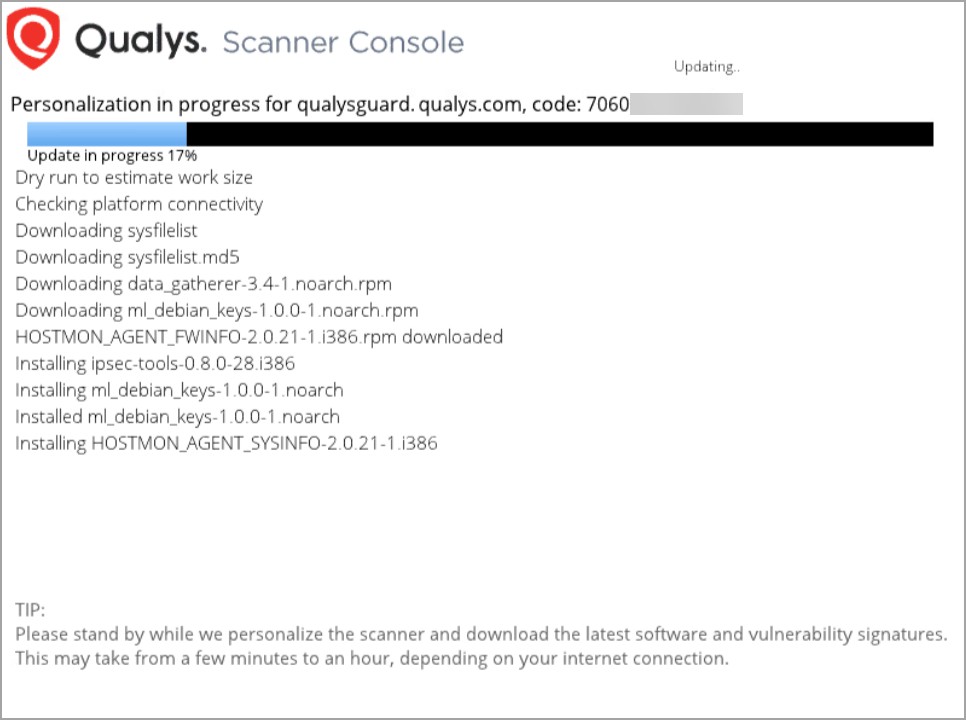
Once you enter the code, the activation process starts, and you can see the progress. This may take a few minutes to complete.Your virtual scanner must connect to our Cloud Security Platform to complete the activation and download the latest software versions.
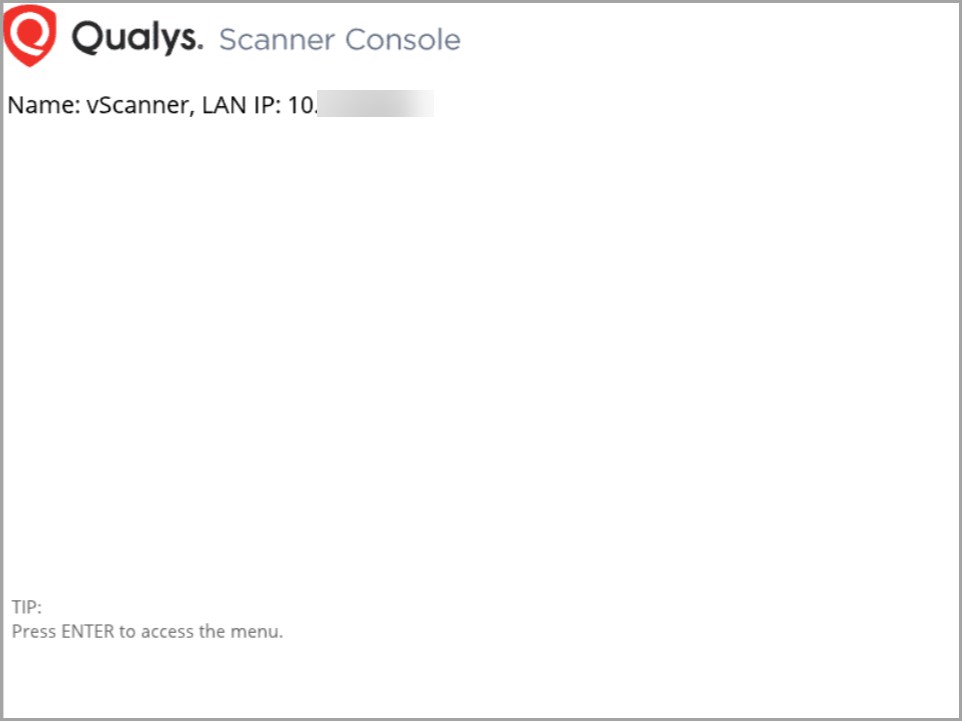
Upon success you can see this scanner’s name and IP address.
That’s it! You have added your virtual scanner to your account.
If you are having trouble completing the activation, refer to Add Virtual Scanner Appliance.
Get detailed instructions and best practices from our Community.