Enable WAN for Split Network Configuration
If the virtual scanner appliance is already deployed and you would like to enable WAN for split-network scanning configuration, the Destination Network settings need to be configured first in the virtual machine’s hardware settings and then in the vApp option.
We recommend the following steps to enable split-network scanning configuration within VMware vCenter:
- Log into vCenter and power off the Virtual Scanner Appliance.
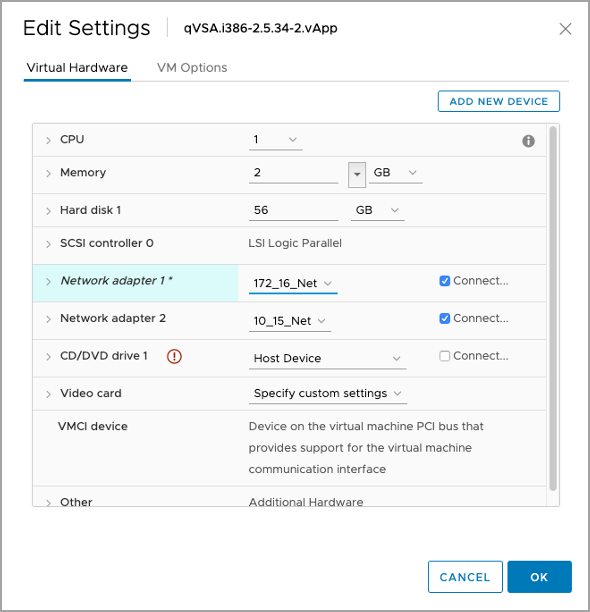
- Edit the Virtual Scanner Appliance Hardware Settings:
Modify the network adapters’ destination networks. For split-network settings, Network Adapter 1 should be set to the LAN destination network, and Network Adapter 2 should be set to the WAN destination network.
-
Edit the Virtual Scanner Appliance vApp Options:
Modify the virtual scanner appliance's vApp options as appropriate.
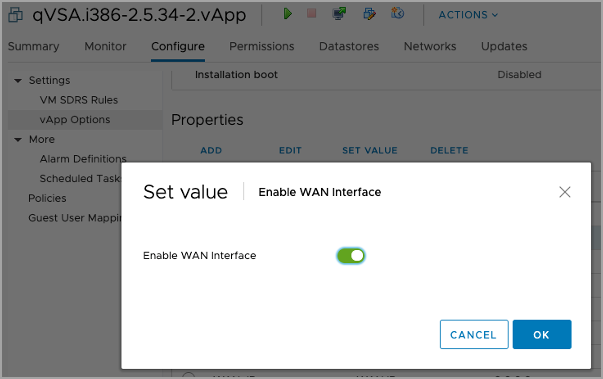
Enable_WAN_Interface
Click Enable_WAN_Interface and then click on ‘Set Value’. Toggle to enable.
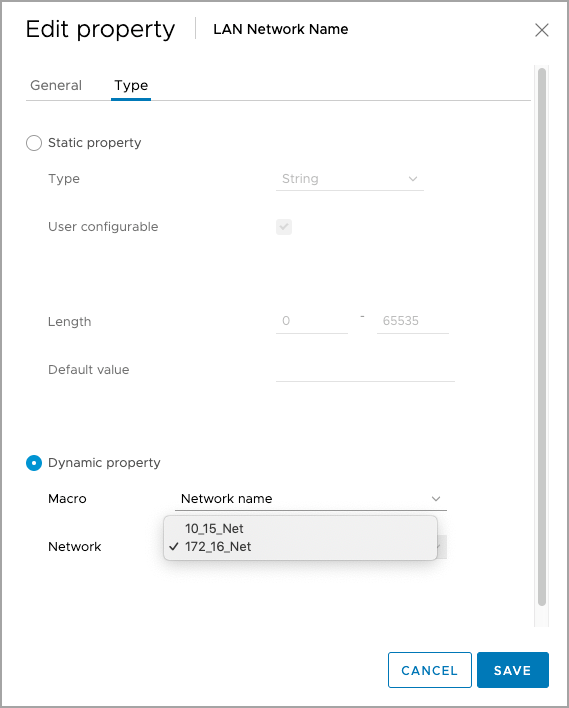
LAN_Network_Name and WAN_Network_Name
Update destination networks for LAN_Network_Name and WAN_Network_Name. Their destination network should match the virtual scanner’s hardware settings set in Step 1.
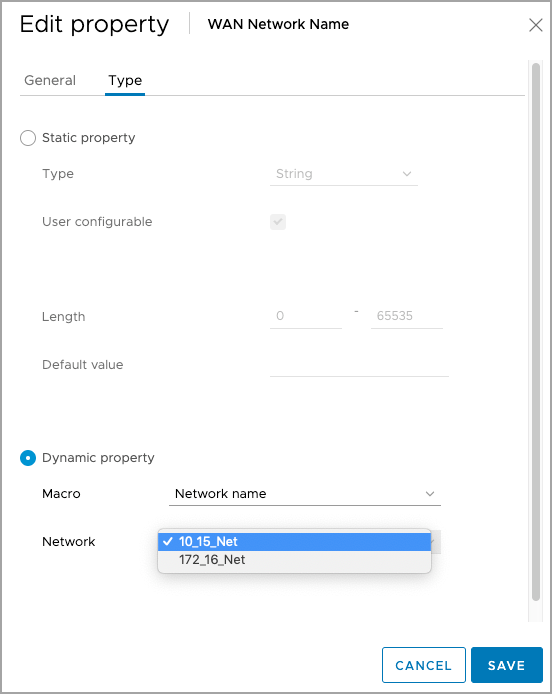
To modify the destination network, click ‘LAN_Network_Name’ and ‘Edit.’ Repeat the same step for ‘WAN_Network_Name’.
For the virtual scanner’s hardware network settings to take effect, you must first set them in Step 1 and then in the vApp option.
To edit WAN Network_Name, repeat the same step as performed for LAN_Network_Name.
-
Power on the Virtual Scanner Appliance.
Next Step
Change Network Adapter Settings