Create/Edit Infoblox Record
The Scans > Authentication section is where you'll find authentication records saved in your account, including Infoblox records. Each Infoblox record identifies account login credentials, API versions, and targets.
See Infoblox Record Settings below for help with the settings that appear in the Infoblox record.
This record type is only available in accounts with PA/SCA and is only supported for compliance scans.
Quick Links:
- Why use host authentication? | Authentication Technologies Matrix
- What is the minimal privilege required to create the Infoblox PA authenticated scan record
What are the steps?
Follow these steps to create or edit an Infoblox record:
1) Go to Scans > Authentication.
2) Take one of these actions:
2a - To create a new Infoblox record, select New > Network and Security > Infoblox.
2b - To make changes to an existing Infoblox record, select a record in the list and choose Edit from the Quick Actions menu.
The New Infoblox Record or Edit Infoblox Record window appears (depending on the action taken). This is where you'll make your record settings.
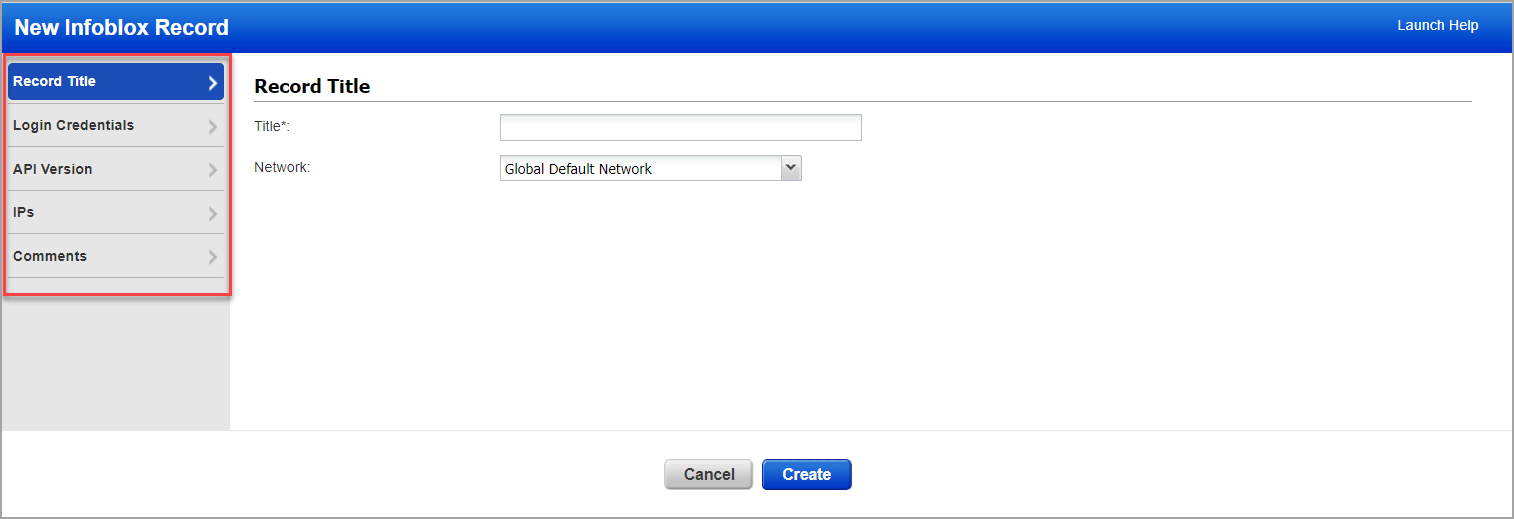
3) Choose a tab on the left side of the Infoblox Record window to see the settings available. Provide the necessary inputs on each tab, then click Create (for a new record) or Save (when updating an existing record).
Infoblox Record Settings
See help below for the settings that appear on each of the tabs within the Infoblox record.
This section has basic settings for the record.
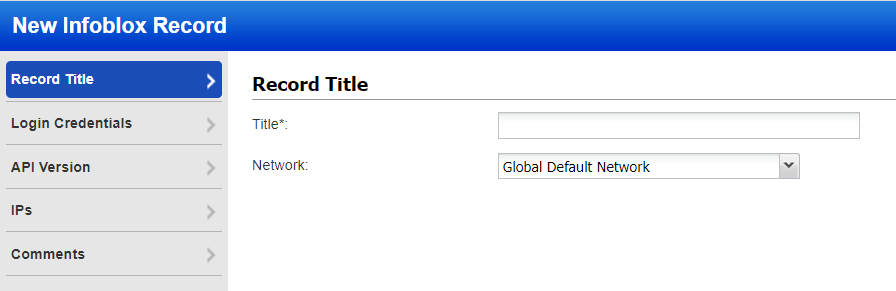
Title - Give the Infoblox record a title for easy identification.
Network - (Applicable when the Network Support feature is enabled.) Select the network you want to use for this Infoblox record. The Global Default Network is selected by default but you can choose a user-created network from the list.
Login CredentialsLogin Credentials
This section is where you'll provide credentials for the user account to be used for Infoblox authentication.
Authentication Type: Basic
Choose Authentication Type: Basic, and then enter basic login credentials (username and password).
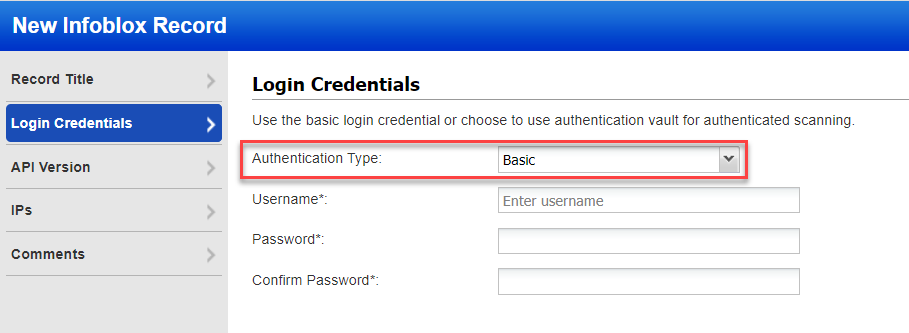
Username - Enter the username for the user account to use for authentication.
Password / Confirm Password - Enter the password for the user account. Then confirm the password.
Authentication Type: Vault based
Choose Authentication Type: Vault based to retrieve the password from a password vault. You will need vault records already defined in your account to use this option.
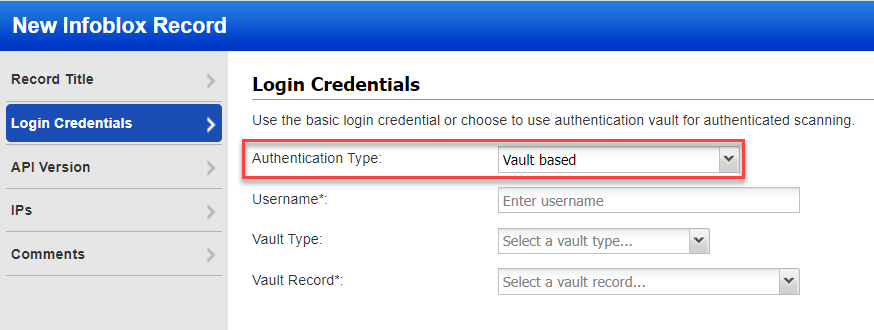
Username - Enter the username for the user account to use for authentication.
Vault Type - Select the type of password vault you want to use. For each vault type, there will be additional information required. The information required depends on the vault type. Please refer to the online help for your vault type to learn more.
Vault Record - Select a vault record that you have already configured in your account. The vault record has vault credentials to securely access sensitive information stored in the vault.
Quick Links: How to Use Vaults | Vault Support Matrix
This section has API version settings for the record.
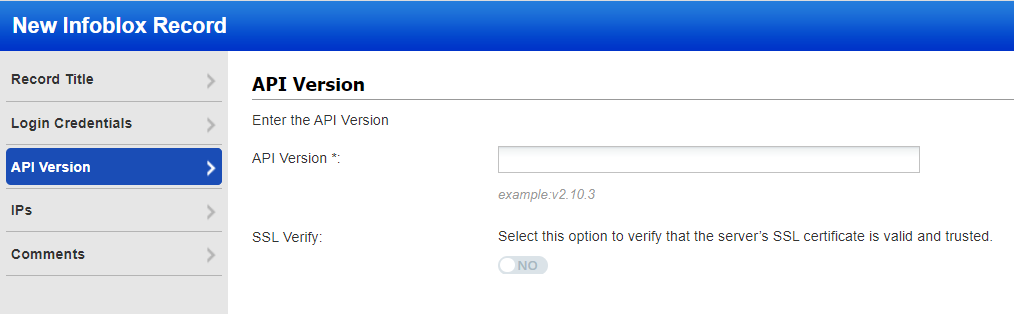
API version - Enter the API version for authentication.
SSL Verify - Select this option to verify the server's SSL certificate is valid and trusted.
Enter or select the target compliance hosts (IPs) that you want to authenticate to with the credentials provided in this record. Each IP may be included in one Infoblox record.
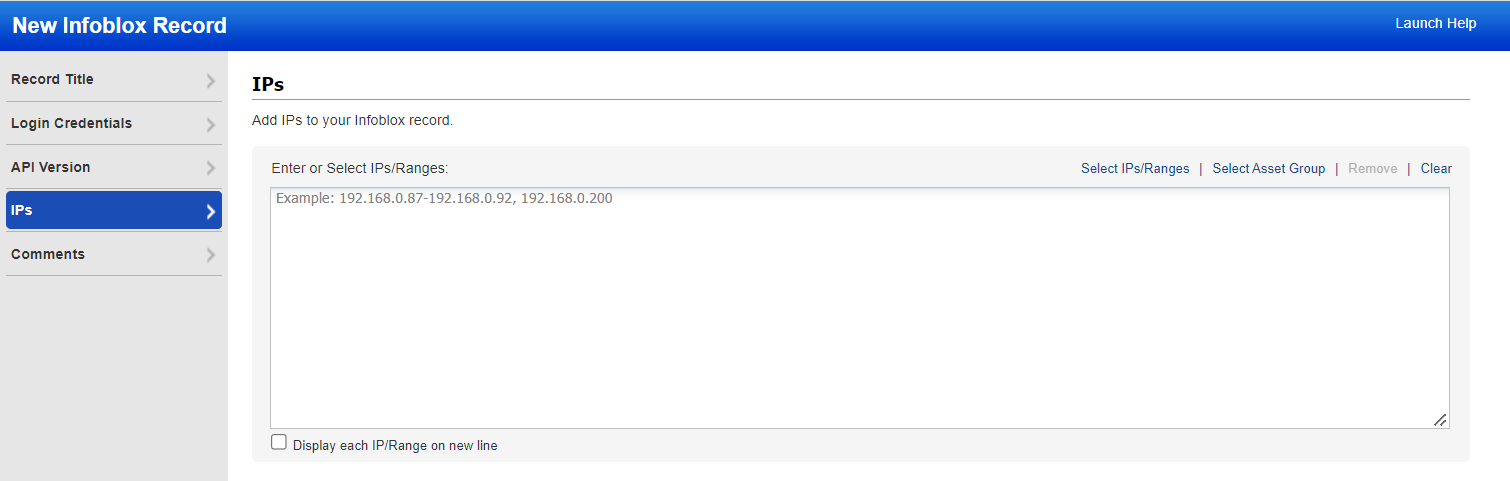
Select the required Asset Type.
- IPs/Ranges - Use this option to add IP addresses/ranges to the record. Enter the IP addresses/ranges in the field provided.
- IP Range in Tag Rule - Use this option to add tags that have IP address ranges defined in the tag rule. All IP addresses defined in the tag rule will be associated with the record, including IPs that don’t already have the tag assigned. Click Add Tag to pick tags to include or exclude. Note that only tags with the dynamic tag rule “IP Address in Range(s)” will be available in the tag selector.
- Asset Tags - Use this option to add tags to the record for the assets you want included. IP addresses with the selected tags already assigned will be associated with the record. Click Add Tag to pick tags to include or exclude.
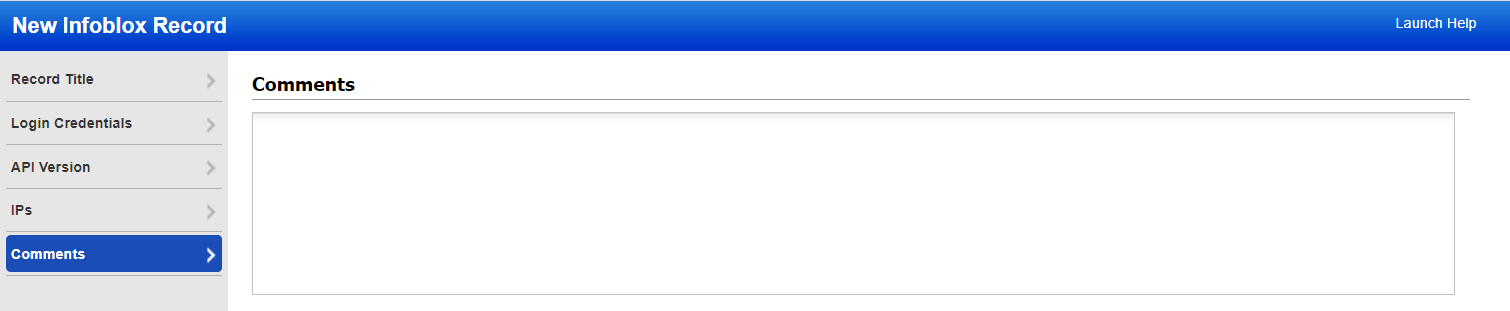
Provide important notes or comments for this record.