Scan Privileges for Infoblox NIOS Technology
For scanning and fetching Infoblox DNS and Grid settings, you require an admin account with Superuser privileges, which allows you to retrieve all configurations. APIs such as listing auth policies require Superuser privilege, so ensure you have superuser privilege.
Superusers privilege have access to all the settings in the Infoblox environment.
Create a scan user with minimal/read-only scan privileges
To create a scan user with minimal/read-only scan privileges:
- Go to Infoblox Manager UI ( https://<Infoblox-IP>/ui).
- Log in with the Admin account.
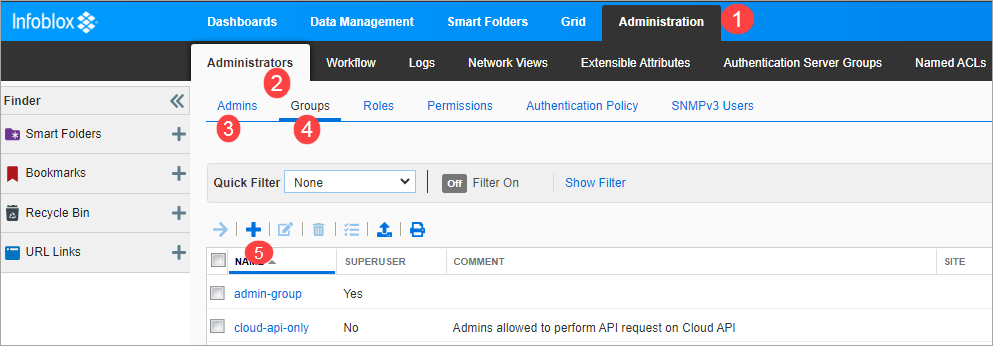
- Go to Administration Tab > Administors tab > Groups tab.
- Create a new group, click the + sign.
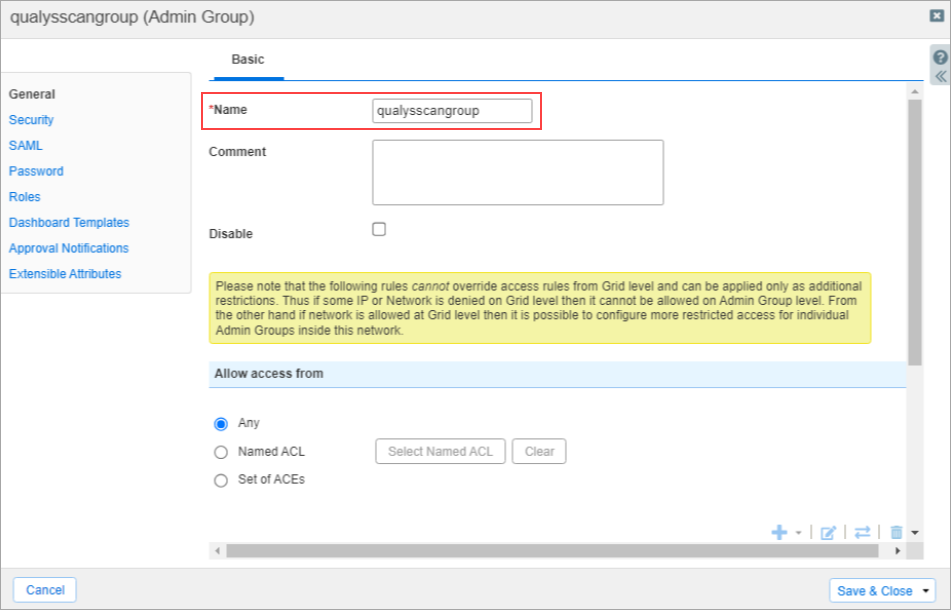
A window for admin group opens. - Add a group name in the Name field.
for example: qualysscangroup.
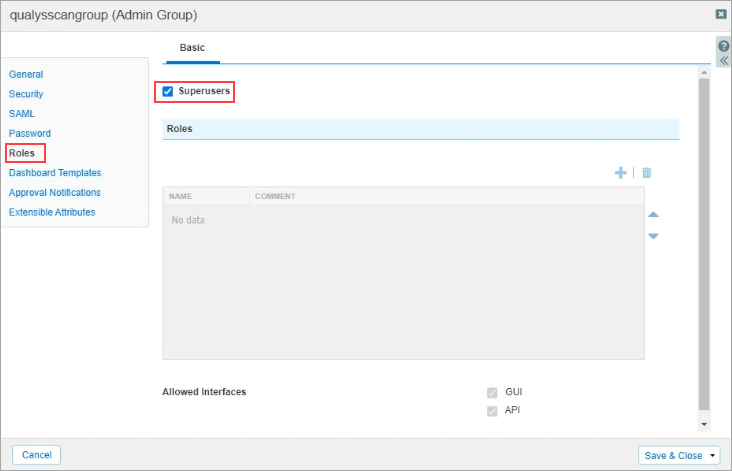
- Go to the Roles tab, and then select the Superusers checkbox.
- Click Save & Close.
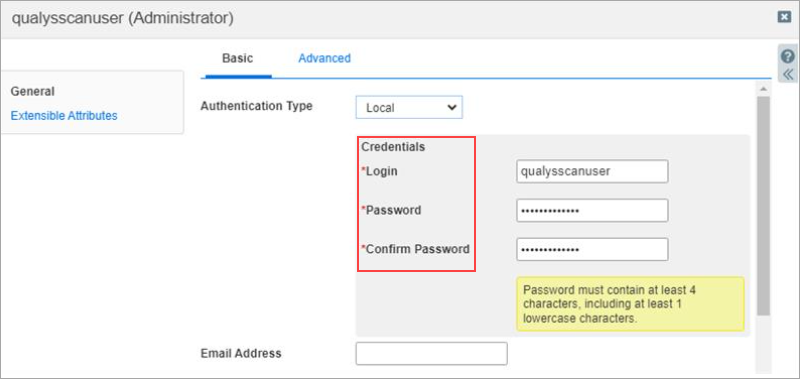
- Go to the Admin tab, and then click the + icon.
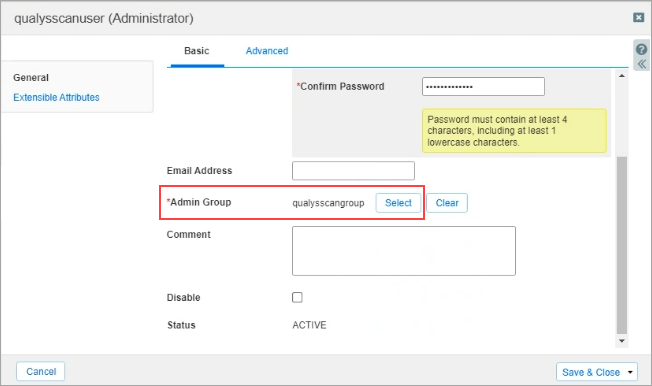
A new window for administrator opens. - Enter the login Credentials with a password.
- Scroll down to select the Admin Group created in Step 5.
- Click Save and Close.
You can now create an Infoblox PC authenticated scan record. For more information, see Create/Edit Infoblox Record.