Database Authentication and Assessment
Prerequisites
To configure the Cloud Agent for Database Authentication, your system must meet the following requirements:
Prerequisites for the Windows Operating System
Prerequisites for the Linux Operating System
To learn more about managing your Database Assessment profiles, refer to Permission Controls for DB Assessment.
Steps to Configure Cloud Agent for Assessment
Before you proceed with creating a database assessment profile, create a secure vault connection to fetch the credentials for database assessment. Refer to Vault Configuration for Database Assessment to learn more about creating a secure vault connection.
The Assessment tab provides a new approach to the Database assessment. With this tab, Cloud Agent can directly connect to the vault provider and retrieve the credentials required to perform database assessment. This improves security and automates the database assessment process.
You can access the Assessment option from the Configuration tab.
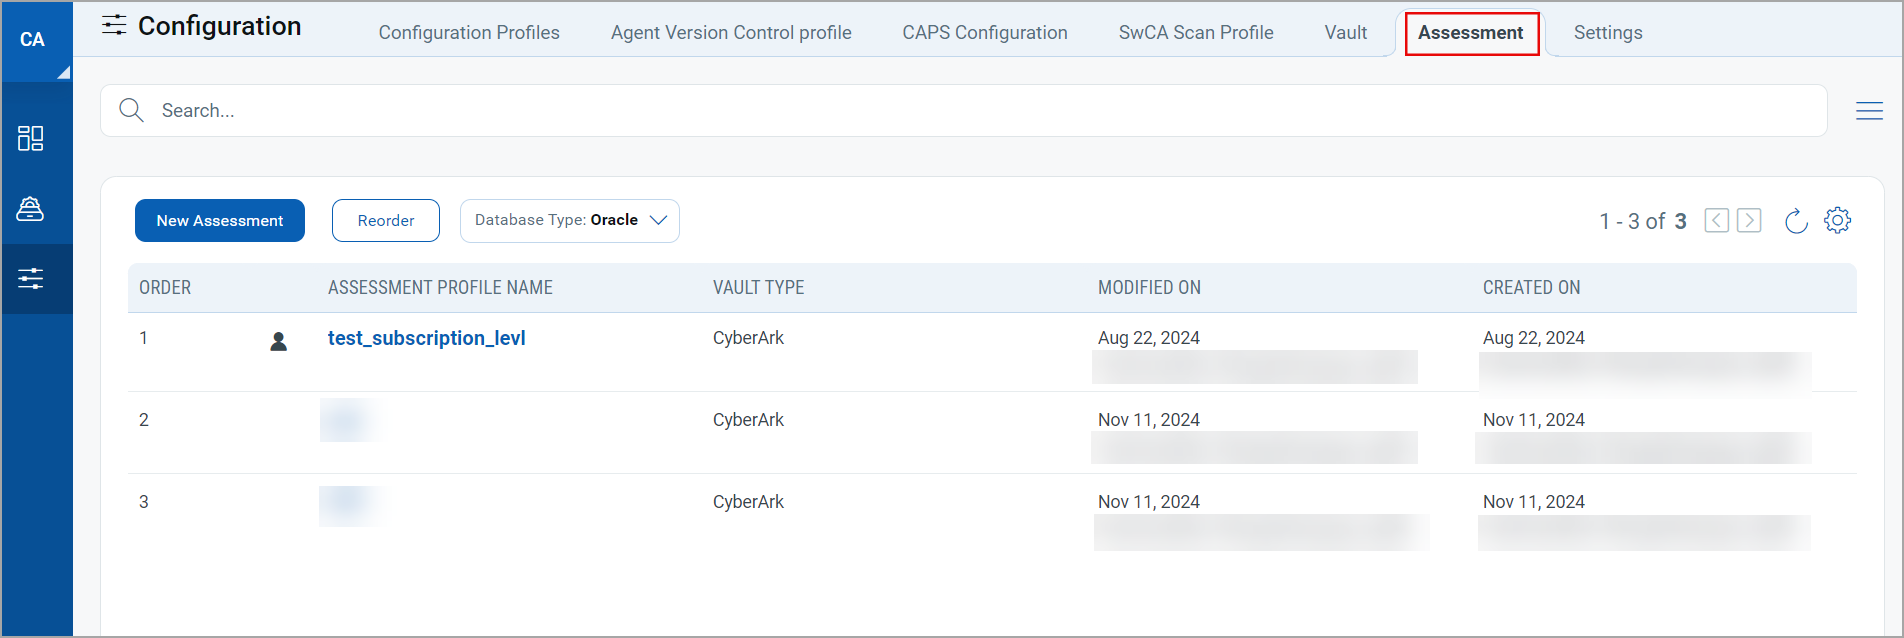
The Assessment tab shows the list of available assessments. On the Assessment tab, you can create new assessments, view details of available assessments, edit assessments, and delete assessments.
To access the database assessment feature, check the compatibility of your Qualys Cloud Agent in the Features by Agent Version section of the Cloud Agent Platform Availability Matrix.
Create New Assessment
- To create a new assessment for a database, click New Assessment on the Assessments tab.
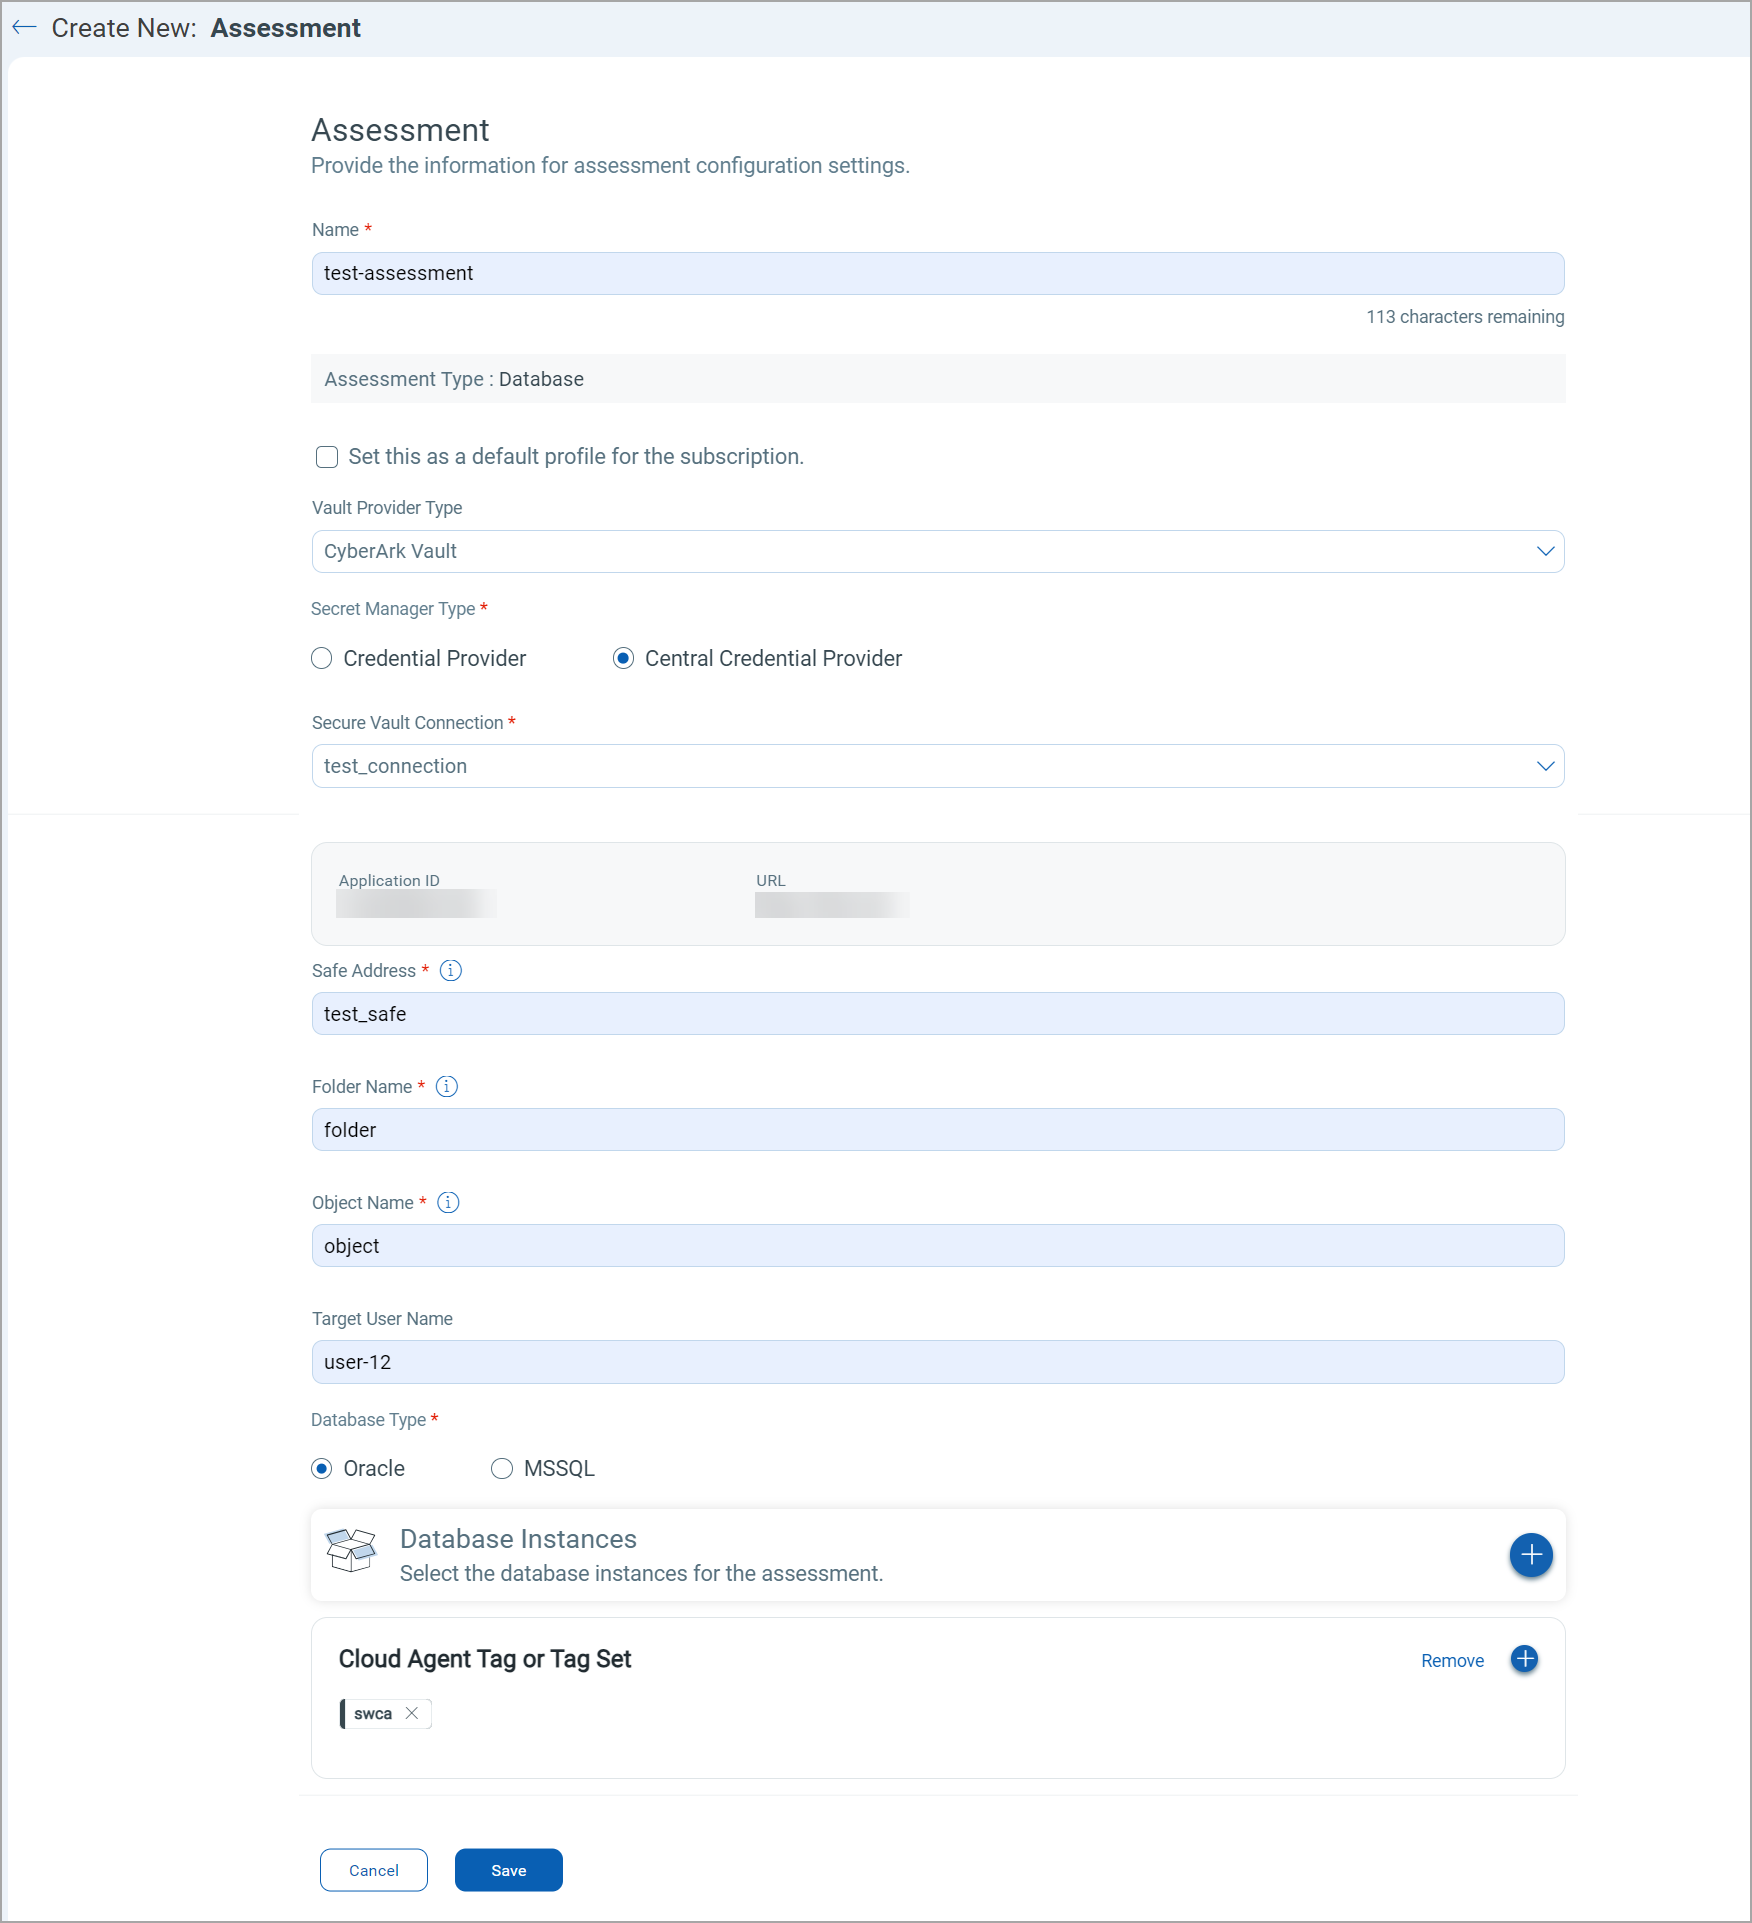
- Enter the following details for your assessment and click Create.
Name: Enter the name for your assessment.
Assessment Type: The assessment type defines the source of assessment data. By default, Cloud Agent supports database assessment.
Select as a Default Profile: Select this checkbox to mark an assessment profile as a default profile for your subscription.
Vault Provider Type: Select the Vault Provider. Currently, Qualys Cloud Agent supports only CyberArk Vault. The application ID and URL are generated while setting up the CyberArk instance. You need these details while selecting the Secret Manager Type.
Secret Manager Type: Select the manager type as a Credential Provider or Central Credential Provider. This field is mandatory. When the secret manager is installed on VMs where the database instance is running, use the Credential Provider. When a secret manager is installed on a common VM, use the Central Credential Provider.
Safe Address: Enter the safe name from where you want to retrieve the information for the assessment. Safes are the containers inside vaults to control access to sensitive information.
Folder Name: Enter the folder name from where you want to retrieve the information for assessment. Folders categorize the information stored in the safes.
Object Name: Enter the object name from where you want to retrieve the formation for assessment. Objects are items stored in the folder. For example, privileged accounts, credential files, SSH keys, and other sensitive information.
Target User Name: Enter the Target User Name. The target user name is the database username, which is used to establish a connection with the database for assessment.
Database Type: Select a Database Type. Qualys Cloud Agent currently supports only Oracle and SQL Server Databases.
The database instances and assessments are exclusive to each other. You can not use the already-used database instance for an assessment, or you can not add a database instance to an assessment if it already has it.
Select Database Instance: Click the Add (+) button to select a database instance for assessment. Click the Replace button to change the selected database instance.
Include Cloud Agent Tag or Tag Set: Select the Cloud Agent tag or tag set to which you want to assign the assessment profile. The tag selection screen also allows you to create tags and use them in the assessment profile.
Quick Actions Menu
The Quick Actions menu has the following options: View Details, Edit, and Delete.

View Details of an Assessment
To view details of an assessment, click the View Details option from the Quick Actions menu.
The View Details screen shows the details like assessment name, type, vault type, target user, creation date, last modification date, selected database details, and so on.
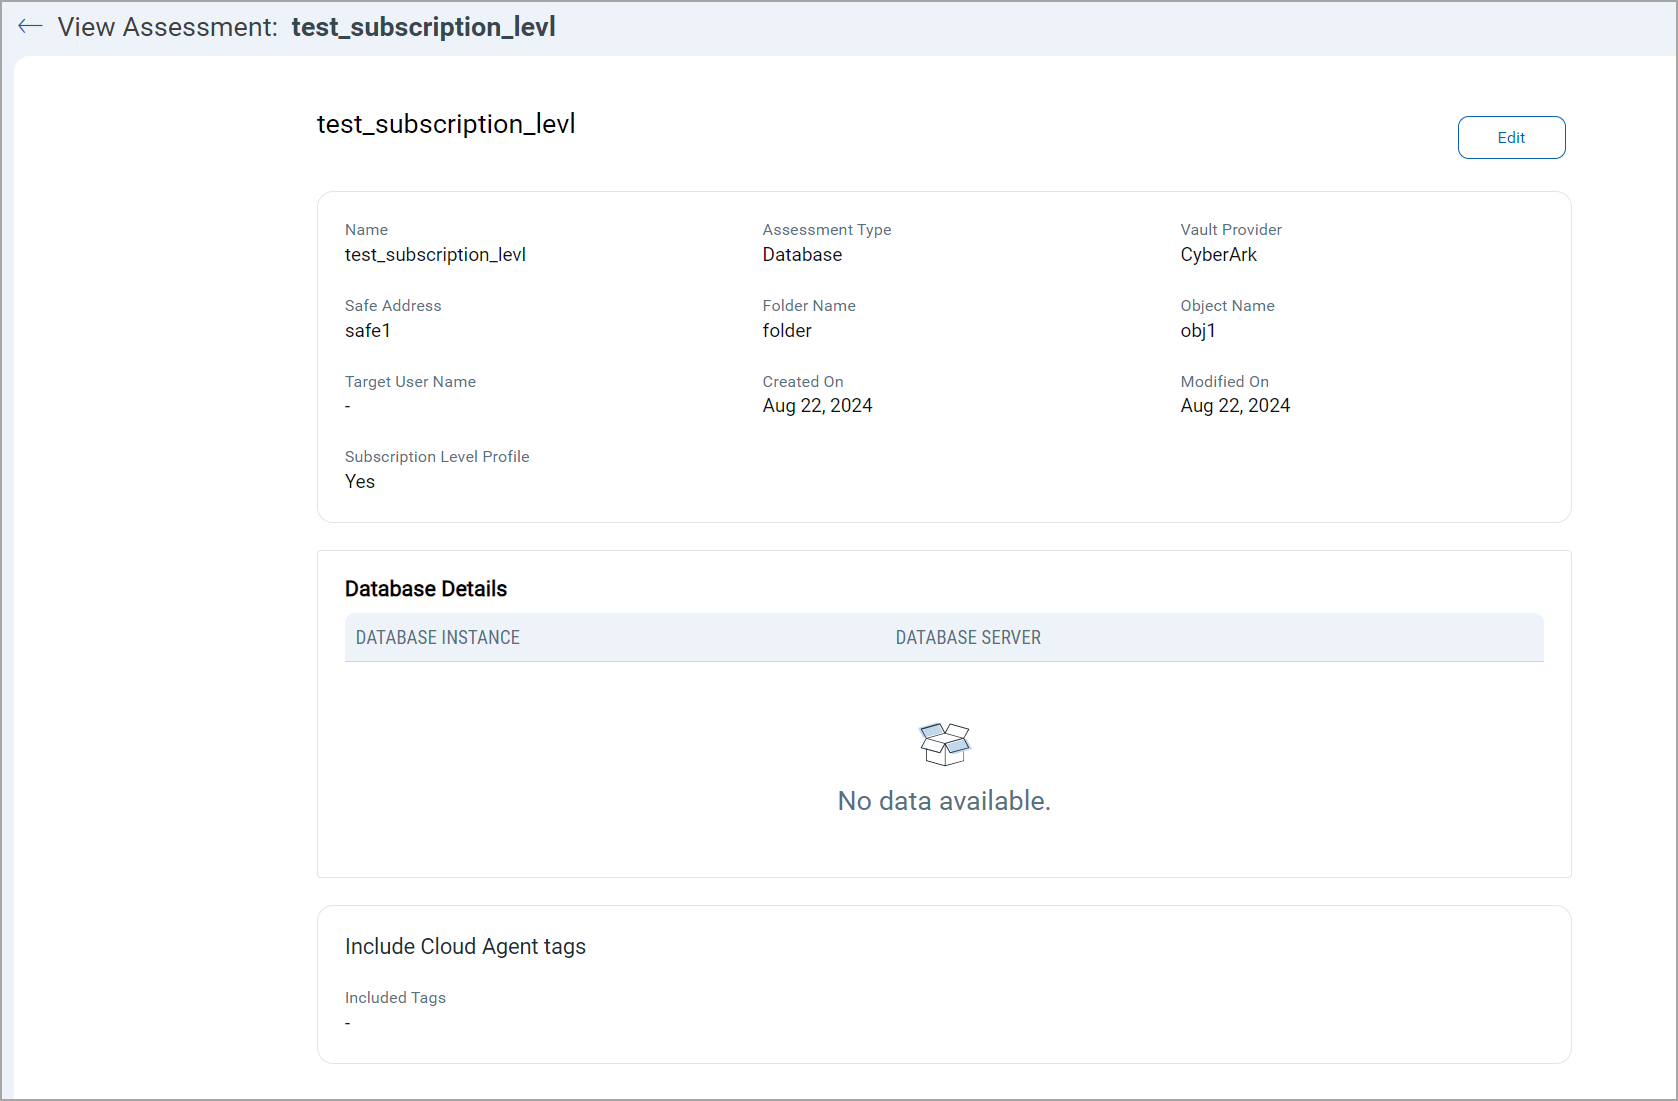
You can also edit an assessment using the Edit option in the View Details screen for the assessment.
The database instance is populated in an assessment when the MiddlewarePC is activated, and the Cloud Agent completes the first MiddlewarePC scan.
Edit Assessment
You can edit a database assessment using the Edit option in the Quick Actions menu.
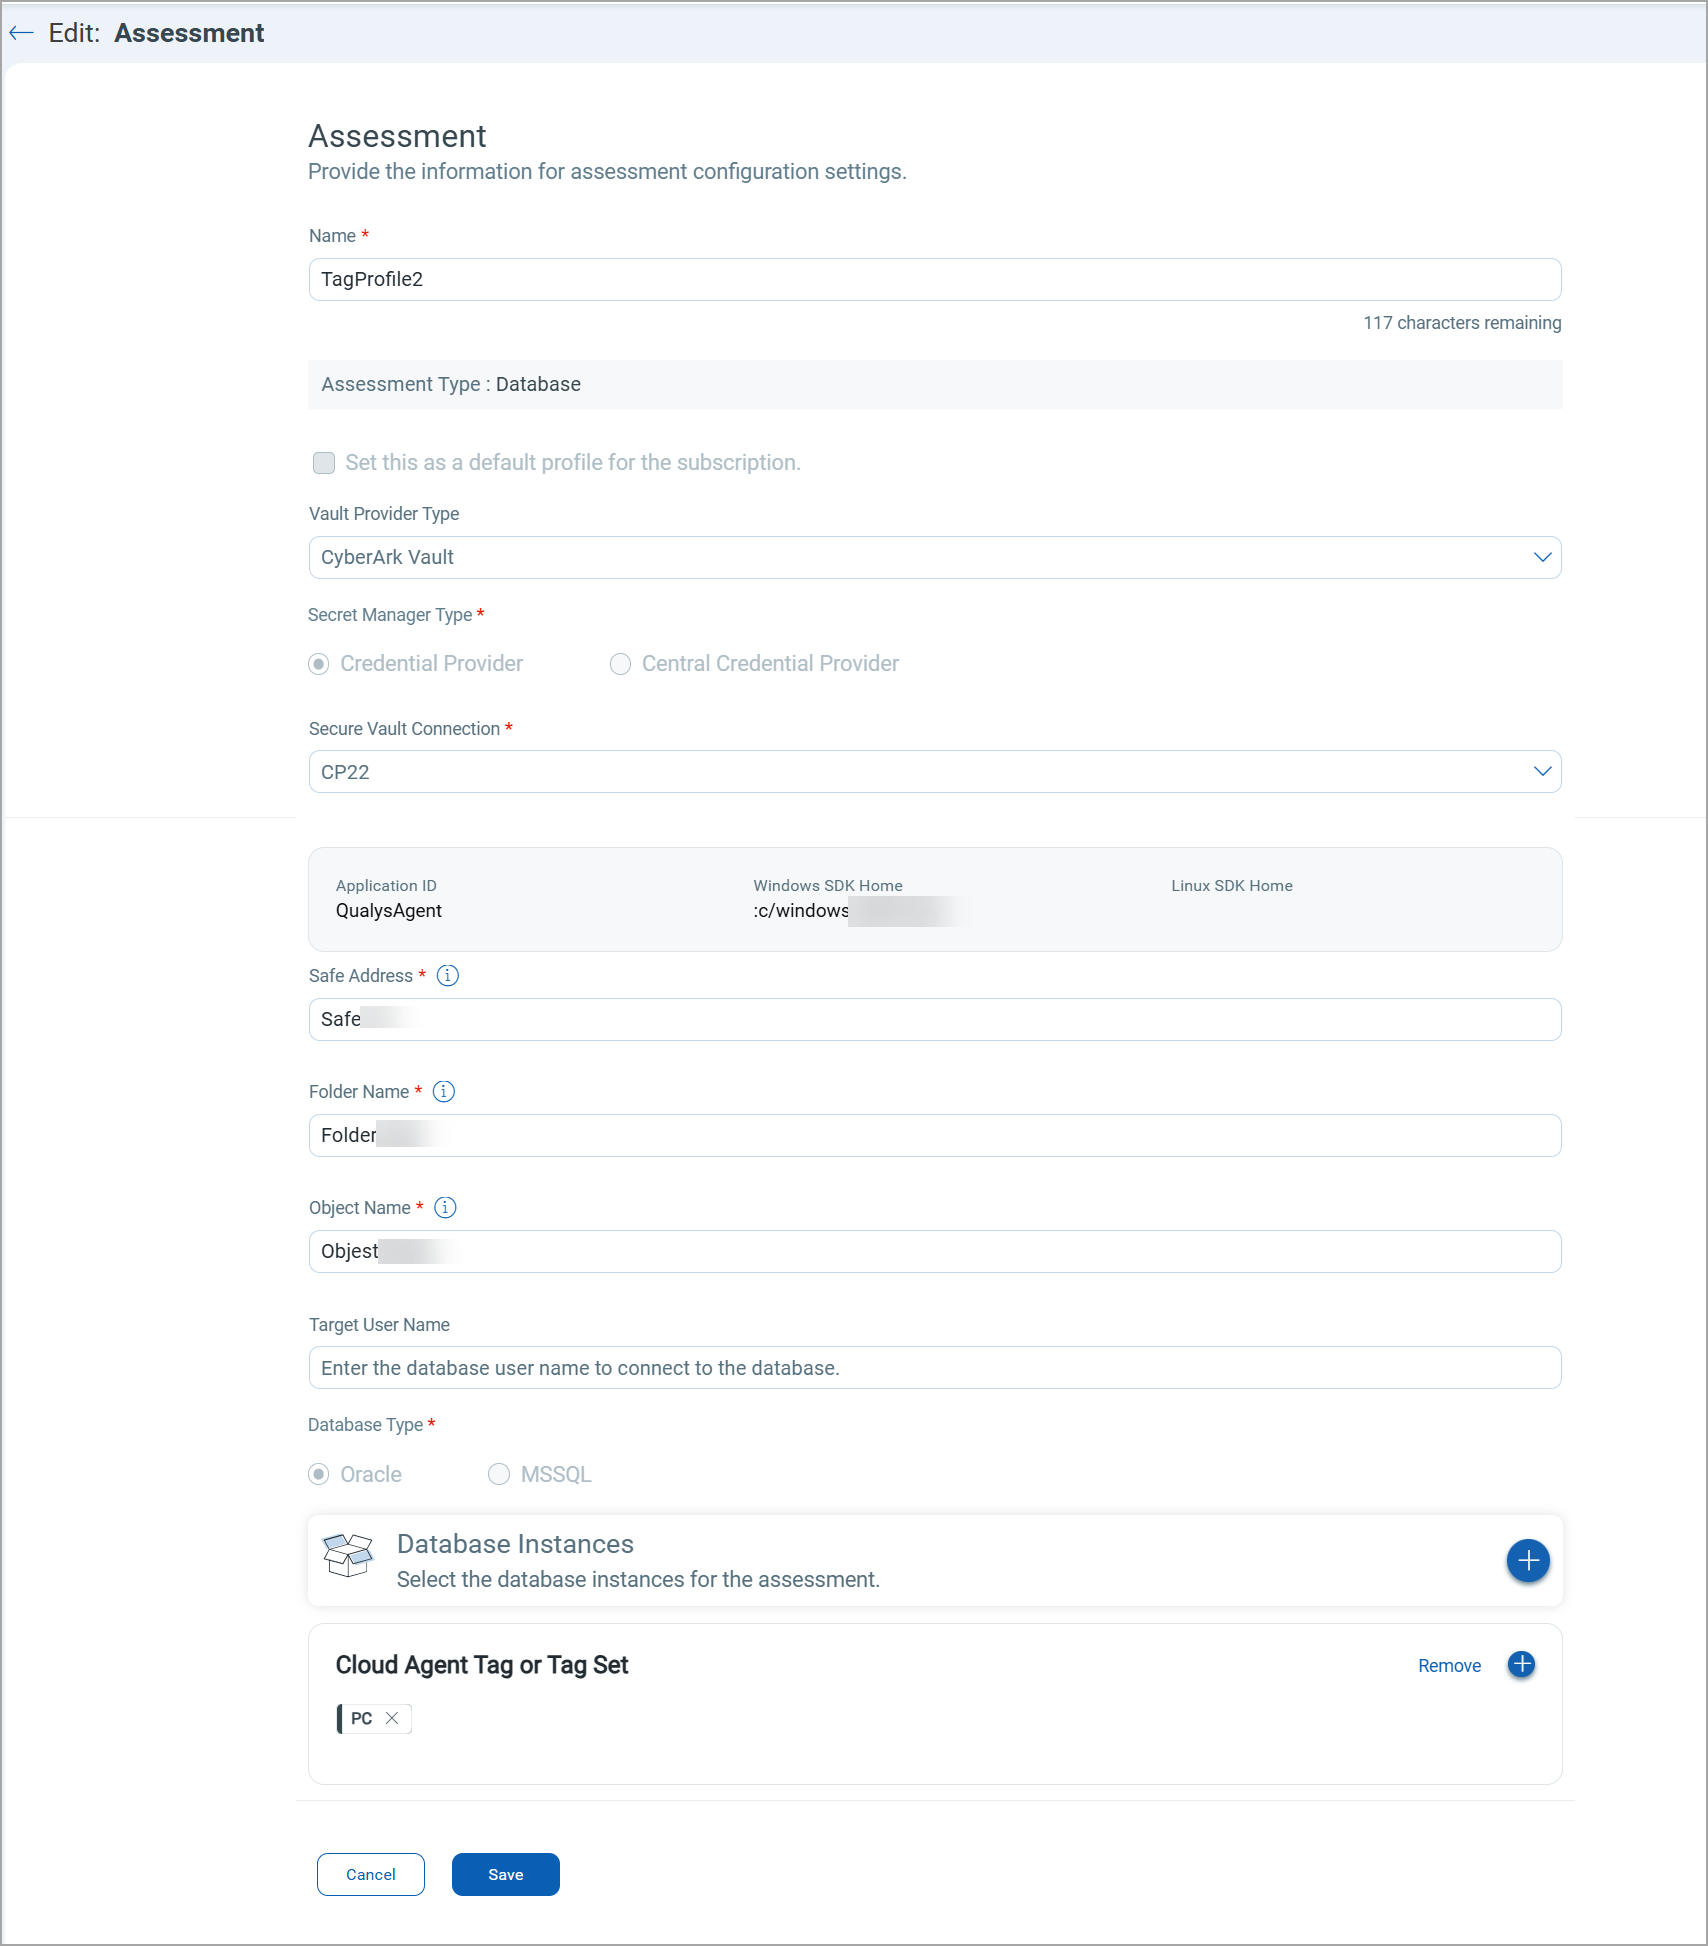
You can not edit the database type, database instance, and asset tags field for the subscription-level assessment profile.
Delete Assessment
To delete an assessment, select an assessment record and click Delete from the Quick Actions menu.
A confirmation message appears on the screen to prevent the unintended deletion of an assessment. In the confirmation dialogue box, click Delete.
Related Topic: Database Assessment Analysis