OnAccess Scan
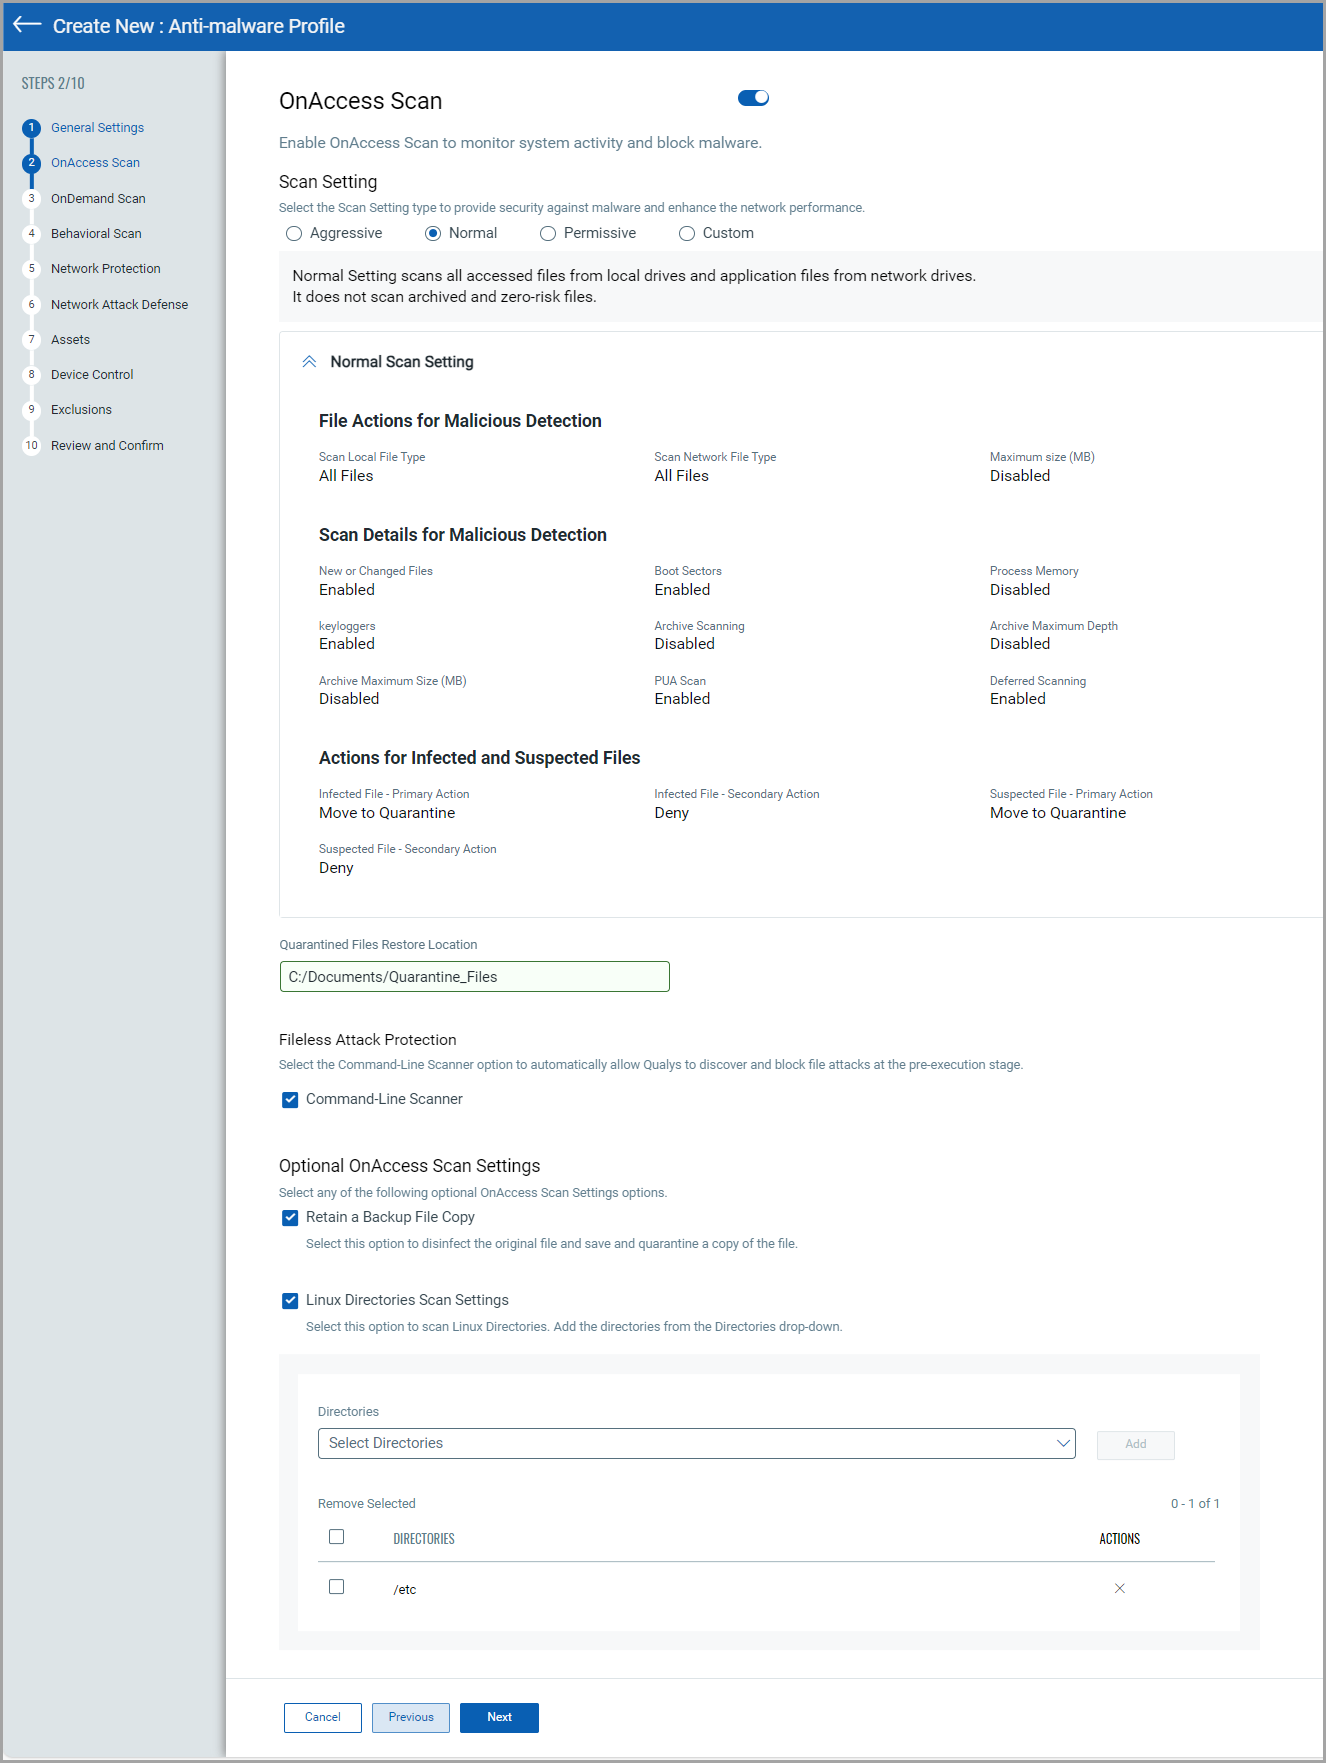
The On Access Scan section defines how files are scanned when accessed on the endpoint.
| Setting |
Action |
| Scan Options |
Choose a scan option to set the security level for the On-Access scan, including the options to scan archives and PUAs.
- Aggressive – Scans all files when accessed from local and network drives, including archives and low-risk files.
- Normal – Scans accessed local files and application files on network drives, excluding archived and zero-risk files.
- Permissive – Scans application files on local and network drives and incoming emails, but not low-risk files, outgoing emails, web traffic, spyware, or malware.
- Custom – Configure custom scan settings as required. To know more about the Custom Settings option, click here.
|
| Fileless Attack Protection |
Enable the detection and blocking of fileless attacks before execution, including malicious traffic and memory buffer analysis. |
| Optional Settings |
- Quarantined File Restore Location: Specify where restored files are stored.
- Retain a Backup File Copy: Keep a backup copy of the original file before remediation.
|