Create Asset Purge Rules
Create an asset purge rule to remove assets you no longer track from your inventory. You set the purge criteria, cap how many assets the rule may delete, and confirm the rule before it runs.
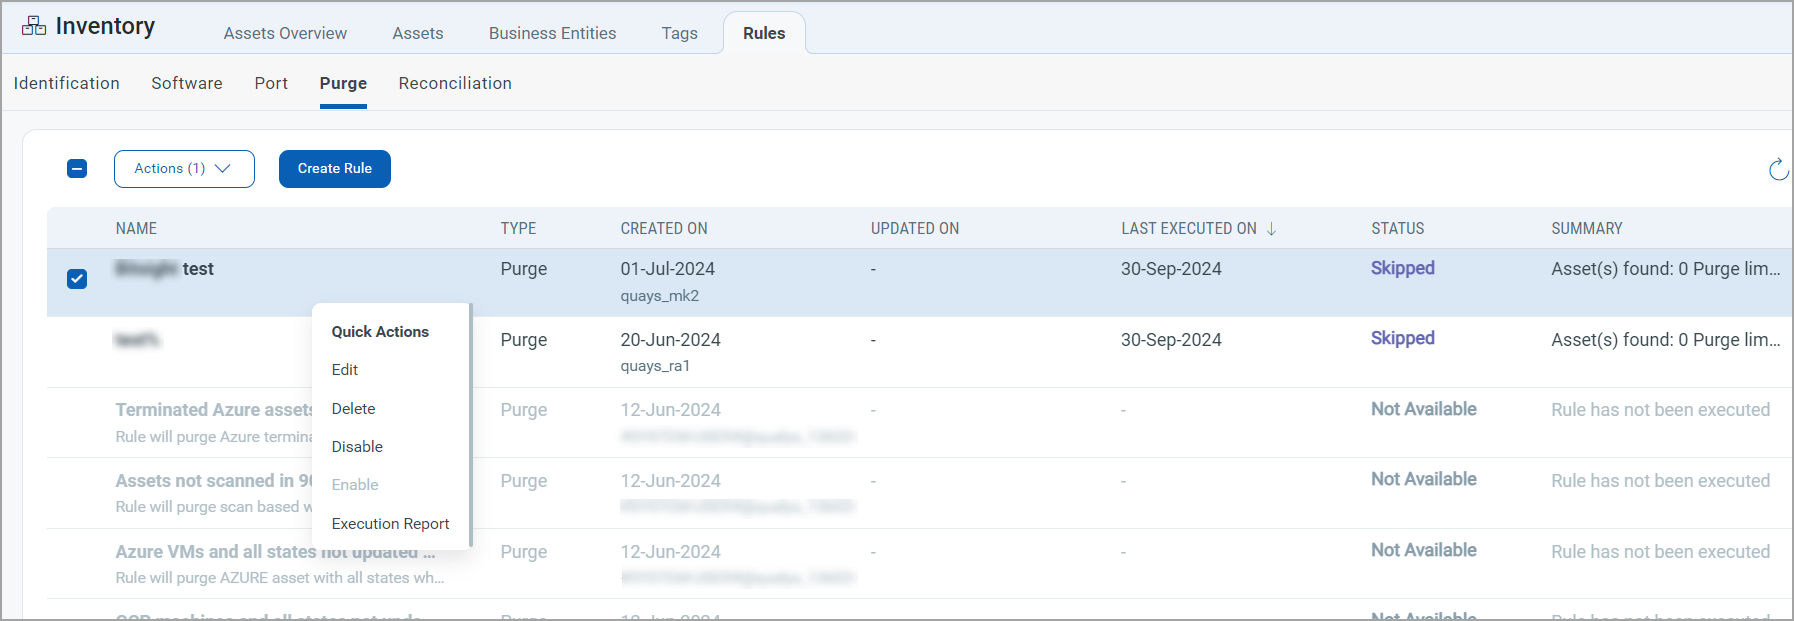
Navigate to: Inventory > Rules > Purge > Create Rule
Use this to
- Delete cloud agent, scan-based, and connector assets you no longer track.
- Build the purge criteria that decide which assets are removed.
- Cap the number of assets a single run may purge.
- Edit, enable, disable, or delete an existing purge rule.
What you can purge
An asset purge rule deletes assets of these types:
- Cloud agent-based assets
- Cloud provider metadata-based assets
- Scan-based assets
- Assets identified by third-party connectors
Once created, the rule runs at a six-hour interval.
Every asset that meets the purge criteria is deleted when the rule runs, and no longer appears in your inventory.
Before you begin: Confirm which assets you no longer want in your inventory, and review the criteria you plan to use. A purge rule removes the matching assets from your inventory when it runs.
Create a Purge Rule
- Go to Inventory > Rules > Purge > Create Rule.
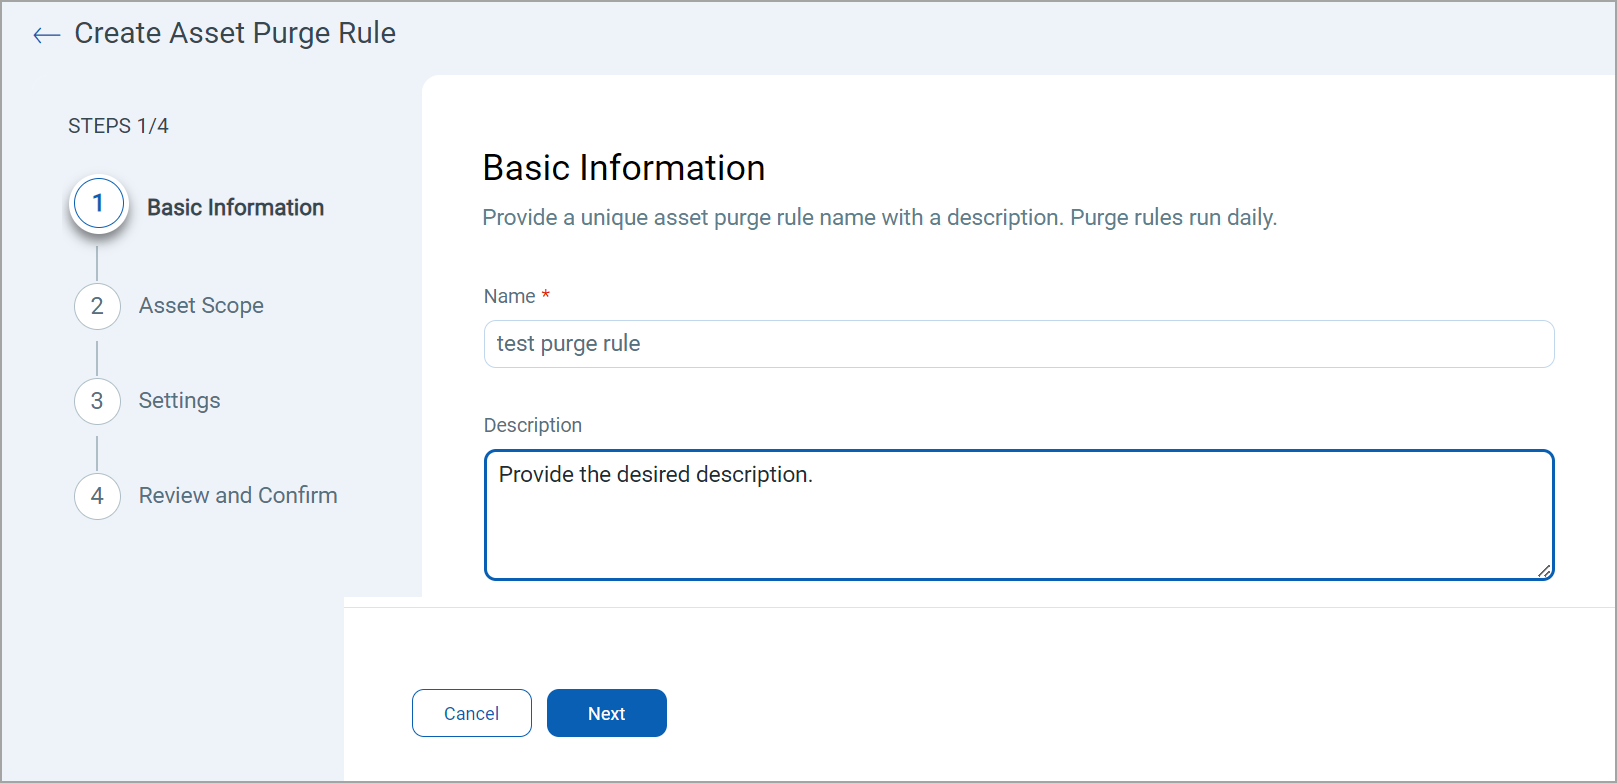
- Enter the rule name and description, then click Next.
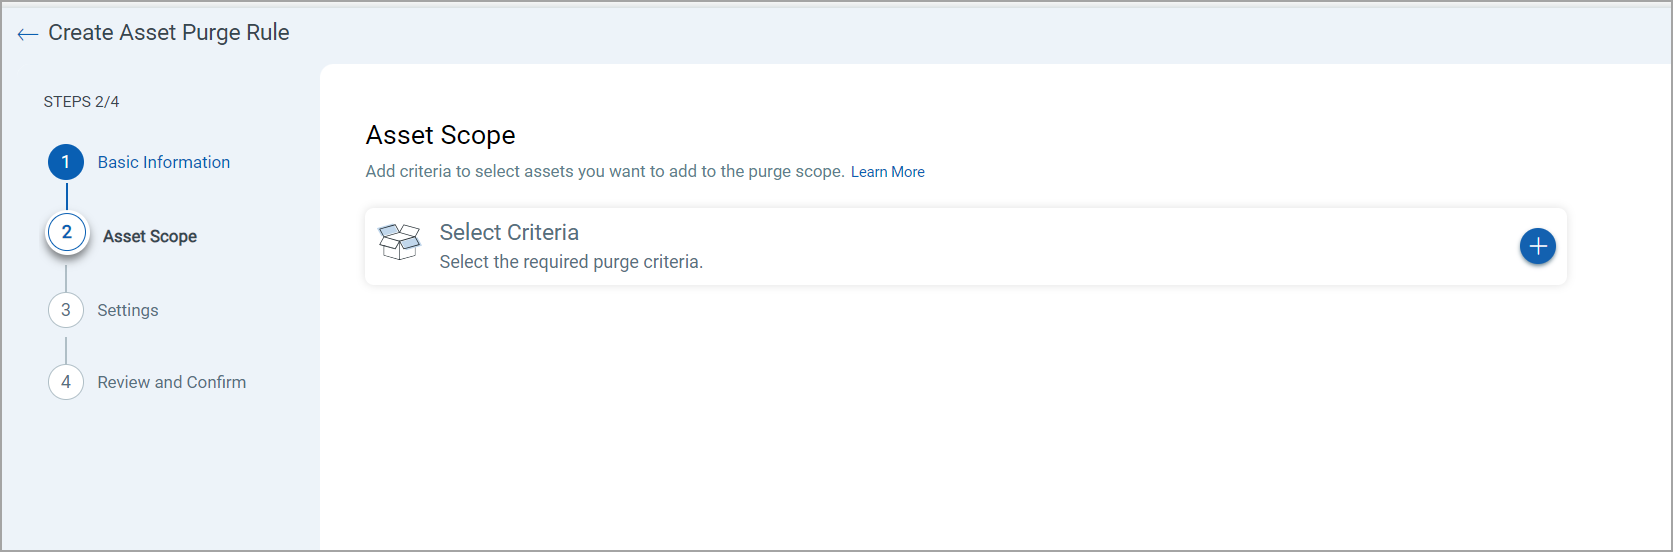
- Click the Plus
 icon and select one purge criteria type:
- Add Cloud Agent-Based Criteria
- Add Cloud Provider Metadata-Based Criteria
- Add Scan-Based Criteria
- Add Other Sources Criteria
Select Time-Based criteria only in combination with another criteria type.
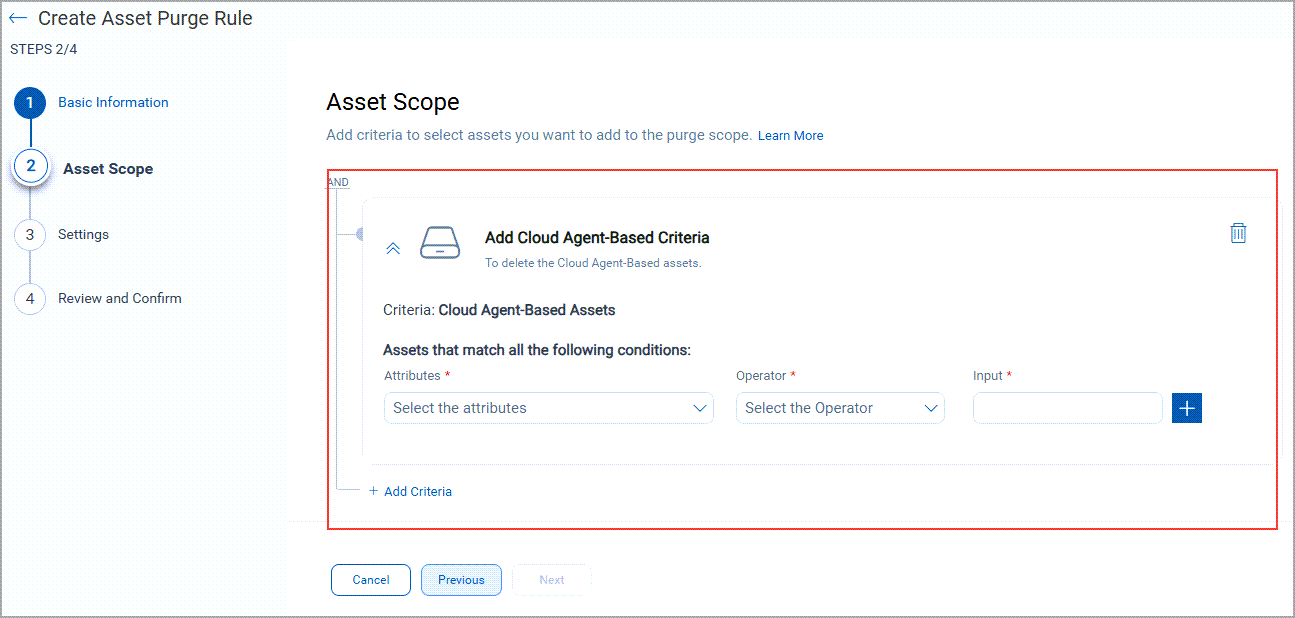
- Expand the option that matches the assets you want to purge, and complete its steps:
Add Cloud Agent-Based CriteriaAdd Cloud Agent-Based Criteria
- Select the attribute and operator that identify the assets to purge.
The available attributes are lastActivity, lastCheckedIn, activatedForModule, agentActivationKey, agentVersion, and configurationProfile. The available operators are OLDER THAN and IN LAST.
- Select the value in the third column, based on the attribute and operator you selected.
- Click the Add icon to add more attributes.
- Click Add Filter to add a filter. Filters are available only from the Add Cloud Provider Metadata-Based or Add Time-Based criteria.
If you select the Remove the cloud agent and associated license checkbox, the assets, the cloud agent, and its license are removed from your subscription.
Example:
Time-Based criteria example. You can enter the time in days and hours.
Add Cloud Provider Metadata-Based CriteriaAdd Cloud Provider Metadata-Based Criteria
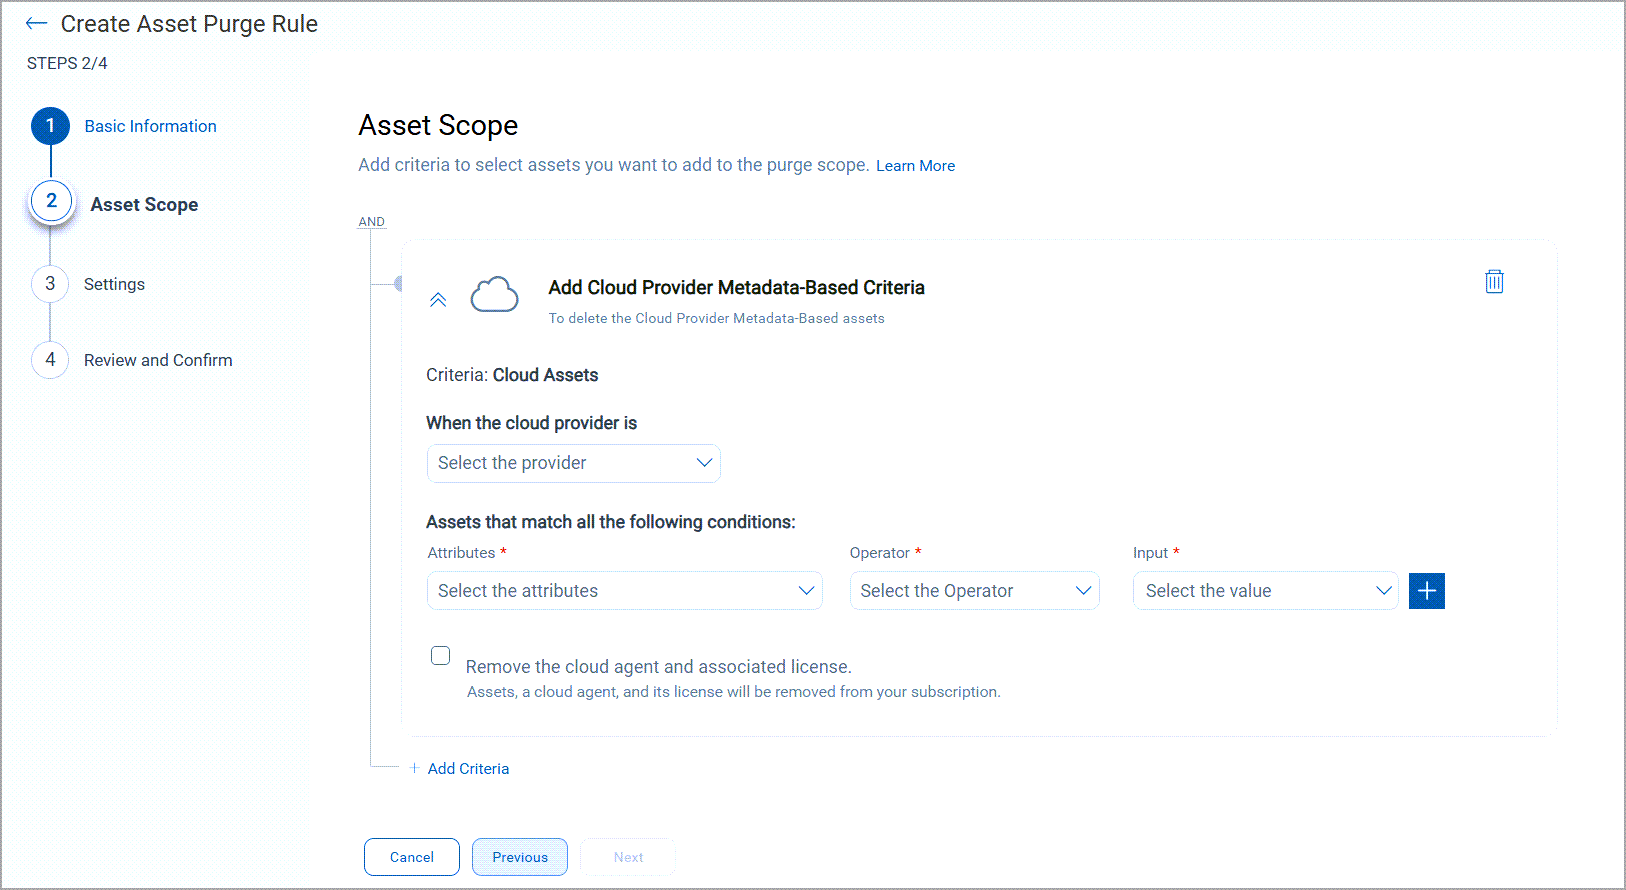
- Select the cloud provider, such as AWS, AZURE, or GCP.
- Select the attribute and operator.
- Select the value in the third column, based on the attribute and operator you selected.
- Click the Add icon to add more attributes.
If you select the Remove the cloud agent and associated license checkbox, the assets, the cloud agent, and its license are removed from your subscription.
- Click Add Filter to add a filter. Filters are available only from the Add Cloud Agent-Based or Add Time-Based criteria.
Example:
Time-Based criteria example. You can enter the time in days and hours.
Add Scan-Based CriteriaAdd Scan-Based Criteria
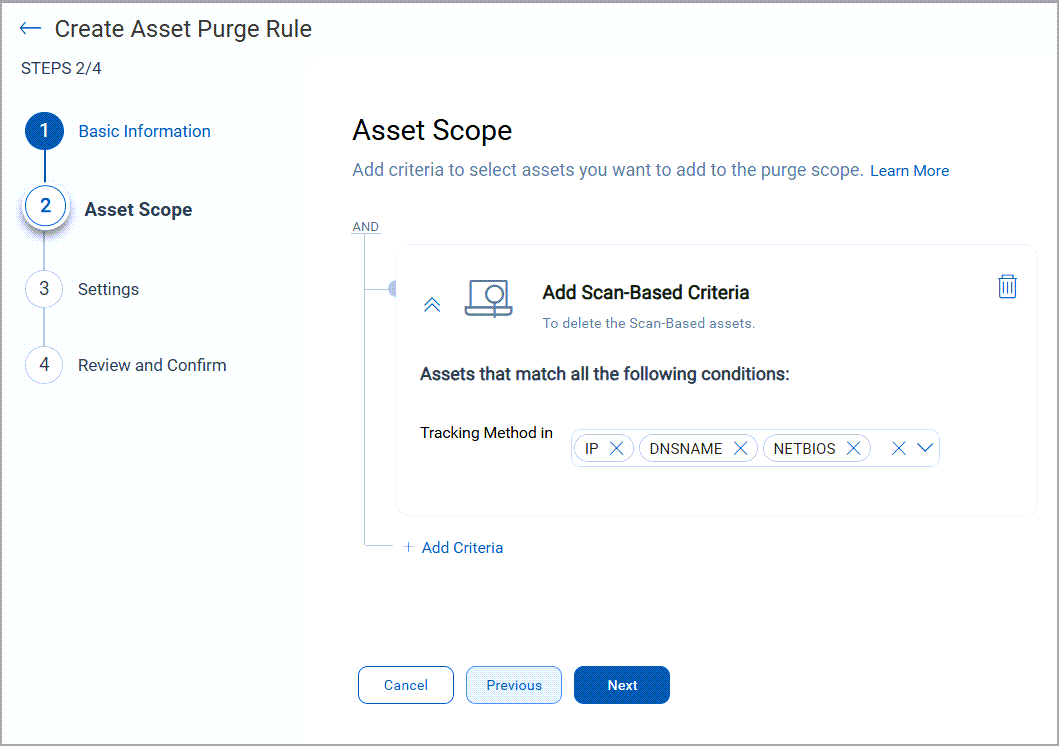
- Choose the tracking methods to retain: any or all of IP, DNSNAME, and NETBIOS.
- Click Add Filter to add more filters. Filters are available only from the Add Time-Based criteria.
- Select the attribute and operator.
The available attributes are lastVmScanDate, updated, and lastCompiledScanDate. The available operators are OLDER THAN and IN LAST.
- Select the value in the third column, based on the attribute and operator you selected.
- Click the Add icon to add more attributes.
Example:
Time-Based criteria example. You can enter the time in days and hours.
Add Other Sources CriteriaAdd Other Sources Criteria
Important to Know Before You Begin!
Purge behaviour differs for third-party assets discovered by Webhook, ServiceNow, and Active Directory connectors:
- Managed assets — only the third-party connector data is deleted. The asset itself is not purged.
- Unmanaged assets — an asset that comes only from a third-party connector is purged when it meets the rule criteria.
- Assets from several connectors — only the connector data the rule was created for is purged. The asset is deleted once the data from every connector source has been deleted.
- Select the source, such as Third-Party Connector, and then select the connector source. Active Directory, Service Now, and WebHook are the available connector sources.
Besides the Third-Party Connector source, Cloud Agent as Passive Sensor and Passive Sensor sources are also available.
- Select the attribute and operator.
The available attributes are Connector Name, Connector ID, Last Seen, and First Seen. The operators for First Seen and Last Seen are OLDER THAN and IN LAST; the operator for Connector Name and Connector ID is IN.
- Set the value in the third column, based on the attribute and operator you selected.
- Select the value for the Connector Name and Connector ID attributes.
- Enter the value for the First Seen and Last Seen attributes.
You cannot combine other purge criteria with the Add Other Sources criteria.
- Select the attribute and operator that identify the assets to purge.
- Click Next.
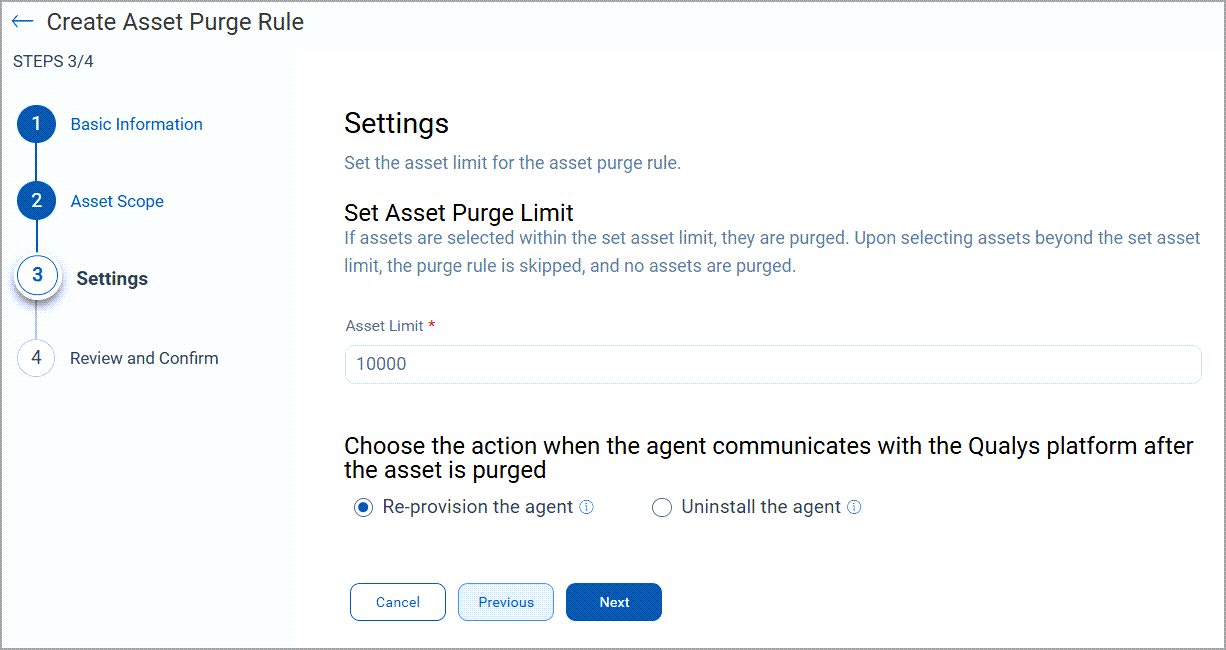
- On the Settings page, set these details and click Next.
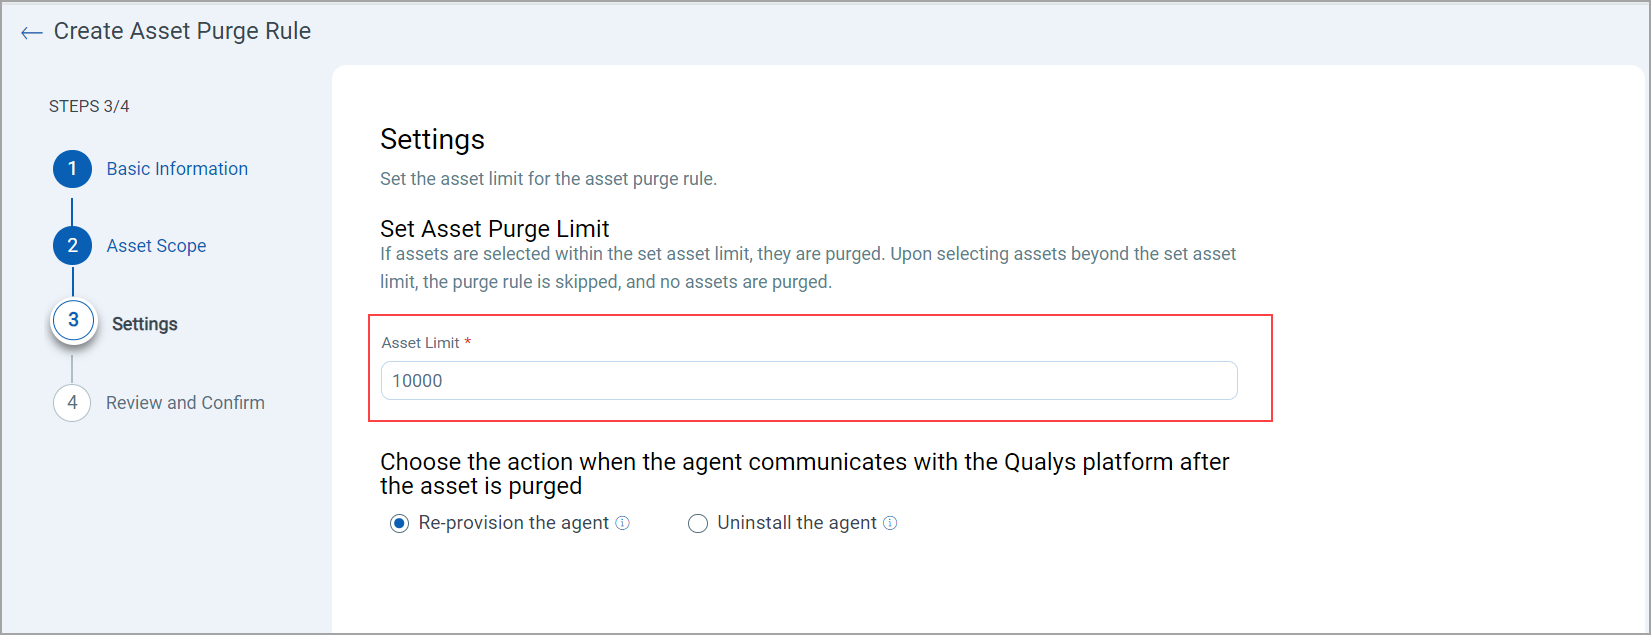
- Set the purge limit in the Asset Limit field. If the rule matches more assets than the limit, no assets are purged.
- Select Re-provision the agent or Uninstall the agent.
Re-provision the agent is selected by default, and the agent then creates a new asset. Select Uninstall the agent to remove the agent from the host instead.
- Review and confirm your selections.
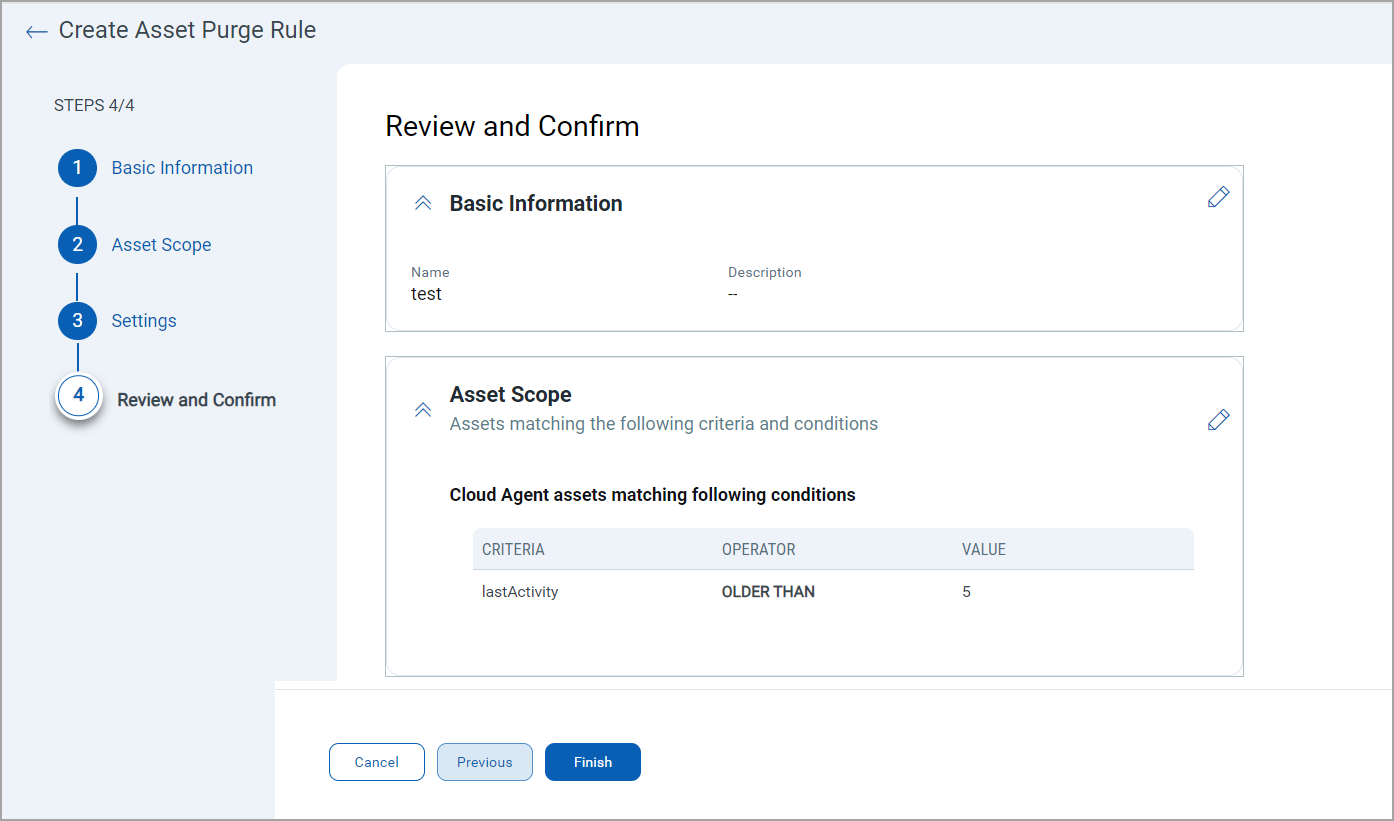
- Click Finish to save the purge rule.
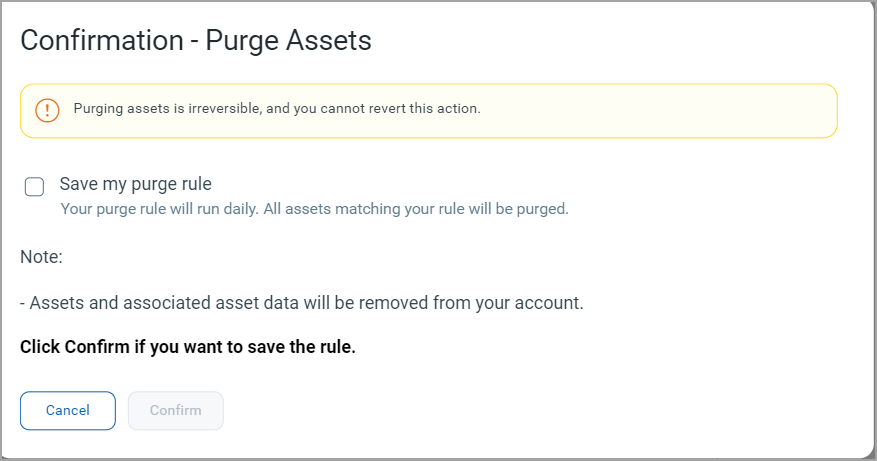
A confirmation message is shown.
- Select the Save my purge rule checkbox, and click Confirm.
Use a narrow set of criteria and a conservative asset limit for your first rule, then check the execution report after the rule runs to confirm that only the assets you expected were purged.
Manage purge rules
Use the Quick Actions menu of a rule to edit, delete, enable, or disable it. You can also download the purge rule execution report.