Creating QFlows from a Template
You can use any suitable template available for creating your own QFlow. You can select a template to adopt the QFlow. Let us take one use case: You want to identify the Security Groups allowing IPs other than the allowed IPs defined by your organization. You can directly use the template; you need to select the account and region and click Save. You can customize this template to suit your requirements.
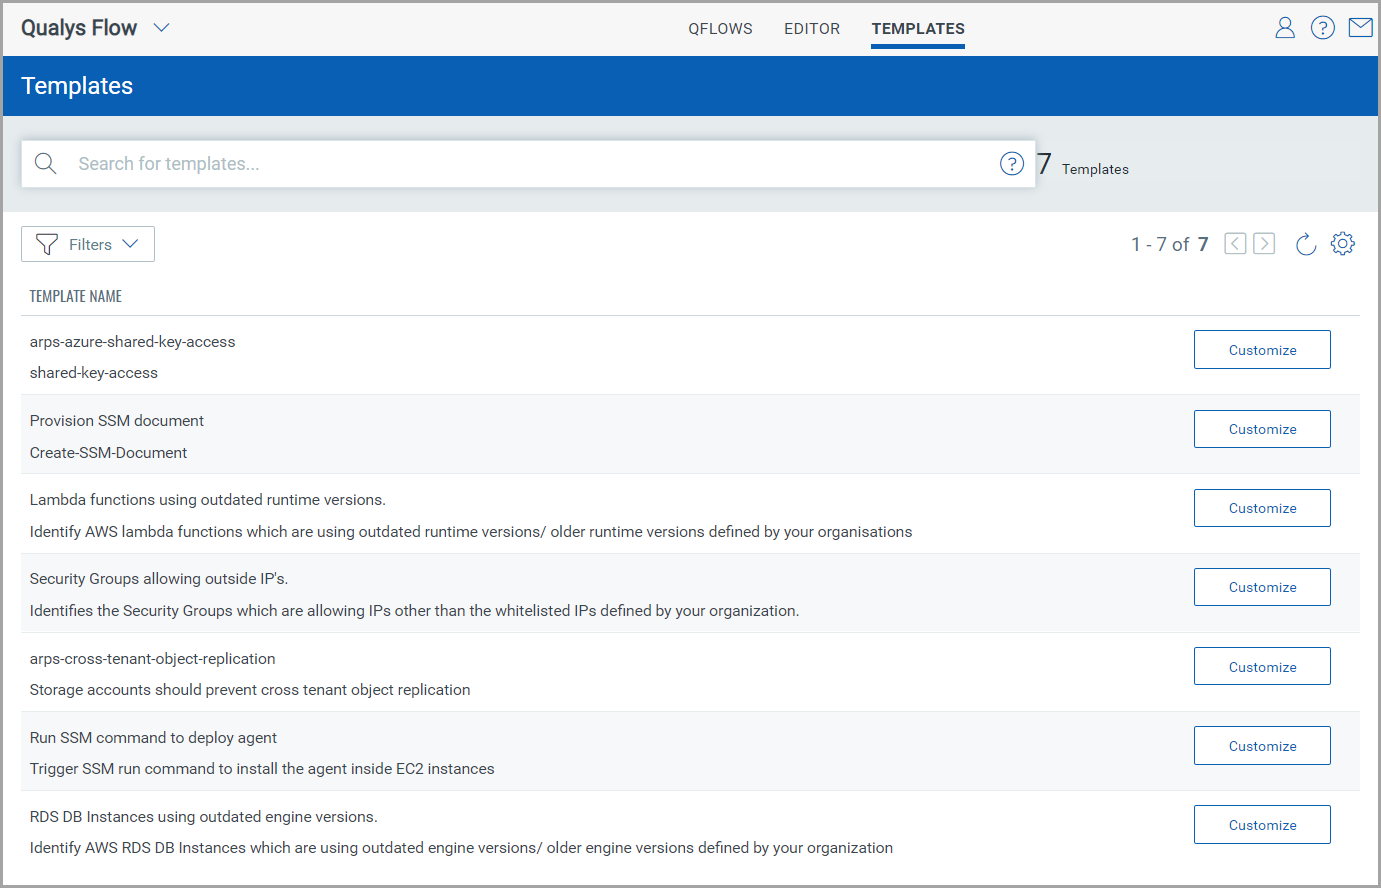
For this QFlow, you can use the Security Group allowing outside IP’s template.
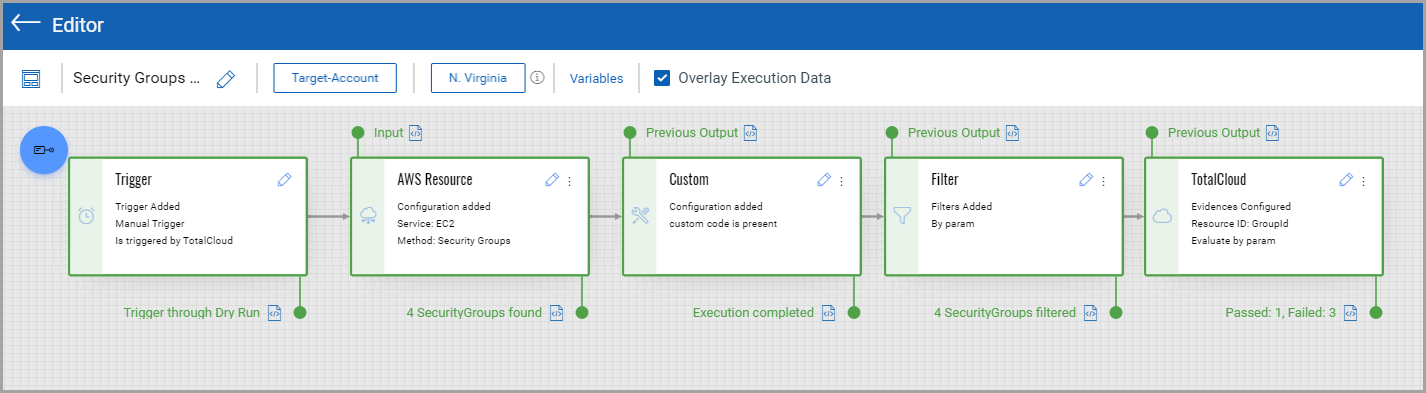
The status of the running of the QFlow is displayed. The status of the input and output of the node is displayed in green.
- Navigate to the QFlows tab > Create QFlow > Using a template.
- Click to customize to use the Security Group allowing outside IPs template.
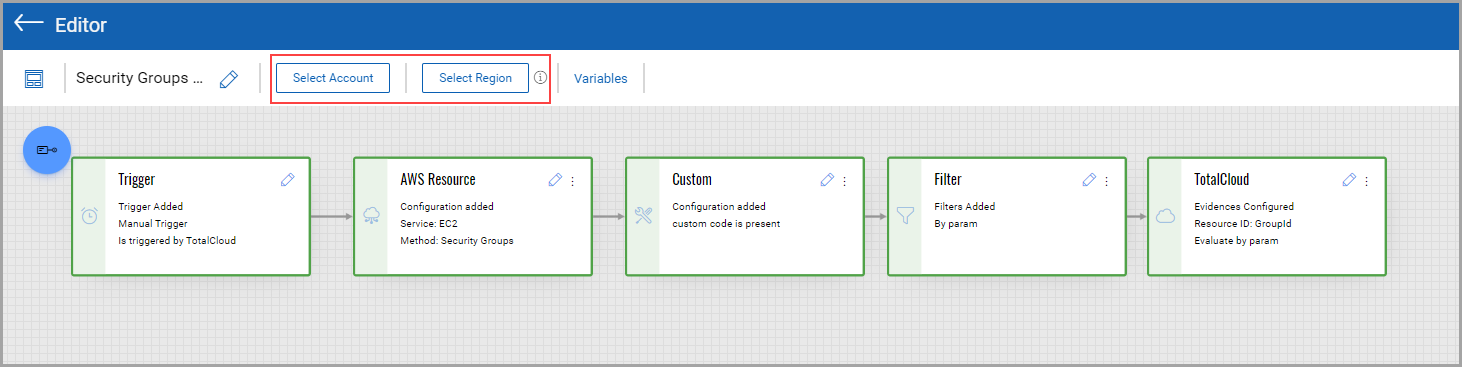
The QFlow Template is displayed. You can use the template directly; you need to select the account and region and click Save. You can customize this template to suit your requirements.
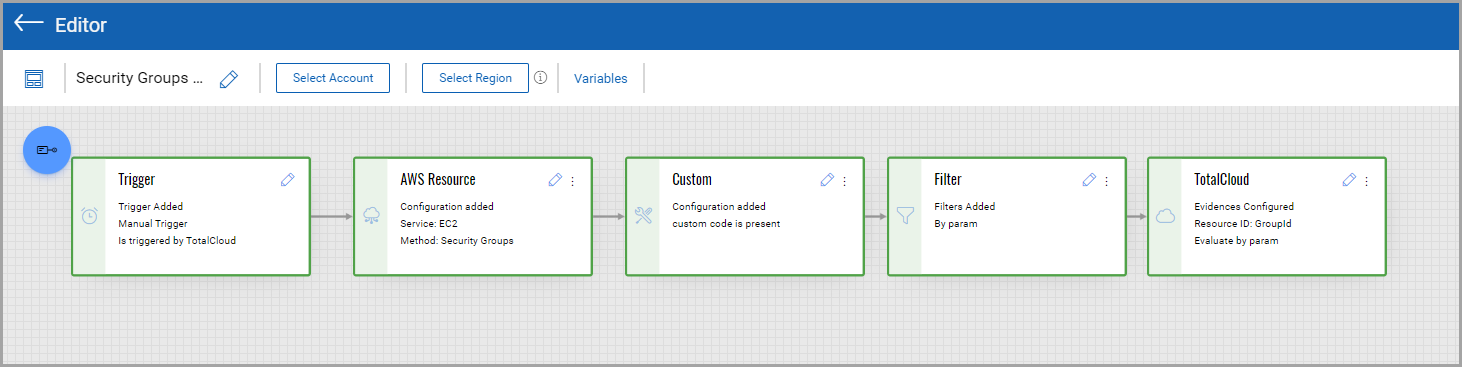
- Select the account and a region to verify with a single account and region.
Qualys recommends testing and verifying the QFlow with a single account and region before applying it to multiple accounts and regions. Once you are satisfied with the QFlow and outcome, you can deploy the QFlow on multiple accounts and regions.
Once you verify the functioning of your QFlow, you can save the QFlow.
-
To save the QFlow, click Save.
-
Associate your QFlow with AWS Accounts and Regions.
Your QFlow is ready. You can now create user-defined control in the TotalCloud application. For more information refer to Use QFlow in TotalCloud
- Click Select Account to choose the account from the list, and then click Apply.
- Click Select Region to choose the region from the list, and then click Apply.
- Select the AWS Accounts and Regions and click Save.
The account and regions in your subscription are populated while selecting the account and region.
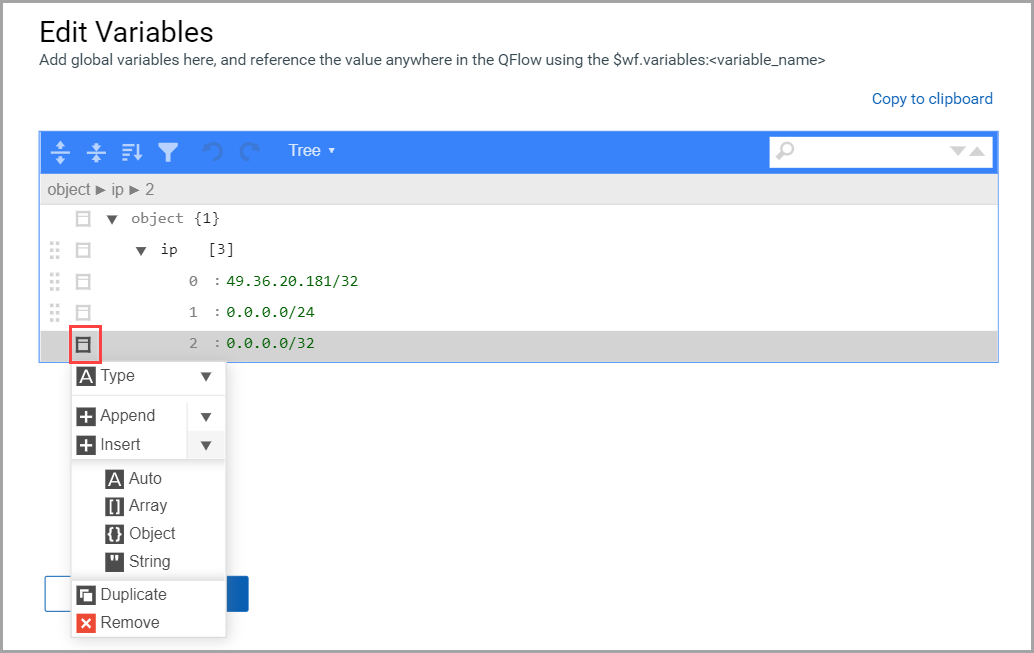
You can customize the QFlow as per your need. You can customize variables. You can add global variables and use this value as a reference anywhere in the QFlow using the $wf.variables: <name>
Variable Type
Description
Auto
It automatically determined from the previous value and can be a string, number, boolean, or null.
Array
It contains an ordered collection of values.
Object
It contains an unordered set of key/value pairs.
String
Field type is not determined from the value but is always returned as a string.
You can perform various actions for the variables, like appending the same field as the earlier one defined in the variable, inserting a new field, or duplicating or removing the existing field.
To know more about the usage of Variables, see Example.
-
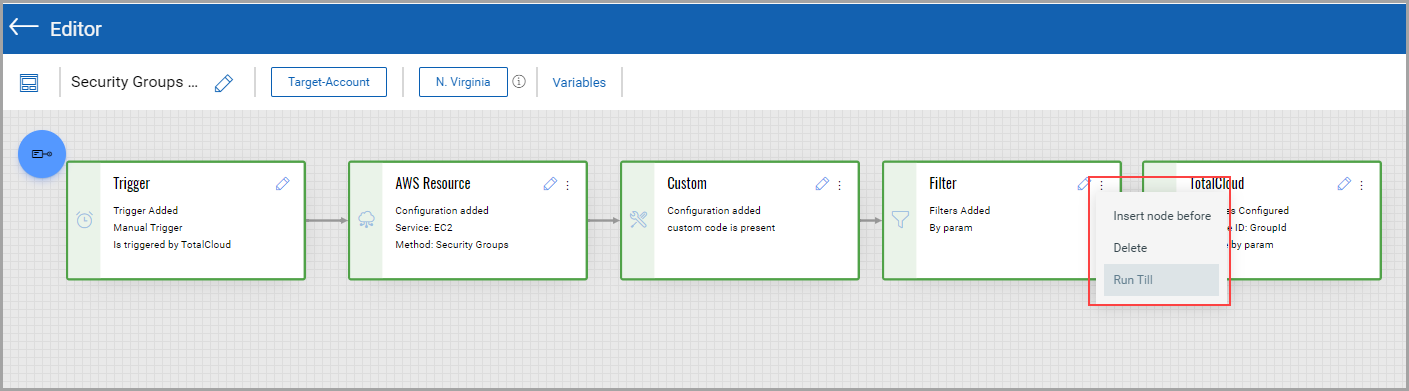
Run and check the functionality of the node.
It is best practice to check the functionality of individual nodes before running the QFlow.
- Click the three dots at the top right corner of the specific node to get the Run till option for running the QFlow until that specific node.