Personalize Your Scanner
You need to perform a few steps to personalize your scanner in the local system or server.
These steps apply when you have downloaded a scanner appliance image (for VMware, Citrix XenServer, and so on). You need to use the Scanner Console running on your virtualization software to complete these steps.
We automatically configure your virtual scanner with DHCP. If you want to use a static IP address, select Set up Network (LAN) as the first step. For more details, see Configuration Settings.
- Press the Right arrow to select Personalize this scanner and then type in your personalization code.

-
If you do not have your personalization code, visit Qualys and retrieve it from the Scans > Appliances list.
Once you enter the code, the activation process starts, and you can see the progress. This may take a few minutes to complete.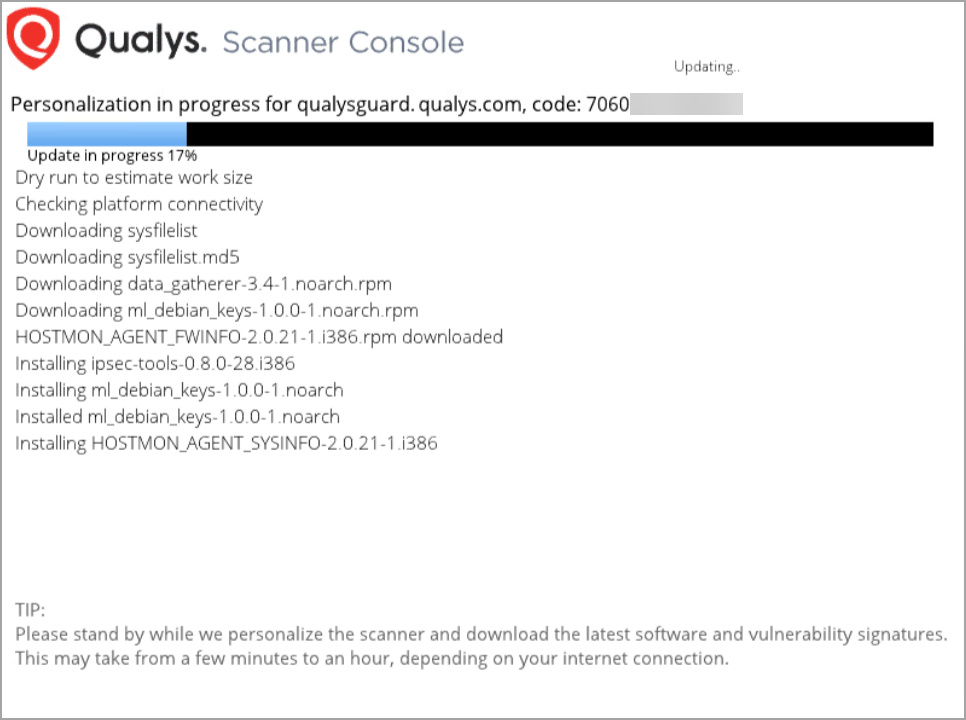
-
Your virtual scanner must connect to our Cloud Security Platform in order to complete the activation and download the latest software versions.
Upon success, you can see this scanner’s name and IP address.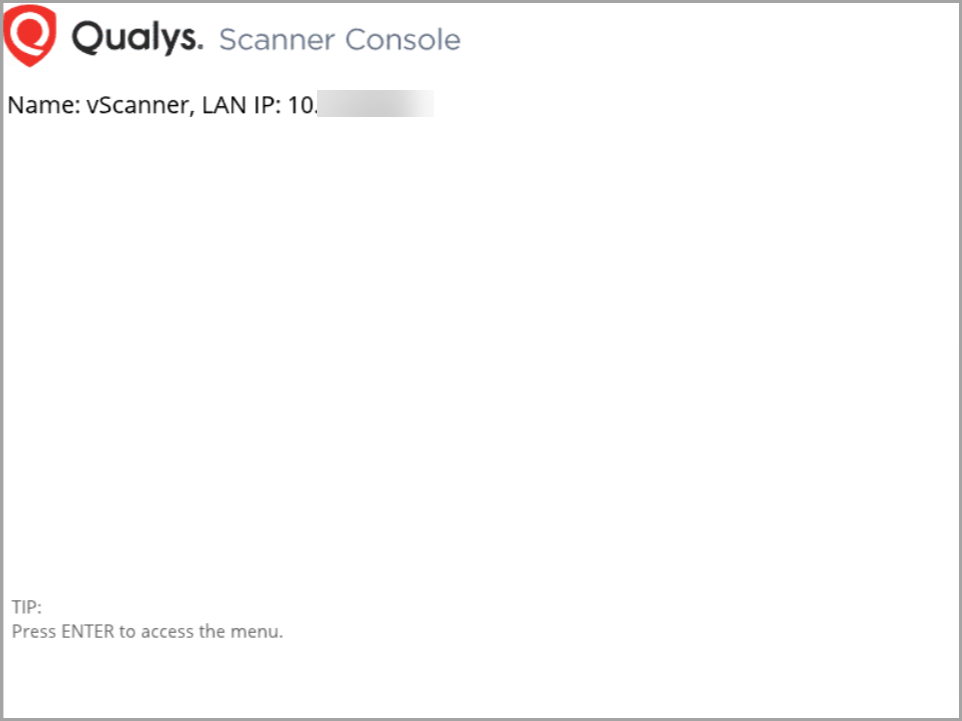
That’s it! You added your virtual scanner to your account.
Having trouble with completing the activation? Refer Click here
Best Practices from our Community.
- Scanner Appliance Troubleshooting
- Scanner Appliance FAQs
- Configure a virtual scanner using VMware (various products)
- Configure a virtual scanner using Microsoft Hyper-V
- Configure a virtual scanner using VMware vSphere (vCenter
- Configure a virtual scanner using a laptop connected to the Internet
Cloud Platform
This includes Amazon EC2, Microsoft Azure, Google Cloud Platform, OpenStack, Oracle Cloud Infrastructure (OCI), and OCI Classic, as well as Alibaba Cloud Compute. To configure the scanner appliance instance, enter your personalization code on the designated cloud platform. For detailed instructions and best practices, refer to our Community resources.
Configure a virtual scanner using Amazon EC2
Choosing the Correct Scanner AMI (Amazon Machine Image)